Posts Tagged ‘creativity’
Staying Sane with Zentangles
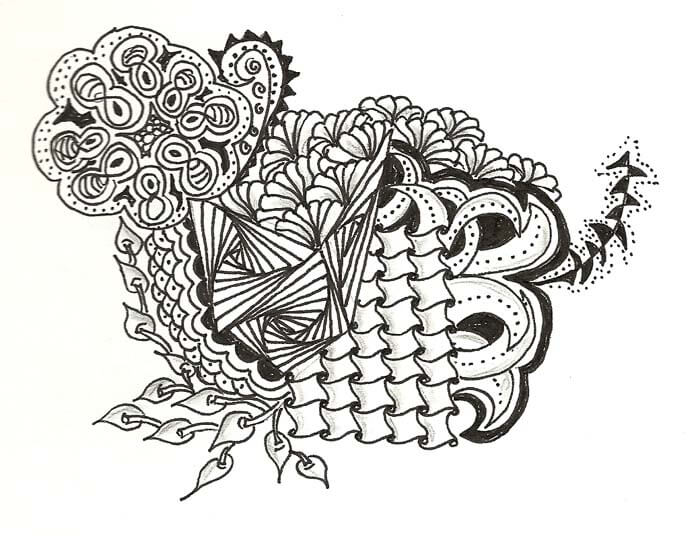
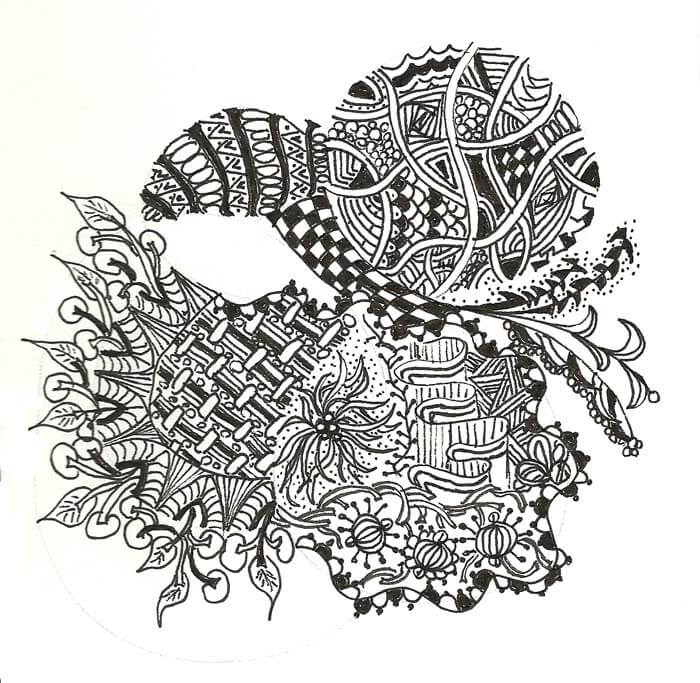
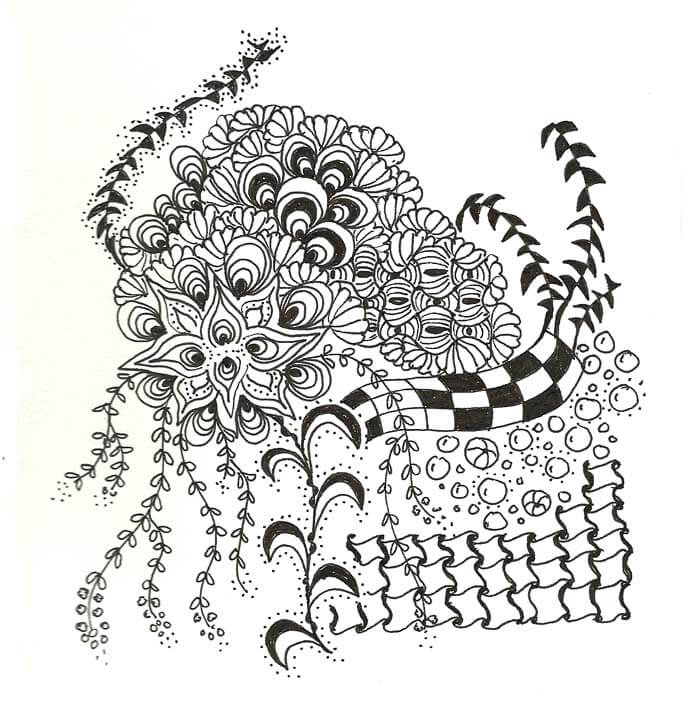
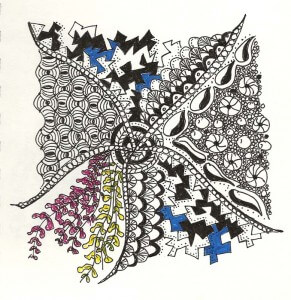
 The last couple of months have been difficult, with virtually no art getting accomplished, much to my dismay, and no doubt added significantly to feeling bummed and sad. About the only thing I was able to attempt was some zentangling. The April theme in the Sketchbook Challenge was to “go out on a limb.” I interpreted that to attempting to use more color in my zentangles, which met with a small amount of success. The second one that I did brought back to mind all the attempts at art over the years that didn’t succeed. I was faced again with my internal need to have everything “look good” when I try it. It is very difficult for me to “try” and see what happens – it still needs to “look good.” So I spent some time pondering that lesson, which didn’t help my mood much at all.
So April was pretty darn dry. I admired the zentangles of my friend, who is branching out and developing her own patterns. I was really feeling jealous, and by the beginning of May I was ready to pick up pen again. I have no idea what the theme was for May, but I did get productive…some pieces took about 90 minutes to finish, and some went really quickly. I still want to experiment with color to see what I can do.
The other thing that has been keeping me sane throughout the past month was looking on line at lots of new patterns. I knew I needed to increase my repertoire of patterns, and once I got started with new ones, I could see myself making progress with new tangles.With that bit of intro, here goes:
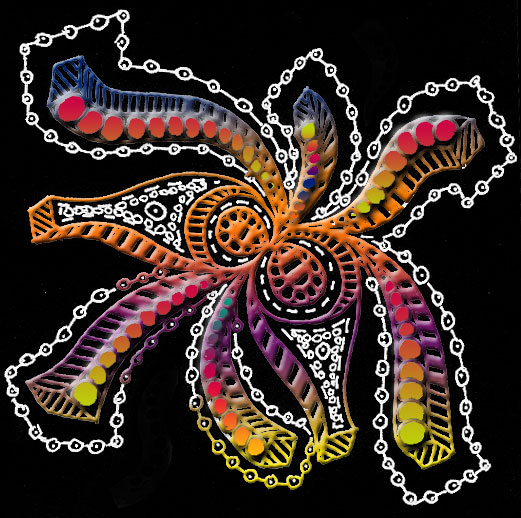
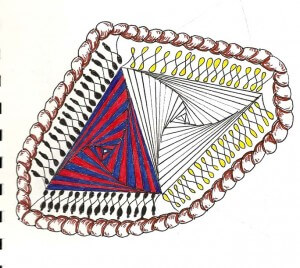 The thing I liked originally with this, before the color, was the way the paradox pattern worked with the two triangles. I thought color would enhance the pattern, and I found it just the opposite – I lost the twisting that I so love in this particular pattern.
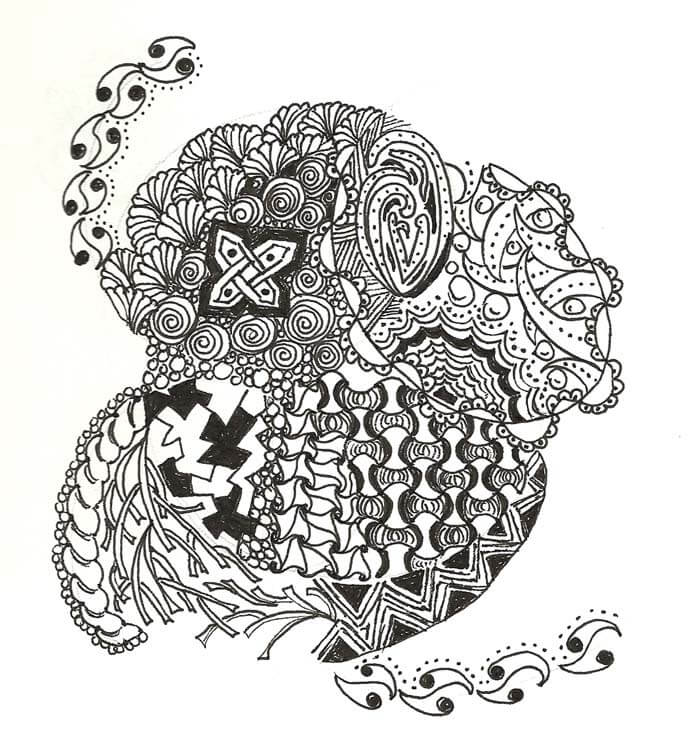 Lots of new patterns in this one.
A Life-Changing Few Months
 To say that it has been a while is an understatement. My last posts dealt with the Tucson shootings, and the aftermath for the community has been ongoing. Many in the community have been dealing with personal issues surrounding the events, from getting updates on Gabby Giffords and coping with the weird Arizona legislature to trying to understand our roles as humans working together.
For me, it has meant two months of a pretty severe depression, trying to cope with understanding so many of the historical aspects of this country coming in to play, trying to manage what the economy is doing to individuals, and getting ready to retire from a career of 40 years in education. I had to remove myself from almost everything extra in my life beyond the day-to-day coping within the classroom. I did a lot of sleeping and a lot of being sad. I didn’t even do a Fish Follies entry this year.
At Christmas we decided to move the retirement date to June of 2012. Hubby had some major health issues in January that will eventually lead to major surgery, and all I could think about was not having time together. His next CT scan will be in August, right when school starts again. That was probably the tipping point to look at retirement this May. I made the final decision the end of February to retire after working all the numbers with the retirement folks, and then a month ago applied for SSI.
Gotta tell ya, when I made the decision, it was like a weight had lifted. I started packing my classroom the next day – and it took the three months to get it all finished. Most of my math manipulatives, books, and supplies went to an organization called Treasures4Teachers – will be a nice tax deduction, and they were very grateful for all the goodies and posters.
In April, during spring break, we spent time with our friends up north who now have a place in Cornville, AZ, just south of Sedona right along Oak Creek. It is a gorgeous, restful spot. I was admiring all of my friend’s storage, and the conversation turned to the fact that maybe one of the problems getting back into the studio was the need to reorganize. Which got me thinking, and over the next month I started cleaning and organizing, and looking for new storage that would work. We’re about half-way through at this point, and the place looks great – and even better – feels great. Two more sets of shelves and we should be just about done. But I don’t think I’ll be waiting to get in there to sew.
So I’m recovering slowly from the depression, starting the rest of my life on my terms, planning on a nice run of happiness. And I’ll be back to blogging and creating and marbling and reading and writing and Photoshop and traveling and being with people and working for peace….
Zentangle Party
Last Saturday a group of us (mostly our Mixed Media group) got together with a CZT – a certified zentangle teacher from the Northwest side of Tucson. With some planning, and some ooh-ing and ah-ing over zentangle designs, we spent a great three hours learning the official way to zentangle, and a whole bunch of us are seriously hooked. Our next arts meeting on March 1 should have lots of new art to look at! We ranged from age 8 to 82 at the party and had a great time – even managed to keep the chocolate fingers off the tiles.
Even though I’ve been working on “doing” zentangles for over a year, it’s only been since this fall that I started looking at official zentangle patterns. I do like working a little large, so my new ones are more a 4.5 square, instead of the 3.5 square. But first, a word about the Christmas presents I did for my second family this year. Two by three inch refrigerator magnets, based on their initials, none of which I have as pictures. For my friend Alison I did her initial as a five by seven, and I left a lot of white space, as her letter A reminded me of the Eiffel Tower, and Alison has lived in France.
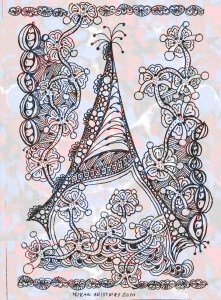
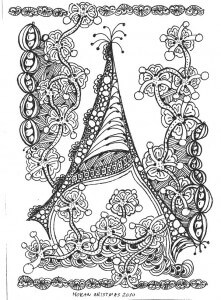 It is delicate and frilly, which Alison is not, but it just has such a great feel, and it was quite a hit. Since I couldn’t resist, I also tried a gradient on it (marbled fabric) from Photoshop.
 Now for my first “official” zentangle….there are some new patterns that I can see using a lot. I also love the tools for shading to enhance the patterns.
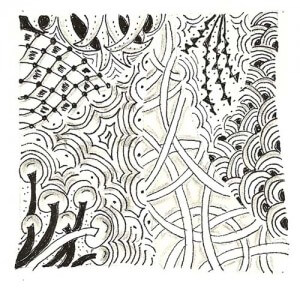 Now the ones I am doing in my sketchbook for The Sketchbook Challenge this year.
I find on these I am looking at the play of black and white, positive and negative space, and straight vs. curved. Creating a pleasing balance is definitely interesting.
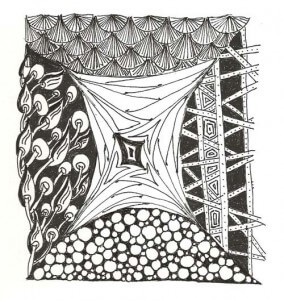
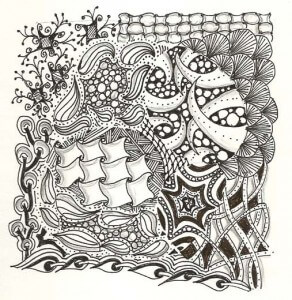 I just finished this last one, and there are a lot more official patterns invoved in this one. I want to look at creating the comedy/tragedy masks for my next one, plus continue to look at lots of new patterns. But the best part of all this is how relaxing it all is. The “zen” part really takes over your process, which is a good antidote to a lot of stress at school this year.
Art Every Day Month – Week 2
This has been an interesting week, in that while I only have four zentangles to show, I have been exploring the wealth of patterns and information available on line. I have found myself in odd moments trying out new patterns. It seems that there is way more to this than “doodling,” as I am finding out. There are identifiable patterns, and I am enjoying trying these. Some I am having more success with than others, but they’re all fun to do. I can see how using patterns enables you to enter a zen state much faster, and you relax more within the art.
Here’s some websites to explore:
The Original Zentangle site and their blog
Plus, go to Flickr and just explore…whch I did on my new Droid, and now I believe what the sales person said about using up your battery…..
That said, here’s my work this week. I am particularly interested in the added element of shading. I definitely want to explore this more.
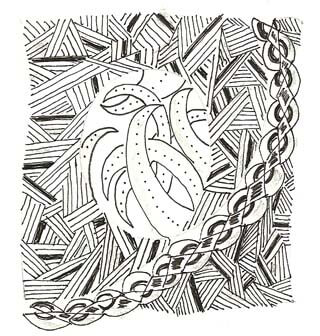
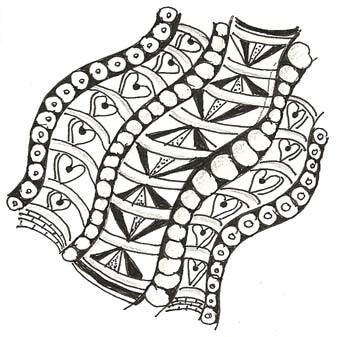
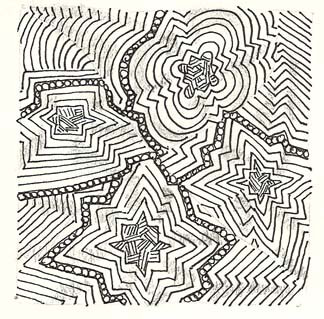
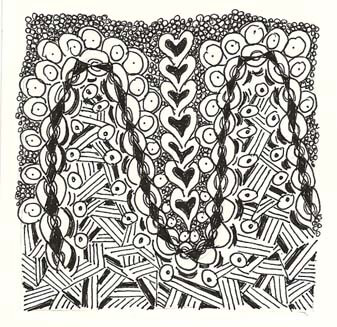 Anyone out there doing these? I’d love to see your work!
Monday Marketing….So Many Outlets, So Little Time
This has been my latest project. Rachel of Rayela Art does an amazing job, having only started this in February. Members include working artists, textile businesses, galleries, suppliers and other fiber/textile people. All have an established web presence. Our common connection weaves us together: a love for textiles and fiber art. Getting this together was not an easy task…biographies, store links – there is a LOT of thought put into developing this, and the site is getting a lot of viewers.
I’ve been analyzing all the various areas where I have a presence – some stronger than others. There will be an Etsy group on the Textile and Fiber Art list, and I am looking forward to being mentored, as I need assistance in creating a good Etsy shop. My current shop has a dozen items (as of tomorrow night), and part of what I was stressing over was creating new work just for my Etsy store. Well, duh – it occurred to me that I could list some of the work from our website that gets admired, but no one thinks to buy. So we shall see……
Now along with this was getting the connections to Twitter and Facebook and the Facebook fan page…all of which require time. It’s a good thing I have some basic computer knowledge and can find my way around the web and individual sites. Some just aren’t as intuitive as they could be……But I think Facebook is now linked to my blog, my networked blog, my Etsy…..
I’ve just begun to look at ArtFire as another outlet, but I need to read about that more. I can’t add widgets for Cafe Press and Ebay because I am still using just the free listings for Cafe Press (limited items) and weekly auctions for Ebay. I know you have to spend money to make money, but a store on Cafe Press and Ebay costs additional….need to make good use of marketing dollars, as we still need to buy supplies to continue to make art to sell in these various outlets.
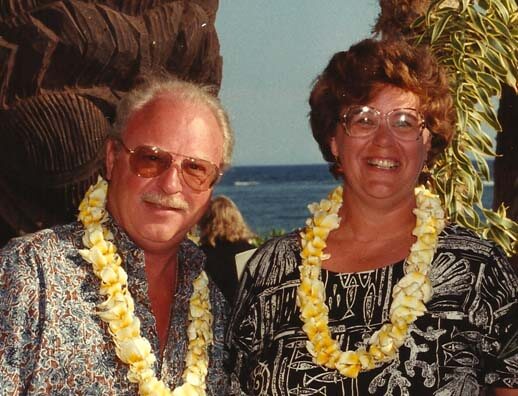
I did enjoy yesterday – spent the majority of the day at the computer, working with Photoshop on some new images, writing bios, and looking for a pic of hubby and moi for the TAFA site. Those of you who know me know it’s not really a current picture, but it is a good one!
Had a great time doing all this yesterday, and then it’s always coming down to reality when Monday morning hits and it’s back into the classroom. I also got the new newsletter out – special on Sampler Package 1 – 20% off….check it out – perfect for collage, mixed media, small quilt projects….
Didn’t get to read my blogs this weekend, and I miss knowing what people are up to. But I do have some good stuff for tomorrow’s post on the Top Ten on the web this week. Stay tuned for Wednesday with unveiling of two pieces that are either home from shows or aren’t traveling to any at this point.
Make art this week! Tell me what you’re working on!
Monday Marketing – Guest Post via Tara Reed and David Darrow at Art Licensing
I have been very interested in licensing my art images for quite a while. I’m doing a LOT of reading, as it is a complex issue. The first source I found that got me started in the right direction was Tara Reed’s Art Licensing Blog.* I confess at this point I am still in the reading stage, but slowly moving in the direction of working on patterns, repeats, and mock-ups. Funny how full-time teaching gets in the way….
However, I am a firm believer in doing my homework. One of the things the “big boys” in internet marketing talk about is the actual format of your blog, and that the recommended format is Word Press. I was wondering about why the need to move from Blogger, and I was disconcerted when I learned I would have more difficulty protecting my images on Blogger. So when I had this opportunity for a guest post from Tara – and David – I thought this would be appropriate. Plus, as Tara mentions below, I wanted something classy for my blog.
Tara writes: David Darrow has been in my online life from the very beginning of this (Art Licensing) blog… he was one of the first subscribers to my Art Licensing Info eNewsletter and I remember him sending one back to me with a note: “Do you realize this is what this looks like?” That was when I was “following directions” and keeping it all text, never more than 70 characters per line, like I was told to do.
David wasn’t the only artist to think this was a BAD IDEA so I realized artists want something a little more visually pleasing. David helped me figure out how to do it. A talented artist and techie – he’s passed on more good information that I can “Share with the group”. When he was listening to the replay of last week’s Ask About WordPress for Artists call (do you have your copy yet?) he sent me the following information that I thought would be helpful.
He knows of what he speaks since he has a blog – on blogspot – called “Where art meets technology”…
I believe there is a misconception about Blogger vs. Blogspot.
Even that phrase is misleading, because they are the same thing.
The best way I understand it is that
1. Blogger is the on-line tool which allows one to create new
2. posts, which are individual, chronologically ordered in reverse “entries” or “posts” in your
3. “blog,” which is your journal, diary, log or web-log, from which we get the word [we]blog.
Blogspot is actually blogspot.com, a domain where all the Blogger-created blogs are stored or hosted.
You cannot use Blogger to create a blog and store that data ANYWHERE else but on blogspot.com — Both are owned by Google. Additionally (corollary) you cannot create/edit a blog with any other tool but Blogger and have it stored or hosted by Blogspot.com .
***Every Blogger-created blog is stored as a unique “subdomain” of blogspot.com , which is why every Blogger blog address has in common “blogspot.com.” A subdomain is the unique “areacode” that comes before the phone number, and the phone number is always 2 items: domain name and venue, “terareeddesigns” and “com” — you could have a separate site at store.terareeddesigns.com ; it would be a “subdomain”
Like Kim said, one issue to consider is that all Blogger.com blogs cease to exist the moment Google decides to stop supporting them. WordPress blogs will only disappear if you delete them or stop paying your domain-hosting bill. You control that. If WordPress.org disappears, you will still have all your data and your most recent installation of the version of the code that runs it.
Wordress.org is a group of programmers worldwide that work together on standards for an Open Source blogging service. WordPress.com is a Blogger-style tool that allows a simpler blogging method and can raise money (through more premium blogs) for WordPress.org costs.
One other thing; people with Blogger.com blogs VERY often misaddress their blogs, adding a “www” ahead of their blog address. Both will work, but one is wrong.
http://www.EverydayPaintings.blogspot.com is wrong
http://EverydayPaintings.com is right
Thanks David!
Learn more about David Darrow at www.DaveThePaintingGuy.com
Be sure to check out his painting classes too – I’m told they are amazing!
Here’s to your creative success!
– Tara Reed
P.S. To learn more about how to earn an income licensing your art, visit www.ArtLicensingInfo.com* for a wide array of free and for-fee information from experts in the industry.
* FTC disclosure: any links with an * is an affiliate link and if you make a purchase, I will earn a commission for the referral. This helps me keep buying art supplies – thank you for your clicks!
Photoshop Friday – continued
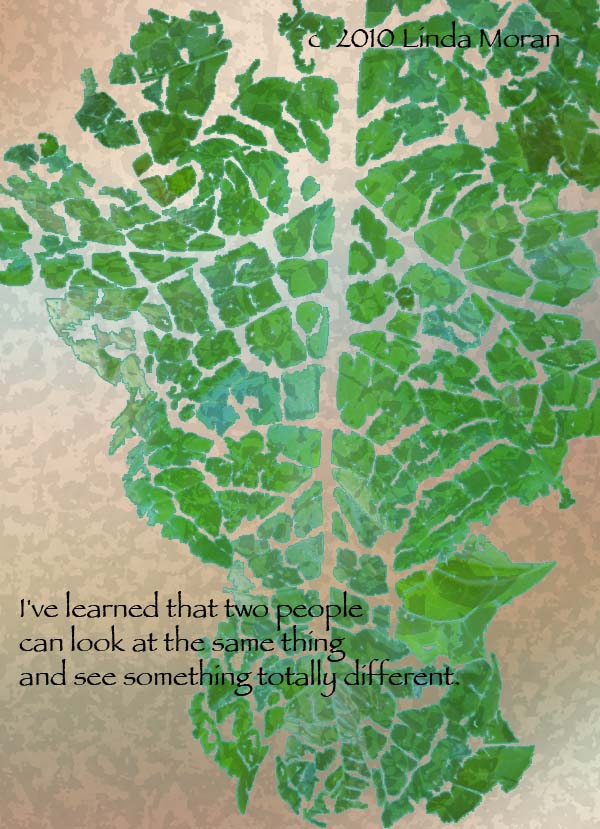
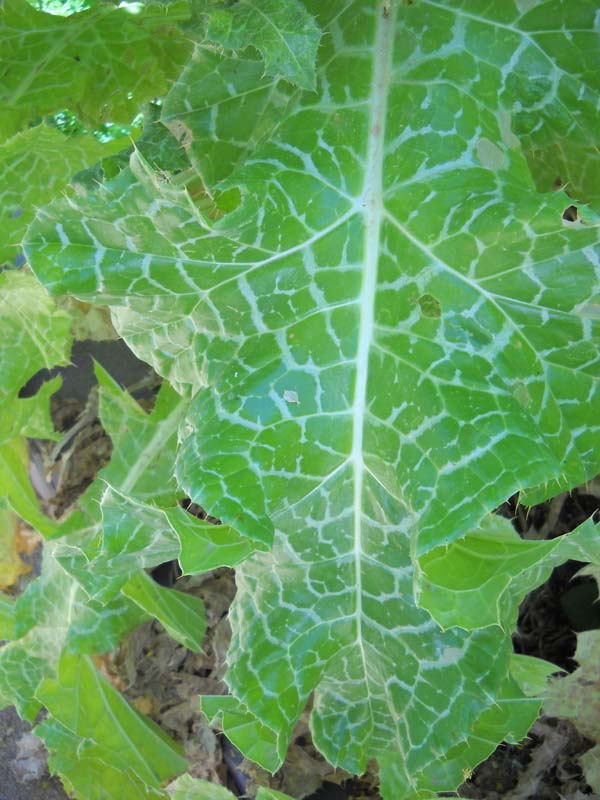
I seem to be on a role with Photoshop and some of the ideas I want to try. Been playing around today with some more ideas, and I added a quote to the leaf. The original was taken at the Desert Botanical Gardens in Phoenix – it’s an amazingly HUGE leaf, with white veins and crinkly edges – really gorgeous to see. I hvae been taken with it, and after the success with yesterday’s, I decided to try “cutting” sections of the leaf and putting them on their own layers, then playing around with the layers. I am quite taken with the finished product.
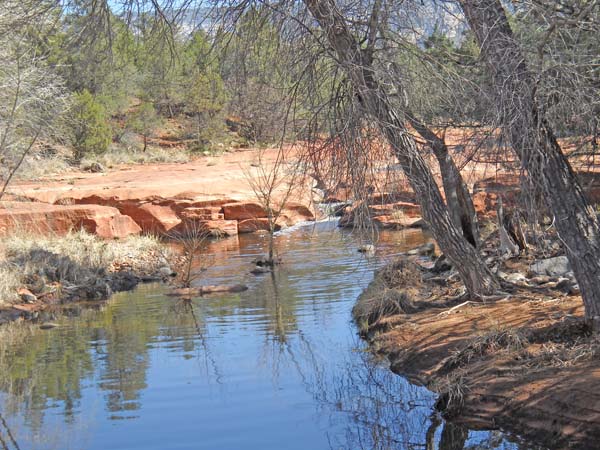
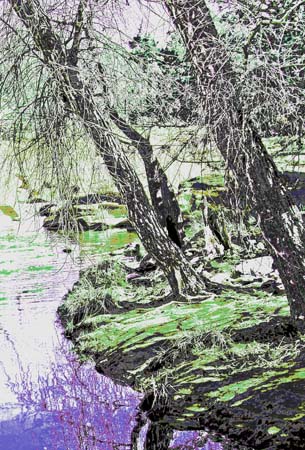
When we were in Sedona over spring break, we took a Pink Jeep tour through the backcountry red rocks. We forded a stream, and stopped in the middle to take pictures of what the homestead probably looked like fifty years ago. I absolutely love the photos from the trip. Here’s the original, with a slight light correction for the tree trunks on the right.
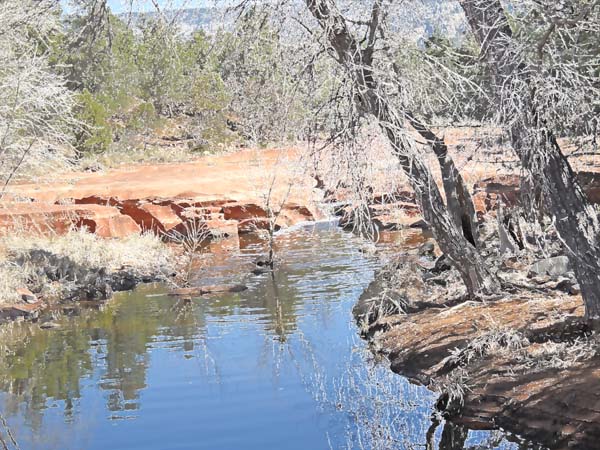
This next is with a Smart Blur filter that lends a bit of water color to the picture.
This last is with about five different adjustments, one on top of the other. I ended up cropping to just the right side of the photo because I fell in love with what was happening with the trees and the bank. I could definitely play around more with this image.
I’ve commented before as I have been learning Photoshop that one of the things I really enjoy is the ability to just “turn off” layers with what you thinnk are mistakes. To me it really frees up the creativity. But then every now and again you combine a coupe of layers and end up with something totally unexpected. An absolutely amazing program…
Photoshop Friday
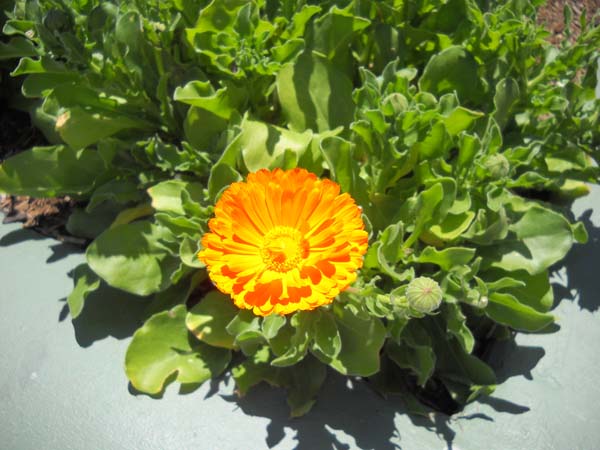
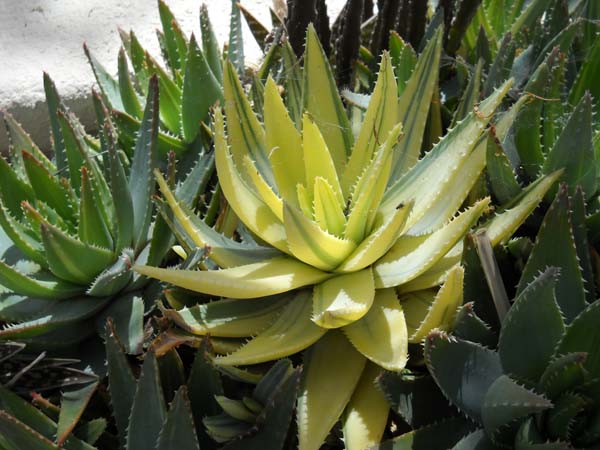
Ah, back to my regularly scheduled posts! I have started working with all the images I have been taking of the desert spring this year – really a gorgeous one, with the additional rain, and the cactus have been amazing. I have wanted to do some collage work, but I haven’t known how to begin. I wnt things to seamlessly blend together, not have significant images stand out, so I guess it is just a case of experimenting. So I tried Tuesday night, and I was pleasantly surprised – and pleased. Here are the photos I started with, all taken from the Tucson Botanical Gardens:
I wasn’t sure what was going to happen, but I did realize I needed to use separate layers and then adjust the opacity for each one. It occurred to me I could “cut” the flower itself. So here’s what happened with the mix:
I really liked how this worked – a little rotating of the flower, and the actual orange of the blossom is a perfect focal point. But – I decided to try individual layers on and off to see what happened….
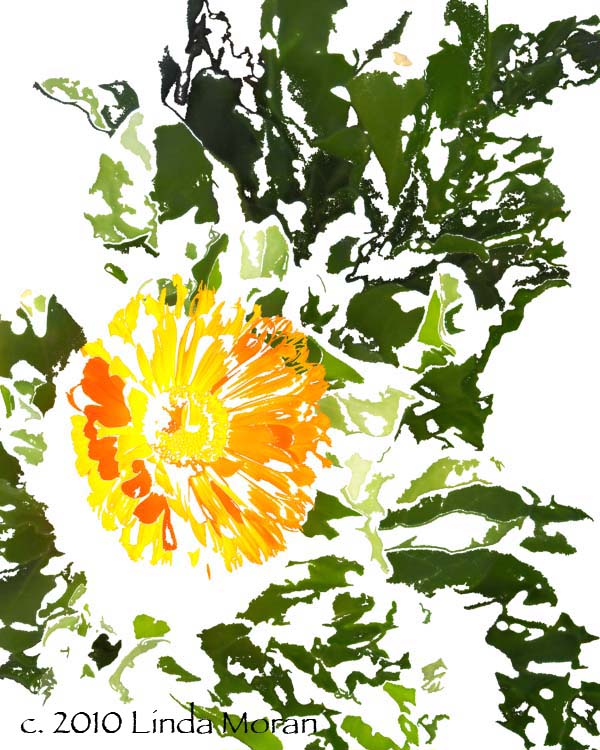 I probably will end up printing them both. I am thrilled, and I learned a few more things.
So yesterday I decided to try another one. Here’s the original photos, and I’m still not done…..have a few more ideas for the succulent.
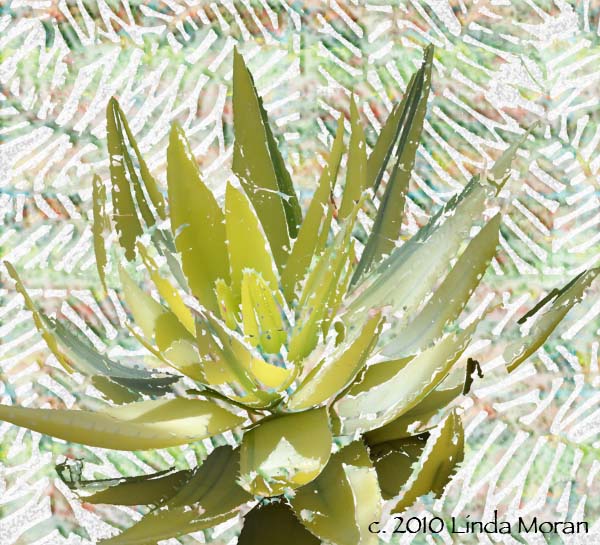
You need to click on this one to see the effect of the marbling pattern within the grate.
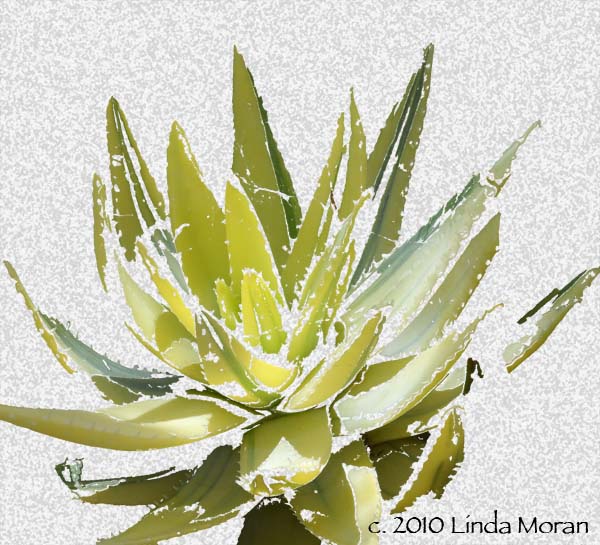
And…without the background. I’m not totally happy with this one, but there’s certainly a lot to work with….
All in all, a productive Photoshop time.
Additional Photoshop Friday posts:
Photoshop Friday – September
Sunday Sampler with Photoshop – August
Photoshop Friday – July
Photoshop Friday – stained glass
Back Again…
I really can’t let this amount of time go by between posts – I miss the writing, and I miss hearing from fellow bloggers. I am SO behind in reading my blogs – trying to get them all transferred over from Blogger, but there’s this time element….School ends in four days, so things have been quite hectic here. I have a list of things to get finished before leaving for our trip, so I need to stay focused and busy.
I neglected to mention my Salmon Run was accepted into Fish Follies this year. The postmark deadline was April 25, and at 6 PM I was sending off the jpgs. Thank heavens for email entries!! Last Tuesday I sewed on the sleeve and packed it for its trip to Alaska.
This is some of my best quilting, and I am looking forward to finishing my Desert Heat quilt, as well as a few other projects, after the trip. Michelle, my S&B buddy, is coming over tomorrow, and we are going to work with some Texture Magic to create some new purses. Should be fun to just do some mindless sewing after such intense free motion quilting.
I have some ideas in mind for a couple of wearable garments for a potential show in October that I have been invited to. I want one of the garments to be made from thread fabric, and I have been making some piles of thread from my “bad threads” so I can start working on pieces for that. Also, when we are back from our trip, we plan on marbling in the big tray and creating some larger pieces of silk, so I have some decent yardage to work with for a floor-lenght vest I am thinking about.
In preparation for traveling, I spent some time creating a marketing postcard to take with me, as hubby and I love strolling galleries, and ya just never know….Thanks to VistaPrint , you can get things done cheaply and quickly. I have cards ready to go, and I am also working on cards for other members of our Mixed Media Arts group.
I will be taking pens and sketchpads with me on the trip – looking forward to finding some nice tree bark and sketch away. And I want to get back to some zentangles – I enjoy doing those, and it’s been several months. Read their blog – these are really cool! Here’s a few of my favorites from last autumn…
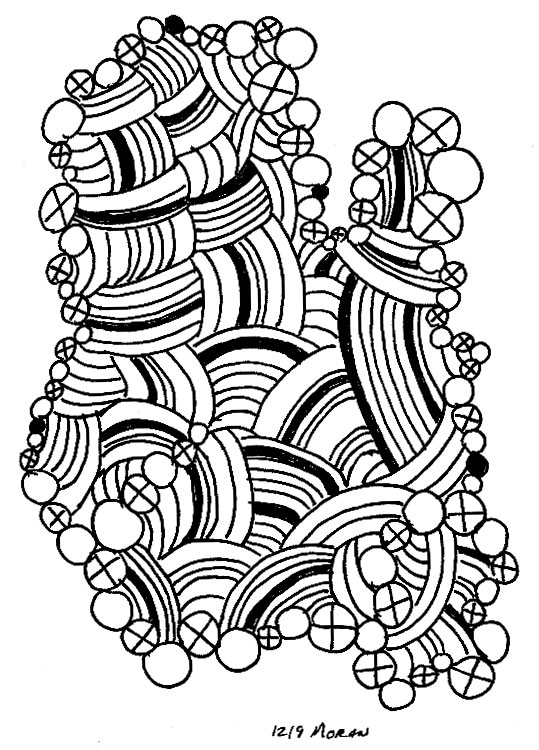
More hopefully tomorrow – there’s been loads of amazing stuff on the web lately.
What next?
![]() So I sent the jpgs off to the museum for this show. This was a strange entry and experience. In the past when I have entered this show, my entry is usually done way ahead of time, and the CD is in the mail early. This time I went right to the deadline, and I’m still not sure about the piece. In the past, I usually had a piece I’d started two or three years ago, let a year go by, added some more, let another year go by, and then inspiration hit and I finished the piece and felt “wow.”
So I sent the jpgs off to the museum for this show. This was a strange entry and experience. In the past when I have entered this show, my entry is usually done way ahead of time, and the CD is in the mail early. This time I went right to the deadline, and I’m still not sure about the piece. In the past, I usually had a piece I’d started two or three years ago, let a year go by, added some more, let another year go by, and then inspiration hit and I finished the piece and felt “wow.”
This year I spent a solid week working on this, changing the theme, flipping the orientation, and really loving the quilting. Several months ago the art group suggested changing the border from a maroon corduroy to a blue that would pull out the blue of the marbling. Well, the blue reads as a gray, and I’m not sure it works well. But my corners are mitered beautifully – and I had to redo them a couple of times, since it’s been a number of years since I did mitered corners.
I just have to wait to see if it’s accepted. The close-ups should do it, as the quilting is some of the best I have ever done, and it really adds to the piece. It is photographed well, with light from the side to accent the textures in the piece.
That said, the question now becomes “what next?” I didn’t think it would be a problem, as I have two other quilt tops ready to go for quilting, and I really want to play with the new threads. But it seems to be a more global question for me. Not just what’s next for the next piece, but what’s next in building the business? How can I have items to sell up on line, as suggested in building the blogs for business? How do I set up the subscription list? How do I keep up with writing each night? And how do I keep up with improving my skills and creating art I am happy with? I need to take some time to just think about this, but when I try that, I get incredibly overwhelmed with what has to happen to build everything. There are so many things to do, and I really don’t know where to begin.
So rather than think about things, I sat outside tonight for the first time all season and just read. I’ll look at the goals tomorrow and see that I am another month closer to my deadline of adding $500 a month to the business and wonder how I’ll do it. Take it a day at a time….start the new quilting tomorrow on the Desert Heat piece and just see what happens.
PS – I love the Bottom Line thread – I want more to use for the backs of the quilts. But for Desert Heat, I am using a Bryte green on the back, which is a green dyed piece, and Bryte yellow and orange on the front to accent the heat. Just need to get a marker to mark my circles and then I’m ready to go – I even hand-basted this, which I rarely do.
Midnight Musings
I woke up a few times last night, thinking about this piece – mainly, was there too much quilting? I have avoided looking at it today, as I want to wait till I have better light tomorrow to really evaluate what’s going on. I have so enjoyed quilting this – I love the Superior Threads – NOT ONCE has the thread broken, and there’s a lot of it on this piece. I need to look at the threads I have again, as I think I want to use something for the sky that just gives texture but no emphasis on the stitches. Trouble is, I do not have clear invisible thread, just smoky, and that definitely won’t work. And now that I understand about nylon as an invisible thread, I’m not even considering using the old stuff.
I may cut off about two inches, as I’m not sure about the puffiness at the very bottom – it is the bottom, and I do want the emphasis on the “fish,” and I think the extra texture will work. The big problem is the decisions to be made on the upper part that is supposed to represent more of the sunrise. Definitely less stitching, just don’t know what thread yet.
Here’s link to the original piece, with almost no quilting, and a bad border. I said in the post I would be willing to take the quilting out – which I have now done twice…..I’m looking forward to quilting tomorrow…just need to be done with a border on for pics on Saturday.
Quilting Like Crazy
There is a show I enter each year, and I have been juried in four out of four times I have entered. This year I didn’t have anything in mind, until I took out a piece of fabric and tried some thread changes. Well, all of a sudden the sunrise piece became Salmon Sunrise, as the quilting started to look like scales.
I stopped with the quilting until I went to the School of Threadology. I got help not only with threads, but in how I do my free motion quilting. All of a sudden I was able to do all the tight quilting, and on Saturday, I spent time – about four hours, on the piece.
I wasn’t sure at one point last week that I would be able to get the piece done in time for photos and email for entry. But four hours on Saturday and three hours on Sunday convinced me I just might make the deadline.
I am really pleased with the quilting. The only concern is too much? I have over half of it quilted, and I love the bubbles. I have some decisions to make on the top half, and I think I will decrease the amount of quilting with the darker threads, as there is quite a bit of light design at the top. Maybe just a few rows, but I want the “sunrise” effect to really show through. The bubbles have worked out well.
As I look at the finished portions, there is an extra layer of texture that is visible when the light is right. I am going to have to rein my quilting in, as not every line has to have thread. Ths can be fish jumping from the water. I need to keep the top third less “heavy” than the bottom, watery fishy part.
This has been so relaxing. It has been a very long time since I have done this kind of art quilting. In fact, it took about 5 years for this piece to speak to me again. Initially it was just a sunrise, with a few wavy lines, but I didn’t like the way it hung on the wall – too much emptiness. I had a suggestion to change the border frame from a maroon to blue, and use some light blue thread on the piece. Once I started there, it just took off. The bubbles are not an original thought – I saw something similar done on quilts when I was in Utah, and that got me thinking about bubbles. It helps to break up the amount of quilting done on the marbled pattern.
All in all, an extremely productive three days of quilting – even though it took five years to get to this point.
Thread Painting
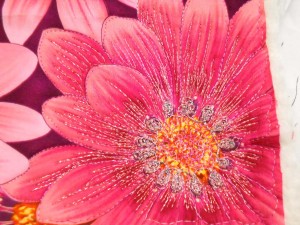
One of the activities I had a chance to do was thread painting. I’ve wanted to do this for a while but really had no idea how to start. As part of our Open Thread Bar at the School of Threadology, we were encouraged to try any threads we wanted. We had some fabric sandwiches prepared, as well as some large-prints that would be perfect to embellish with thread. I took more pictures of others’ work than of my own. I will definitely try this again, as I have a couple of Southwestern pieces that would be perfect with thread to made it more textured like pottery. Enjoy…
Another activity was working with Texture Magic, which ends up “crumpling” fabric with steam for a really interesting texture. I made a small purse, definitely not me, but I certainly have a few ideas for some pieces of marbled fabric. Take a look at the puffy feel to the fabric. Our instructor, Annie, is quite the creative person with her patterns, especially the purses. I can see a few of them in my future!
5 Things I’ve Learned About Thread Play
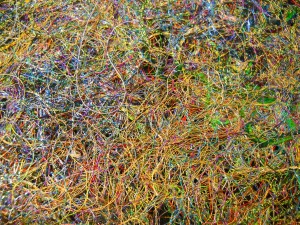
One of the things we got to do at our conference was look at samples of thread work, particularly creating “fabric” from just threads of all kinds. Heather, fondly known as Mother Superior, had two spectacular vests created just from threads. Cindy taught us how to use Dissolve to make a sandwich of threads and then stitch over them and run water over the Dissolve, which would do just that. She made it look so easy.
Well, mine wasn’t nearly as gorgeous as this top piece – part of one of Heather’s vests. Mine is about three inches square, with loose threads all over, and barely staying together. But I did learn a great deal:
1. Don’t do your first piece with nothing but shiny threads. Those shiny threads are incredibly slippery and ease out all over the place.
2. Don’t try to be so structured when you stitch on top of the Dissolve to hold everything together. I tend to be so linear sometimes, that when I was done, the grid holding everything together was way too noticeable.
3. Refer to your references when choosing your thread, bobbin, and tension. My lessons were not lost on me when I pulled out my reference sheet from Cindy’s class to check what to use in my bobbin (Bottom Line) with Glitter in the top, and to be sure to set my bobbin tension at a one to start.
4. Check the needle size. I can remember the very first time I worked with some metallics (not Superior’s) – I had no idea a) the thread had to come off the spool a certain way, and b) I had to use a larger needle. I do now, and it was flawless.
5. I need to let my inner artist loose. Try something with lots of different threads on top of the Dissolve – like trying some bobbin work – which I’ve only done twice, and I do plan on doing lots more.
Finally – Lesson 3 Redux
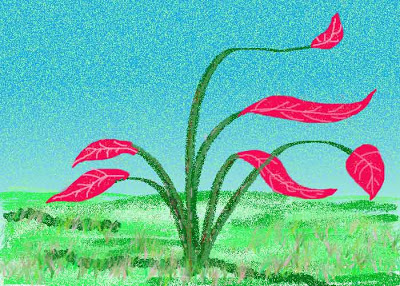
So I played some more today to try to come up with something that does more with linking and gradients. I must confess gradients are still a puzzlement – I keep getting weird colors. I am pleased, however, with the sky gradient in this piece. And I am having trouble with getting the grass brushes to be the greens I want instead of a series of mottled colors.
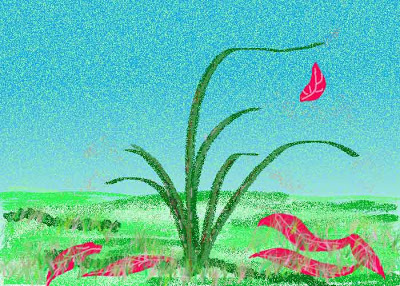
With this piece – Ocotillo – an abstract look at the almost dead-looking cactus that doesn’t bloom until rainy season – seems to be a cross with autumn. Oh well, it’s my vision! I linked the veins with the flowers – mostly. I had each flower (mostly) on a separate layer – except for the one falling, which got connected with one of the others. I do have a better sense of how this stuff works. I am enjoying just creating little pieces to work with the tools.
Reminder to me: LABEL LAYERS!!! Here goes –
