Archive for the ‘marbled fabrics’ Category
Work in Progress Wednesday
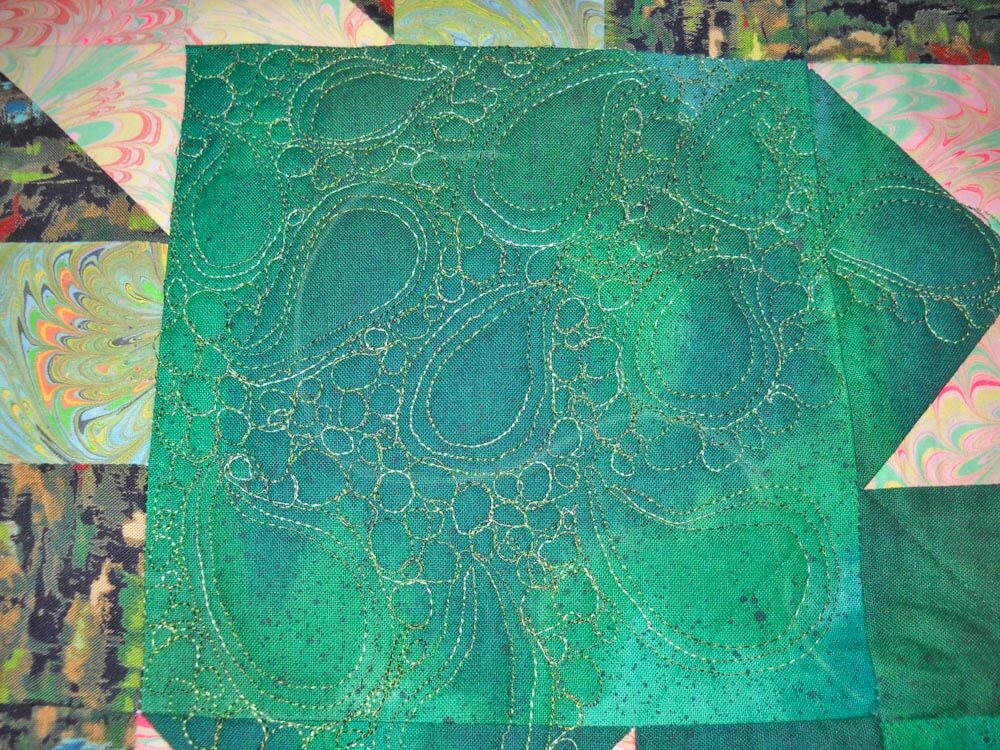
It has been a productive week, and I have two new projects on the agenda, but first – my finished quilt from last week. This is waaayyyy better! It was originally done many moons ago as a marbled BOM, and I wanted the quilt, which I have always liked, to reflect the new skills I have. It’s from a block pattern from Judy Martin’s Around the Block.
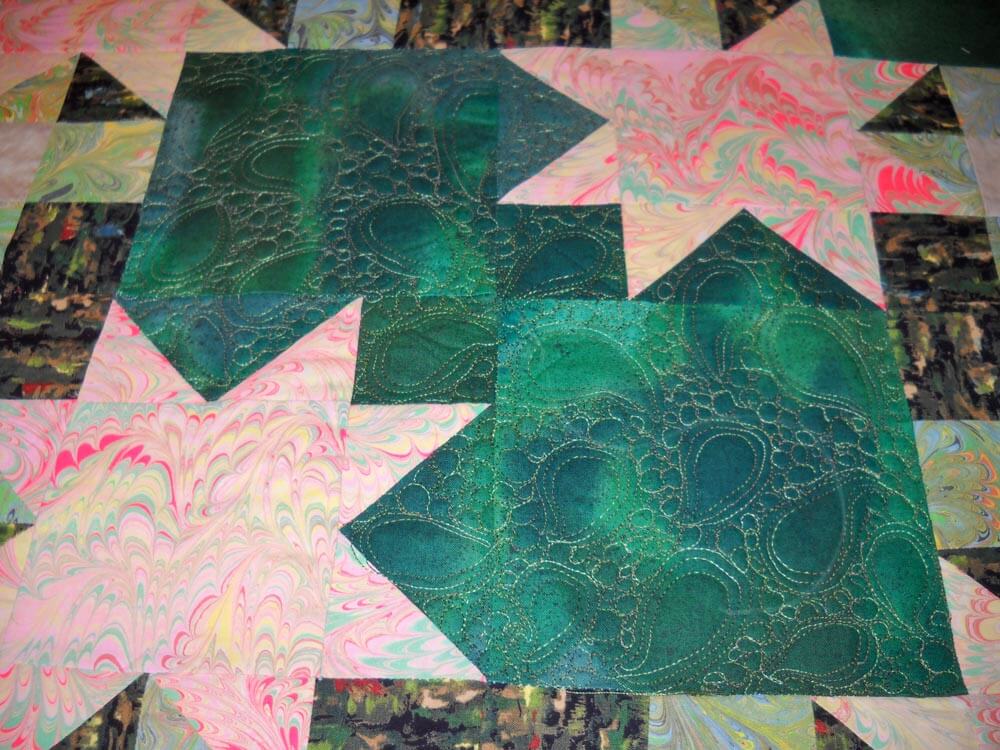
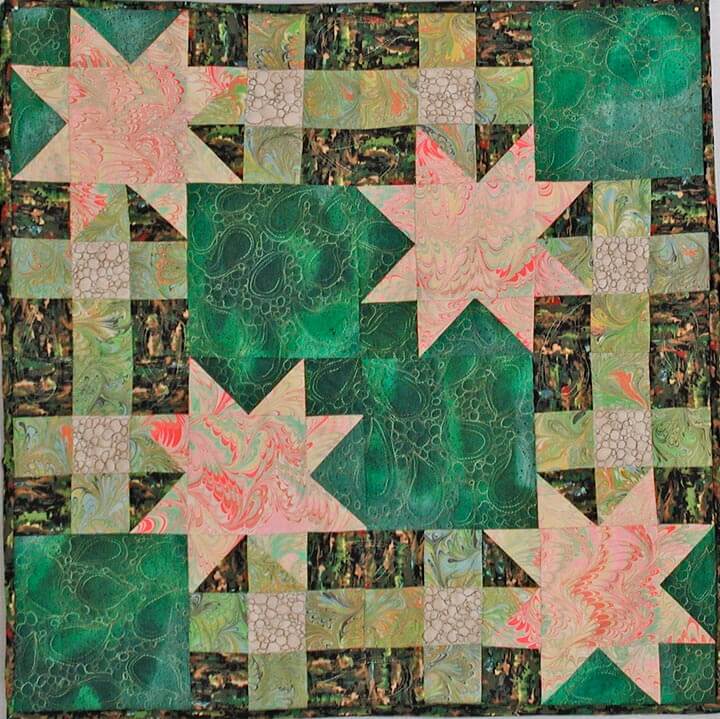 I’m calling it Monet’s Marbles, based on the mottled green fabric, which I bought years ago because it reminded me of Monet. I didn’t quilt anything in the stars, because I wanted them to stand out from the rest of the quilt. Here’s a close-up:
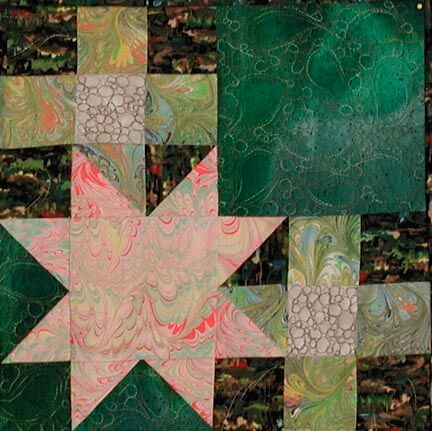 This is one of the blocks from Judy Martin – the quilt has four and uses two different marbled fabrics.
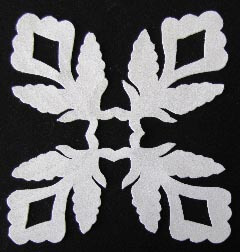
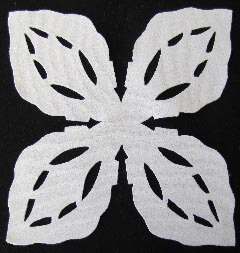
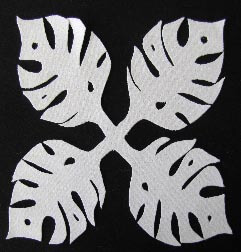
The next project is to finish up some small wall hangings for my second mom. She spent one winter in Vermont cutting out Hawaiian designs for a potential quilt – they never made it into a quilt, and I am trying to put them into something that Momcat can use. There is one major problem….these amazing blocks are all cut out of a heavy white polyester fabric…that ravels…………so I am using a lot of satin stitch, which also adds a slight bit of color to the blocks.
We decided on a black background to emphasize these wonderful patterns. I am hoping for one of the small wall hangings to be done for next Wednesday….we shall see…..
Many of these are original designs , and they are certainly a challenge in corners, heavy polyester, and satin stitch….but they will be gorgeous!
Work in Progress Wednesday
Sometime this past autumn, I posted a picture of a quilt completed at least 10 years ago, asking for suggestions on quilting it. I had used invisible thread (waaaayyyy before the improvements in threads) and did basic in-the-ditch quilting. Pretty darn blah. So I took ALL the quilting out, including taking the binding off, and washed it to hopefully remove the shadow lines.
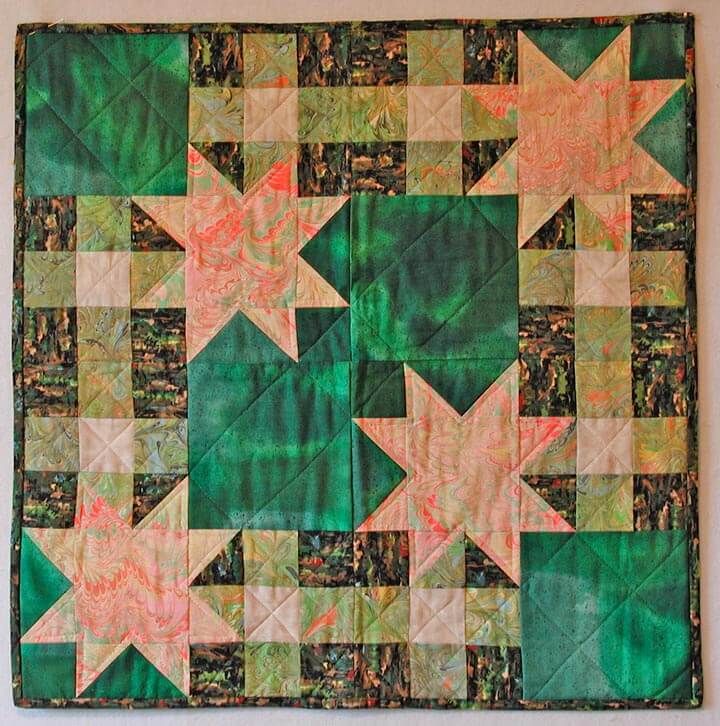
Silly me, I was thinking of having it available for sale at the art show we did in November. Well, that didn’t happen, so it moved to my “to do” list for when I retired, and then to the top of the list as I saw the studio coming together. I thought of attempting some feathers, because most of what I have done for quilting has been stippling or stitch-in-the-ditch.
Before I could start, I discovered this video on stippling, and I was hooked. Sharon Schambler had an hour-long video (actually longer) with 9 free motion patterns she has used in one of her quilts. Easy to watch and very easy to do!
I chose the second pattern, used some variegated thread from Superior (of course – I am totally hooked!), and started. I wasn’t sure I could really do this. So voila –
I was thrilled at this point, because I realized 1) I could do this, and 2) the quilt was going to look SO much better!!
This is the completed center. I’m not going to quilt the marbled stars (unless someone has a really good idea for me?? Hint hint…). I ABSOLUTELY love it! I’m doing a variation of the pattern on some of the side strips, and it’s coming along well. Hopefully pictures this weekend…..
The Studio Reveal……
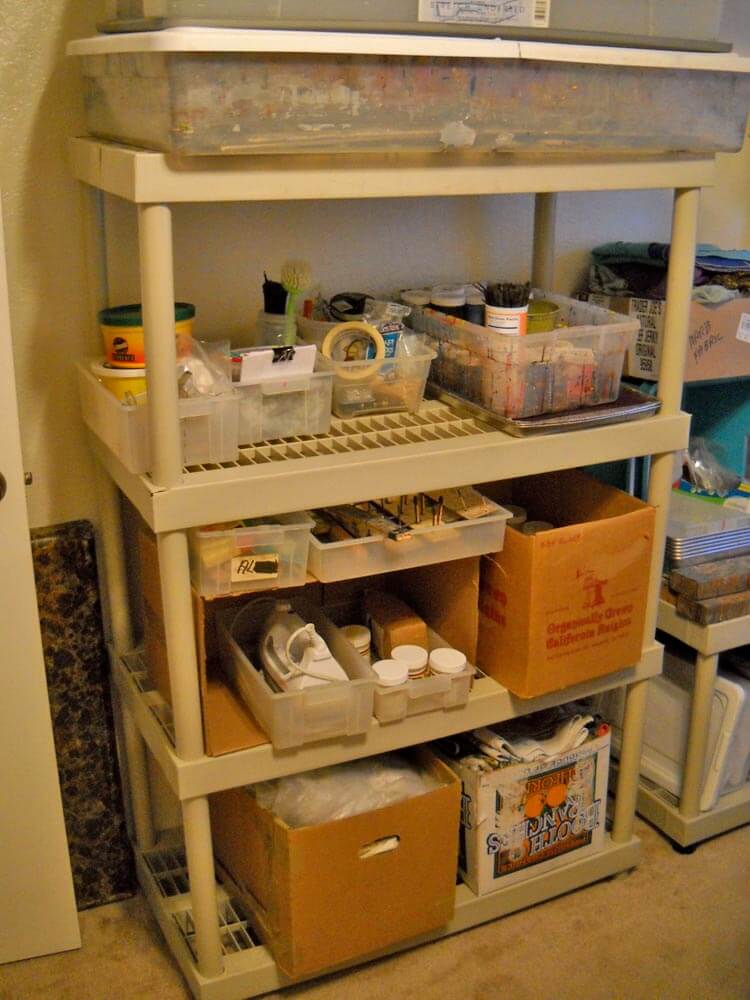
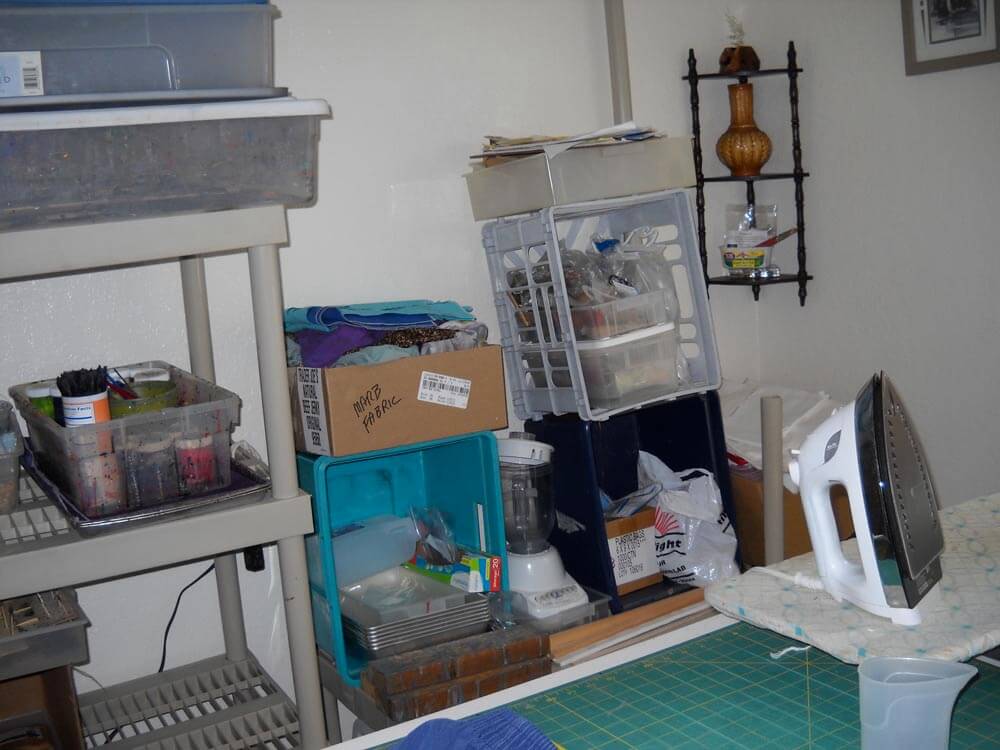
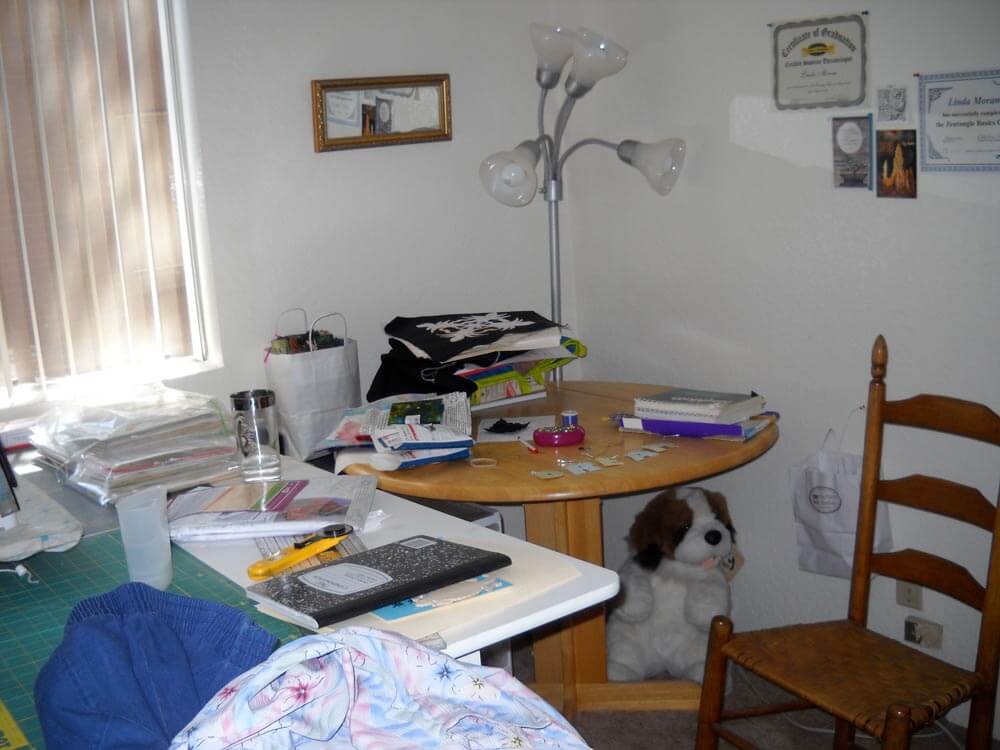
As of yesterday I was finally able to finish the studio remake by actually cleaning off my sewing table, which had become the repository for all the loose ends. I can finally start working again. Hubby marbled on Thursday and enjoyed having a more organized and larger space. Here’s the “before” pictures….
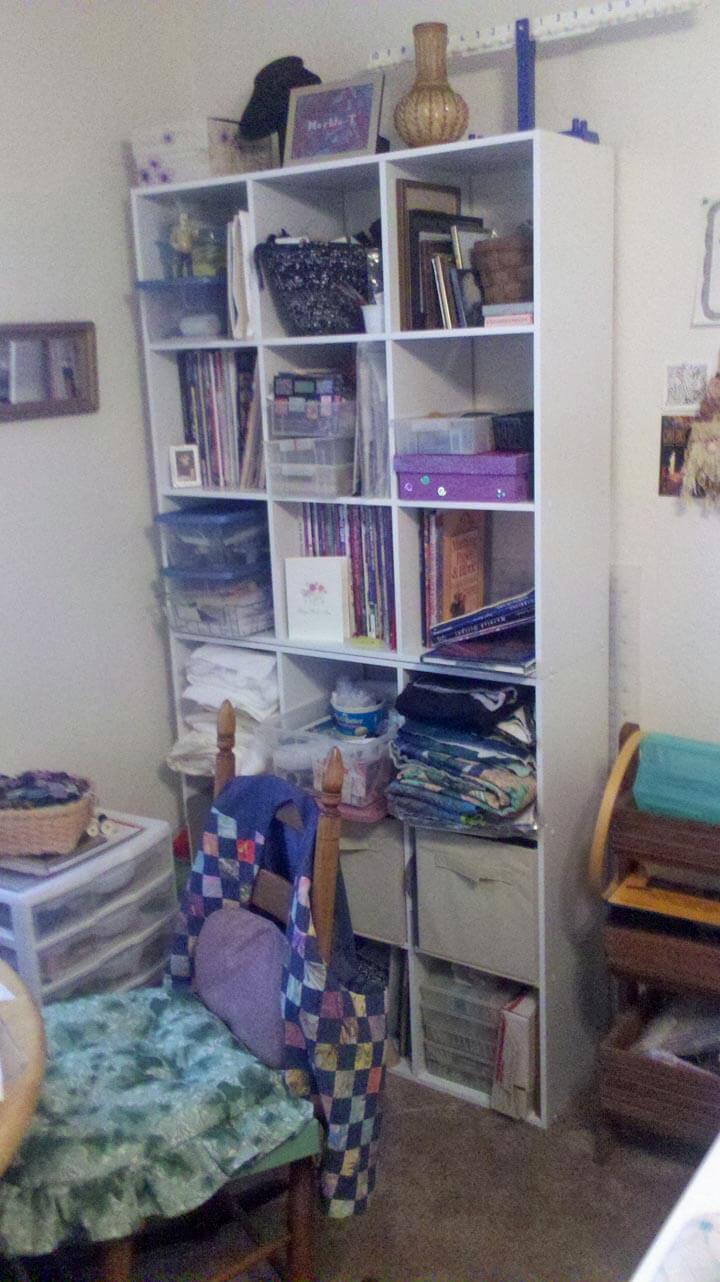
We have (well, had – it’s gone the way of Craig’s List) lots of storage shelves that could be configured in a variety of ways. This is most of the marbling stuff, just kind of packed into various boxes, and not really easy to find anything. The shelves continue next to it, with more cloths, plastic, and trays. We had more of this shelving in the closet.
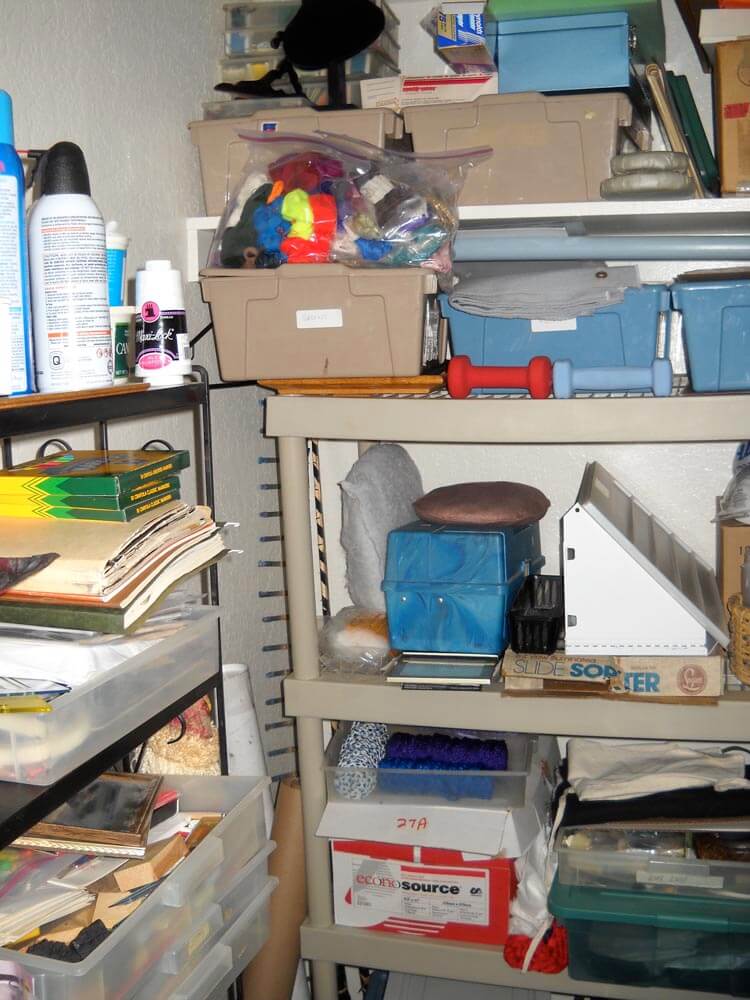
So much storage in the closet – lots of different containers and boxes collected over the years – fabric is kind of organized by color, but it’s a pain to get to. To the left is an old baker’s rack (like about 36 years old – from before I got married, and it has a new home).
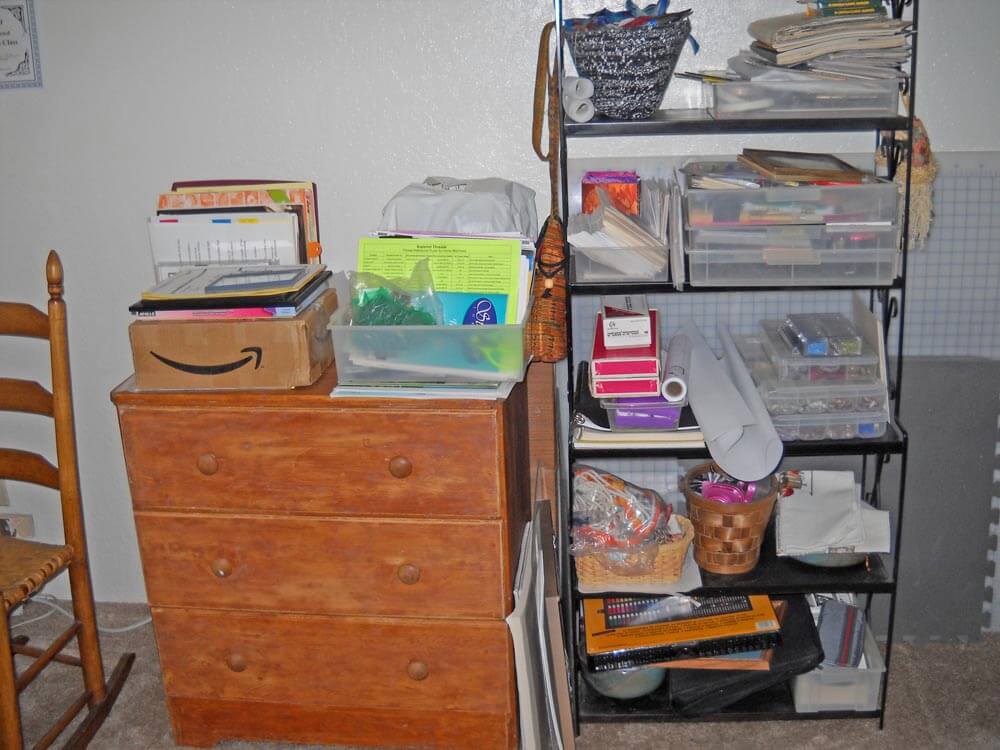
The small chest of drawers belonged to my dad – it is now in the closet, with all the cloths and plastic and towels. Much easier to get to things and it’s now keeping everything more organized.
This was the worst part of the studio – my actual sewing area. I felt enclosed and couldn’t really move around. It was not a comfortable area, and this was the main reason for re-doing the studio.
And now……
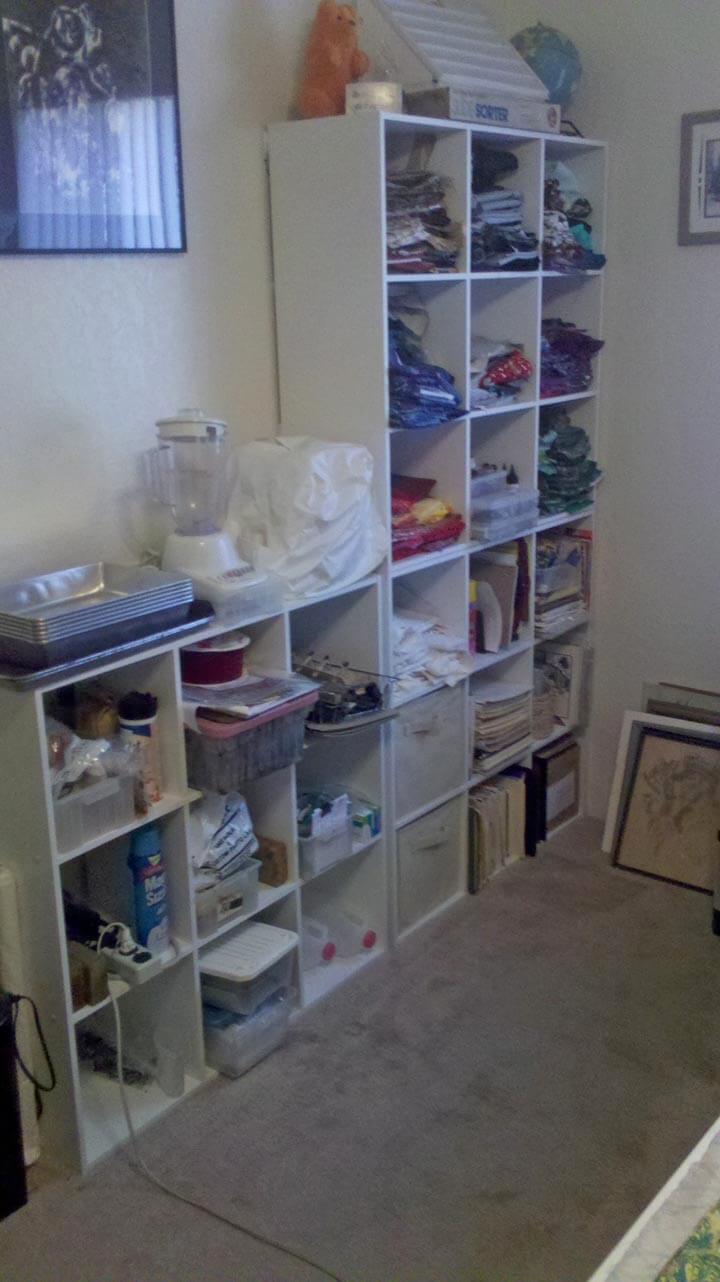
This is where all the marbling supplies were – in storage that is more efficient and actually takes up less floor space. I have fabric out by color, files from school, art supplies in one of the canvas storage bags, and patterns all sorted.
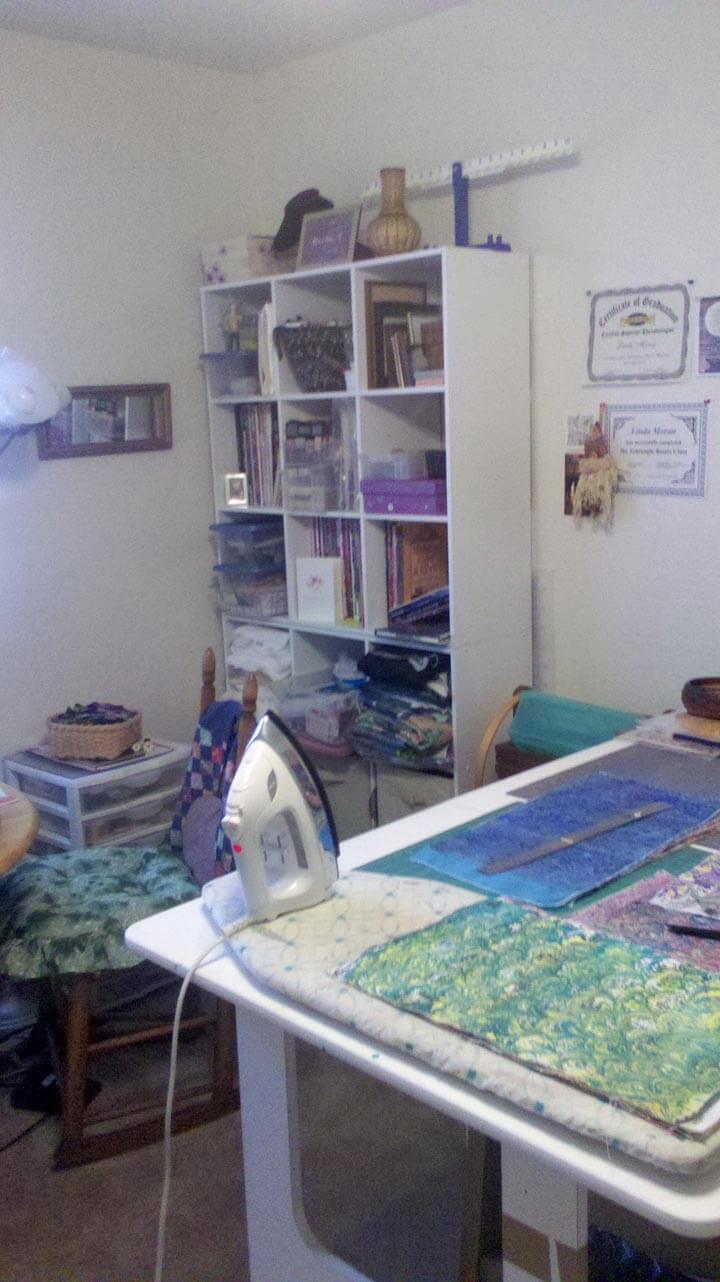
My sewing table is now under the window with much better light and room to move around. I am now right next to the cutting board and ironing board. Art books and lots more storage.
You can see more of the sewing area here.
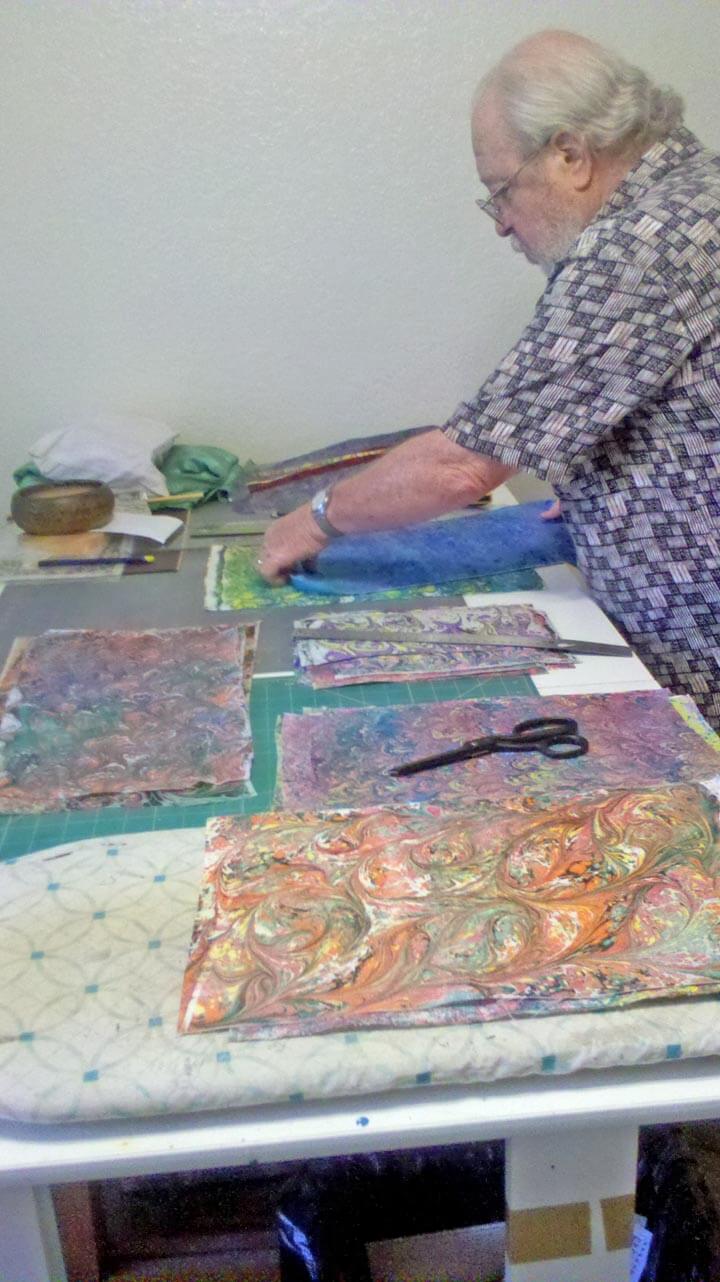
Hubby in his new space, organizing the latest marbled fabrics. Lots of stuff is stored under that cutting table! You’ll see some of the fabric up on eBay this week……
A Life-Changing Few Months
 To say that it has been a while is an understatement. My last posts dealt with the Tucson shootings, and the aftermath for the community has been ongoing. Many in the community have been dealing with personal issues surrounding the events, from getting updates on Gabby Giffords and coping with the weird Arizona legislature to trying to understand our roles as humans working together.
For me, it has meant two months of a pretty severe depression, trying to cope with understanding so many of the historical aspects of this country coming in to play, trying to manage what the economy is doing to individuals, and getting ready to retire from a career of 40 years in education. I had to remove myself from almost everything extra in my life beyond the day-to-day coping within the classroom. I did a lot of sleeping and a lot of being sad. I didn’t even do a Fish Follies entry this year.
At Christmas we decided to move the retirement date to June of 2012. Hubby had some major health issues in January that will eventually lead to major surgery, and all I could think about was not having time together. His next CT scan will be in August, right when school starts again. That was probably the tipping point to look at retirement this May. I made the final decision the end of February to retire after working all the numbers with the retirement folks, and then a month ago applied for SSI.
Gotta tell ya, when I made the decision, it was like a weight had lifted. I started packing my classroom the next day – and it took the three months to get it all finished. Most of my math manipulatives, books, and supplies went to an organization called Treasures4Teachers – will be a nice tax deduction, and they were very grateful for all the goodies and posters.
In April, during spring break, we spent time with our friends up north who now have a place in Cornville, AZ, just south of Sedona right along Oak Creek. It is a gorgeous, restful spot. I was admiring all of my friend’s storage, and the conversation turned to the fact that maybe one of the problems getting back into the studio was the need to reorganize. Which got me thinking, and over the next month I started cleaning and organizing, and looking for new storage that would work. We’re about half-way through at this point, and the place looks great – and even better – feels great. Two more sets of shelves and we should be just about done. But I don’t think I’ll be waiting to get in there to sew.
So I’m recovering slowly from the depression, starting the rest of my life on my terms, planning on a nice run of happiness. And I’ll be back to blogging and creating and marbling and reading and writing and Photoshop and traveling and being with people and working for peace….
Saturday Special….Places to Find Us
![]() I had an Etsy store about two years ago, with a grand total of four items in it. I kinda let it go inactive, since I wasn’t doing anything with it. After doing tons of marketing reading last spring and summer, I reopened the store, still not quite sure what I would be selling in it. I started with a few marbled cards from my digital work, put up some marbled remnants, and then I had a bit of an epiphany.
I had an Etsy store about two years ago, with a grand total of four items in it. I kinda let it go inactive, since I wasn’t doing anything with it. After doing tons of marketing reading last spring and summer, I reopened the store, still not quite sure what I would be selling in it. I started with a few marbled cards from my digital work, put up some marbled remnants, and then I had a bit of an epiphany.
I’m selling art on the website, why not also list some of that cool stuff in my Etsy store? So I did…and then I realized I could list some great art cloth fabrics, and write better descriptions and provide better pictures. And…I sold a piece of hand-marbled art cloth that had been listed for maybe an hour.
Cool. It’s a gorgeous piece of fabric, and the picture doesn’t really do it justice at all.
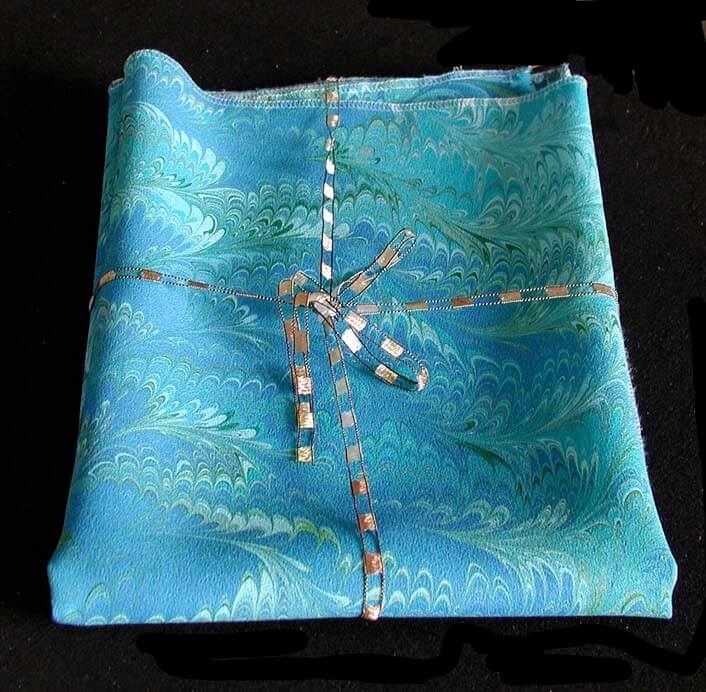 But I had the nicest message from the buyer: I have no idea what I’ll do with this shimmer of color, but I will honor your work and its beauty.
Wow. How cool is that? I know this amazing piece of fabric is going to a good home, because I always wonder about my babies and where they end up.
I will say there are other great piece in my Etsy – pieces I’ve held on to because they’re so gorgeous, but I also know the reality is I will probably never get to make anything with them. As it is, I put three pieces back in the drawer for me and “someday”…and I’ll be listing a few more tomorrow.
Ebay continues to be slow but somewhat steady. I’m sure the economy isn’t really helping us, but hopefully the holiday season will be better to us. Cafe Press – well, it takes time to rotate items and create the graphics for them, and time is one thing I don’t have a lot of these days. Plus, I gather from all that I have read on Cafe Press that you have good luck with sales if you have an active store – not something we can budget for at this time.
I would love to hear from all of you out there who are running your businesses on the proverbial shoestring. How do you decide where your dollars go? What have been good outlets for you? And how do you maximize every dollar spent?
PS – Newsletter will go out sometime this week. If you’re not a subscriber, you won’t be entered for a chance to win some marbled fabrics. Check the box at the top for more information!
Thursday Thoughts – Digital Marbling (TN)
Sometimes a piece of marbled fabric just begs to be used more than once – or find rebirth in a new form. That’s how our Digital Marbling (TN) was born. Playing around with the fabric and Photoshop leads to some very interesting effects. One thing I am hoping for with all this playing around is the development of some fabric lines, so I’m working on the idea of repeats right now.
Over the last decade or so there have been several runs of marbled fabric designs among some manufacturers. While the patterns are bold and colorful, I think there is a missing element in designing marbled fabric. A variety of colorways, bolds and subtles, and patterns that look like they would be easy to work with. I know when I started making fabric in 1993 it seemed like I was only comfortable putting the bold colors with blacks and whites. I want more flexibility, and to a certain extent I have found it.
But as I work toward designing fabric, I’m using these new artistic creations as my learning. In our newsletter, I posted a pic of “Alaskan Whales,” a piece my digital partner Suzan and I had entered into a show at the Cordova Historical Museum in Cordova, Alaska. It was our first really successful digital collaboration, and I’m going to pull it apart for you.
Here’s the original piece of fabric. I am amazed at just how blah that piece of fabric was, yet there was something appealing…if just means you have to do a lot of playing around to see what happens.
 This is the same fabric with a duplicate copy and some adjustments added.
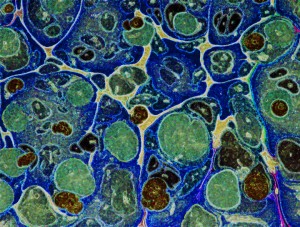 Now it’s approaching the water effect we were looking for. Then we looked for a graphic to use. We liked the whales, just rotated them a bit. We also added some adjustments: bevel, outer glow, some transparency. It looks like there are extra colors added, but it’s a transparency with some curve adjustments that adds in the extra colors. There are a few more things done to this piece, but I have an old version of Photoshop, so it doesn’t show.
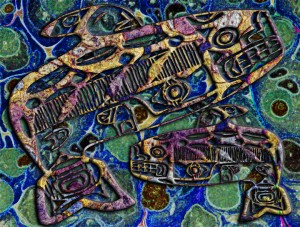 Here’s another version, saved from the layers we chose not to use…never know when you will come across something unusual with stuff you didn’t throw out, but just left “invisible….”
Who’s manipulating fabric digitally? I’d love to hear from you!
Don’t forget to become a subscriber and be entered to win some marbled fabrics. Check the box at the top right.
Sunday Stories – Gaia 2
I love this piece, absolutely my favorite so far of everything I’ve ever done. I really had no idea going in to this just what would emerge…everything was trial and error, but thankfully, very little error.
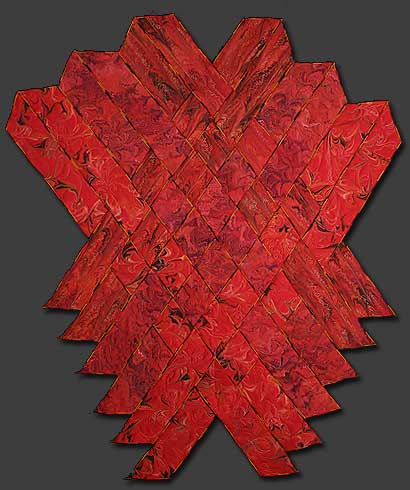
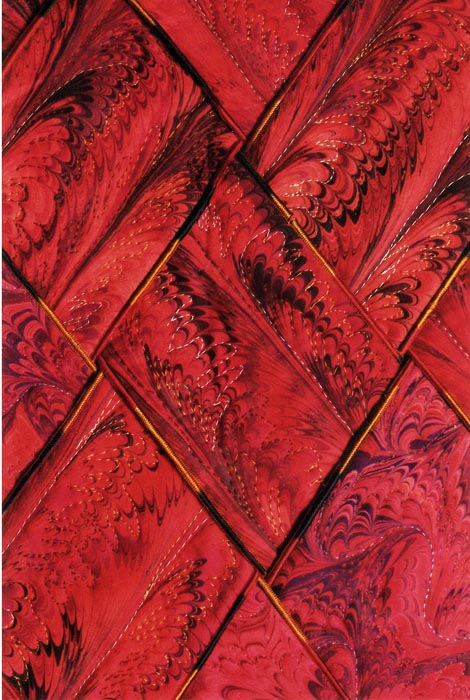
This piece started as a result of finishing a commission that was done on red unpolished satin. Six half-yard pieces were marbled, with my using a total of four of the finished pieces. My idea was to create a piece that would represent the volcanic origins of the earth and the goddess Pele. For the longest time this piece was known simply as “Pele.” I used a different marbling pattern on each of the half-yards, as I wanted interest within the piece.
Ever since my first teaching job on Maui, I have been fascinated with the stories of Pele, the Fire Goddess, and I was always on the lookout for the Lady in White when I drove home over the Pali at night. I didn’t realize it then, but Pele and fire have woven their ways through much of my work.
I really had no idea how these were going to weave together. I experimented and ended up with this weaving, starting with a tighter bottom and then “exploding,” much like magma does as it reaches the surface and becomes lava. The only problem with this shape came as I realized I had to figure out a way to anchor everything together. The strips are heavily hand-stitched together on the back – twice, as I discovered I had to make it much tighter to hold the weight of the piece.
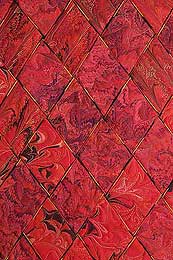
A free-form pattern makes up the bottom four strips. The next four strips are the “wave” pattern, and the last four strips are what we call the ”fountain” pattern. A fourth pattern of a very small feather was ultimately not used in the weaving.
Each piece was sandwiched and serged with a variegated thread before any quilting was done. I liked the effect from the variegated thread, and I use that technique a lot now. But I have since changed how I put the individual strips together, with serging only one side or none at all, leaving another design element for later. The free-form strips were quilted using a variegated Sulky thread to accent the pattern. The four “wave” strips were quilted by following an initial curved line throughout each of the pieces and then coming back with a different metallic thread to accent the marbled pattern. The four “fountain” pieces were quilted in a distinctly different shade of thread to accent the eruption of lava.
Now, you have to understand I hadn’t done a whole lot of machine quilting to this point, beyond stitch-in-the-ditch. This was brand new territory for me! But ultimately I was hooked….I quilt most of my marbled fabrics now, and the patterns can be very zen-like to quilt. Here’s another close-up:
I truly love this piece, and I know I’ll never get another one just like it. It’s a little bold for any of our walls where we are living now, but one day, when I retire and the place is a little bigger, it will hang again!
For those of you who haven’t subscribed to our newsletter, we are doing a drawing again from all our subscribers for a FREE Sampler Package 1. You can visit our website to see this. Be sure to sign up – the form is at the top on the right.
And…tell me the story of one of your favorite pieces. I’ll include stories in a future “Sunday Stories” post.
Work-in-Progress Wednesday
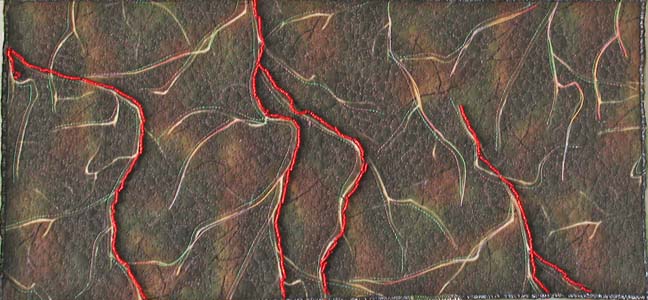
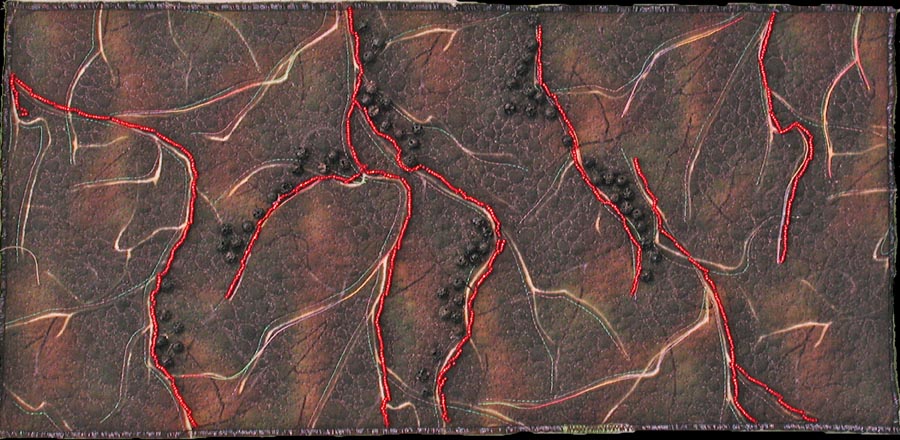
I have to say, I have been busy. I originally was thinking nothing was going to happen art-wise in July because of so much work on the business. I was wrong…the last week has been incredibly productive. Last Wednesday I wrote about my lava piece just telling me it really wasn’t finished. Here’s last week:
And here it is now, since it told me it was “finished:”
Turns out it needed actual lava – those little round pieces are actual chunks of lava I collected over a couple of visits to the Tucson Gem Show each February. I also added more lava flows, and nothing really interferes with the quote on the back. This is going to go up in the newly-developing Etsy store.
My “purse” didn’t make it as a purse…I loved the play of the fabrics together, but I couldn’t get handles to work the way I wanted them to…so now it’s a nice new basket for collecting fabric scraps.
If you were reading on Sunday, you saw the finished “Desert Heat” quilt, now on the wall in our bedroom.
Now I am working on my “bamboo” quilt, started about 5 years ago with a piece of marbled fabric in the chevron pattern. One of the things I like about this quilting is that it is very zen-like, in that you can just follow the lines of the patterns. You can see the original piece of fabric here. You’ll see what I mean about the lines of the pattern.
As I was quilting yesterday, it occurred to me to take pictures of the process, and then that led me to think about putting together a tutorial on quilting marbled fabric. There is an interesting story behind the quilting. Years ago I pretty much just put marbled fabrics with blacks, as I wasn’t sure at all about my color sense. I did slowly branch out, but it was Quilt artist Ellen Kohen who took a piece of fabric and quilted it. I knew there was more I could do with the fabric, but I wasn’t sure how to approach it. Once I saw what Ellen had done, I was hooked, but it took confidence to start the free motion needed to accent these patterns. Starting this Sunday, I’m going to introduce “Sunday Stories,” and I’ll take a look at the story behind each of the pieces in my gallery on the website.
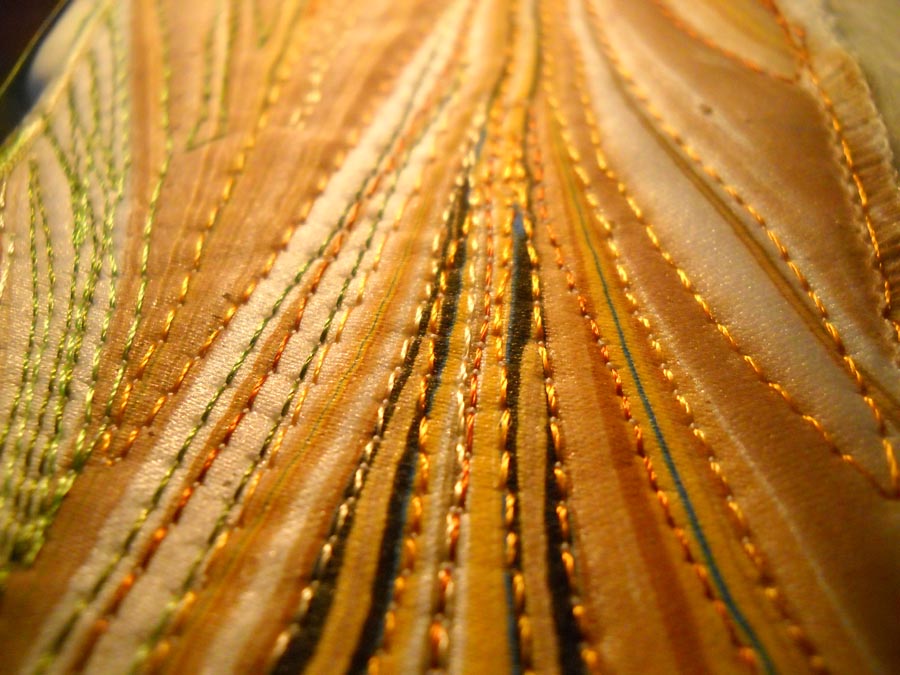
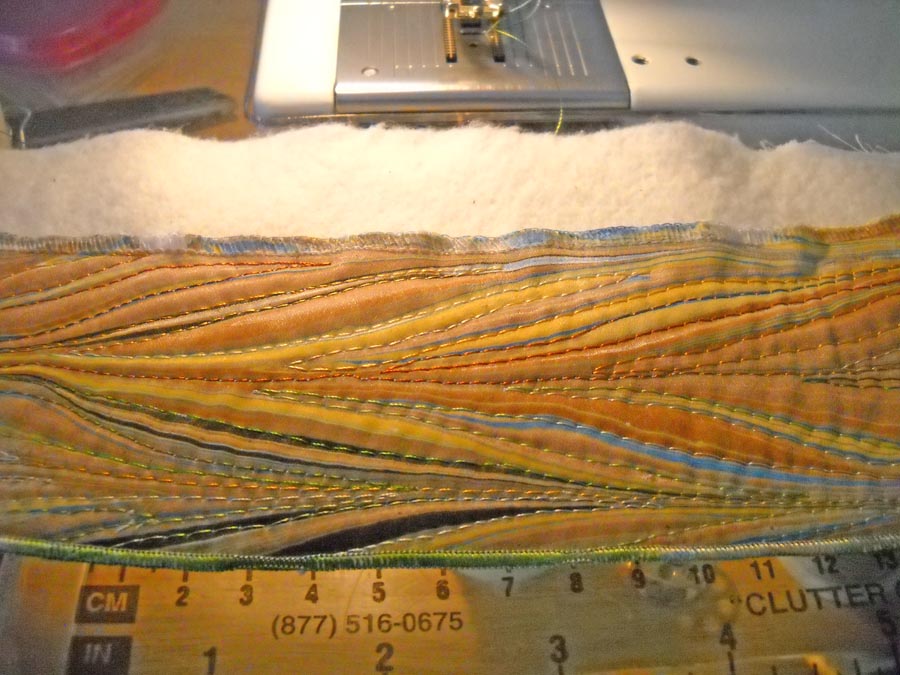
For today, here’s a close-up look at one of the bamboo strips (which I am aiming to finish by mid-August, as I want to enter it into an art quilt show with my “Ocean’s Bounty.”) You can easily see all the “lines” in the pattern and how I have followed the lines with a variety of different colored threads. The problem you might run into (as I have) is when to stop with the lines – you can get easily sucked in to quilting everything.
You can see the serged edge in this piece – which is how I usually finish these weaving pieces. I’ve learned over the years not to serge until I am finished with the machine quilting.
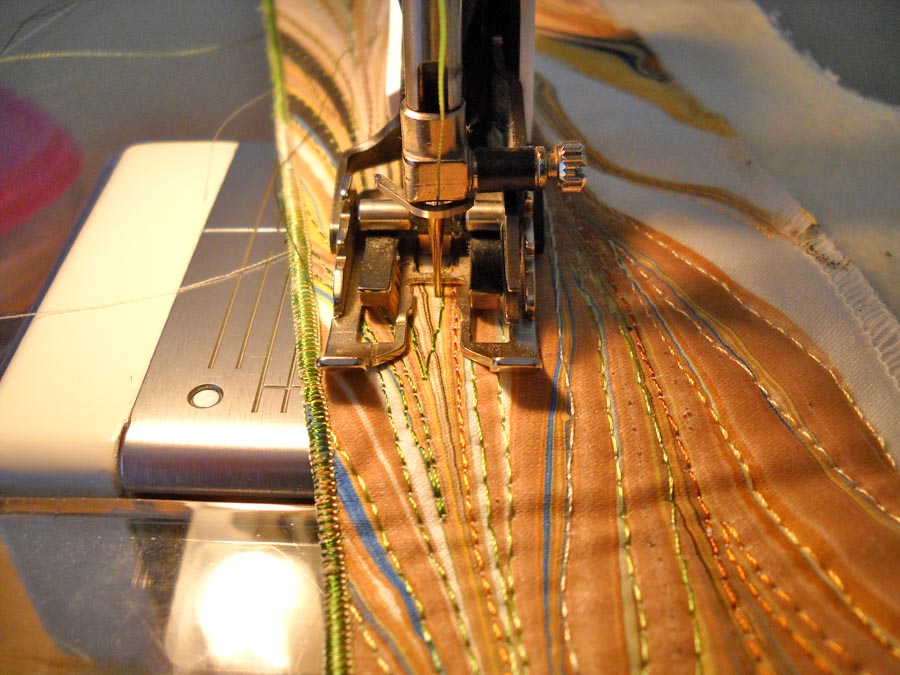
This is with my walking foot, but I’m not totally happy with the control with this foot. Because there are slight curves to these lines, I use my regular foot and am quite happy with it. I think this is probably a personal preference. I tried the free motion foot on this, but I didn’t have the control and even stitches I wanted for this design.
I have four and a half “strands” of bamboo finished at this point. I can quilt for a couple of hours, listening to some John Denver and just kinda zone…as I mentioned earlier this week, I am amazed at just how much I get done when I think a project will take forever. Now what probably will take forever will be the leaves. I’ve tried marbling some silk leaves – not happy with them. I am thinking some thread leaves, but they may not seem “sturdy” enough for this hardy plant. I do know thread leaves would be a great use of all my lousy threads I have hanging around. I haven’t broken any threads with some 6 hours of quilting – have I told you how much I love my Superior Threads?
If you would be interested in a tutorial on quilting marbled fabric, please leave me a comment and let me know. If you’ve got pictures of some marbled fabric that you have quilted, I would LOVE to see it.
Thoughts for a Thursday – Marble-T Design
While on vacation, hubby and I had plenty of time to talk about our marbling business and how we wanted to proceed. Readers of this blog know we went through some very difficult times as we had problems with marbling: nothing worked – water, paints, fabric finishes – nothing. Prior to this time we had an active business, with a mailing list of about 300 people, and a list of products that sold each month fairly well. Once the art problems hit, at the same time I changed jobs, and time became a real premium.
Fast forward to now, and I am spending lots of time reading and researching how to build our business. About two weeks ago, on the road in Tennessee, I had one of those “2 by 4 on the head” moments, when I realized that everything the internet marketers tell us we have to do to build an online business we had been doing years ago. So I have been spending time updating, revising, incorporating social media (which wasn’t around when we went online in 1998…). I have learned a HUGE amount, I have loads more to do, and most importantly, I am having fun, as well as meeting lots of new and interesting people. I am glad that I am on summer vacation right now, and I don’t need to take classes or teach any remediation, because building this business is taking a lot of time.
So what does an art business need? We have a website that has gone through several versions since 1998 when the learning curve was EXTREMELY steep. It has again been updated by our amazing web designer Suzan at Saltwater Systems to reflect new fiber work, some of our digital work, and some new products to be released within the next two weeks. It is now easier to sign on to follow our work through our newsletter.
We did a lot of work off the website way before blogs, but blogging makes it a lot easier to update and refine offerings. Plus, I like being able to write about and reflect on new work, especially as our digital marbling (TN) increases. Now on our blog, Marbled Musings, you can follow updates to the blog, as well as sign up for our newsletter.
Social media has mushroomed. I’ve been on Facebook for about two years, and I have loved getting back in touch with former colleagues and students, as well as meeting and reconnecting with other artists. I am learning about Fan Pages and am just beginning to experiment with one. If you are interested, sign on to follow Marble-T Design on Facebook. Pretty soon we will have a button you can just click.
Now Twitter….this is really interesting. My students make fun of me for being on Twitter, but I tell them I am way ahead of them in this piece of technology, especially when it comes to business. I am not always logging on with information about what I am doing, but I do enjoy the resources that are posted. Following the NY Times arts columns has led to some great artists. If you’re in to Twitter, you can follow me @ArtsyLindaMoran. (And there wil soon be a button….)
Have I made any art lately? No, and that is by far the downside to building a business and doing the necessary marketing. I worked on a few pieces before I left for vacation, and there is time next week built in for working on art. My goal is to have the business running smoothly within the next four weeks, and then I will carve out the art time throughout the school year – a tough task as any artist knows who has to share creativity time with the job that pays the bills.
I am very interested in what all of you do. Comment about how you’re building your business, what you have found that works, and anything in particular you know HAS to be done. Love to read your comments.
AND….giveaway this weekend with Blog Post 400 – I promise you it’ll be a good one!
PS – a popular post about Martha Stewart and her “marbling” – this ran a year ago as we were just coming out of our hard times marbling, and I was incensed at how she tried to put her spin on this ancient art!
A Very Busy Saturday…..
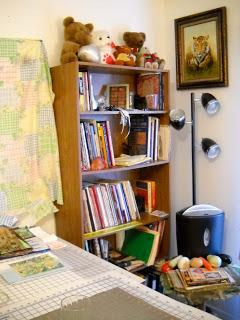
This first bookcase is by the arcadia door to the back yard. You can’t see all the bears on the top shelf – presents from hubby, since I never got stuffed animals growing up. A whole shelf to store current projects, plus assorted books and scrapbooks.
This next is the cutting table, open to use for work, with all the marbling trays and paints and combs on the shelving. It is amazing how much use we get out of this table. It was well worth the purchase…and you can’t see what’s stored underneath – stool, rubber floor mats for standing, more fabric (of course), racks for drying, and so on. The sheet is up because this serves as our wet space, and we tend to splatter when marbling.
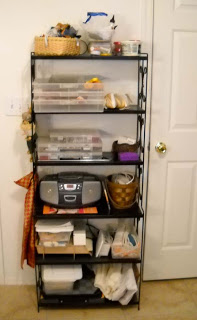
This was the first rack that got moved in here. This rack is older than our marriage; it even survived our house fire. It has been inside, outside, and repainted, and it still is useful. CD player, semi-precious stones and beads, fabrics, clothesline for fabric bowls, trays of rulers, and probably lots more stuff. I have actually gone through every container and sorted the stuff.
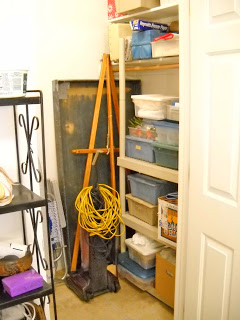
Inside the closet – our easel for displays, the large marbling tray, large ironing board, and containers of more fabric, all sorted by color, so I know what to look for.
The other side of the closet has my beginning dye supplies, more fabric, boxes of patterns, and caning supplies – hubby still canes chairs and does repairs – the guy’s been working with fiber for 40 years without even realizing it!
And the last bookcase – with more bears – all art books, marbling, books, current projects, and the like. You can see the other tiger – lots of spirit protectors around for us. The shredder and the ceramic vegetables, which will hang back outside when I know the wind is done with its gusts. Now that I know where everything is, there are no more exucses – it’s work time for me!
Licensing, San Diego, and Other Loose Ends ….
Lots going on it seems, and there are times when my head just feels so full and I don’t know where to begin. I do have some upcoming deadlines, but there are so many things to do….it seems that making lists isn’t even helping. So I have to go step by step, until I get a handle on everything happening.
First up is this fat quarter of silk, up on ebay this week. We aren’t doing a lot of marbling in our large tray, as we have just been enjoying the small work, but we are trying to set up the big stuff at least once a month, as we have some steady customers on ebay who buy regularly. You can check out this piece here.
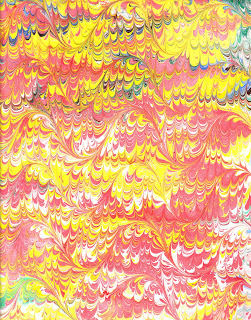
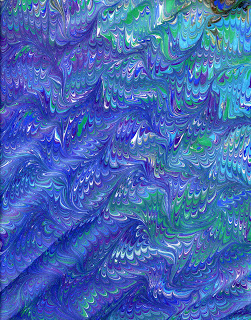
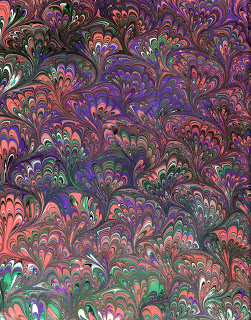
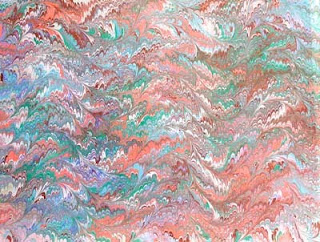
I think I am getting hooked on marbling paper. I set up a small tray this morning and did half a dozen papers. I finally was able to improve on a traditional moire pattern, which turned out great. I am trying to do more with flowers, as some of the traditional Turkish marblers do, and I had medium luck. But the piece did turn out pretty cool, with some adaptation on my part. That said, take a look –
These are available for sale. Paper 9 x 12 inches. Four sheets $10.00. Email me for more information.
Licensing is moving along. I realized today I need to start a list of what I have done so far so I know exactly what to follow up on. I am thinking that Zazzle will give me a chance to play around with images and items to prepare a portfolio for presentation. I am going to try and attend the licensing conference in June in Vegas, so I need to be prepared.
I’ll close with a couple more of the photos from our San Diego trip. I love this one – like a sentinel of Bird of Paradise – which was the main flower in my wedding photo.
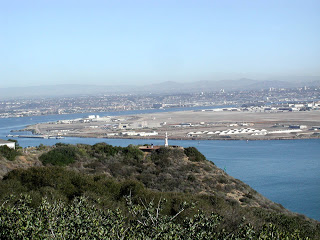
We spent a morning at Point Loma, taking in the views and visiting the light house. What a gorgeous spot – and it was a perfect blue sky, although a tad brisk first thing in the morning! This is looking at North Island Naval Station on Coronado, with the skyline of San Diego in the background.

What is like about this one is the cactus on the edge of the cliff. We usually assocaite cactus with desert, and it just seemed very strange.
More on the Mingei Museum next time.
Quilt Market and Festival
About seven years ago I had a chance to work at Quilt Market in Houston, as I wanted to explore whether or not I wanted to offer our marbled fabric at wholesale shows. I knew within three hours that it would be too much work for very little money – nothing to account for the work that goes into each piece of fabric. What I loved, however, was shopping at all the booths and seeing all the amazing quilts! I have not been able to go back to Festival, so here is a chance to see the “tour!”
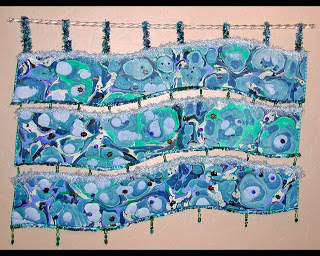
This piece just returned from a four-month stay in a juried show at the Historical Museum in Cordova, Alaska, Fish Follies. Ocean’s Bounty took five years from conception to completion. The background fabric is a poly-satin white that has been marbled in a traditional stone pattern. I originally wanted to weave strips together, but I wasn’t happy with the result. So I cut a “wave” from one end, liked the effect, and cut two more. I knew then it would be a free-hanging fiber piece, with lots of embellishments.
The quilting is all free-motion, with Sulky variegated threads, backed with hand-dyes custom for me from DownEast Dyes. I serged the edges, and then the pieces sat for another two years. In the meantime I collected threads, beads, and some stones, with the idea to embellish. There are hand-blown glass fish from Hawaii, two kinds of yarns for waves and foam, and some smaller stones. I used one of the yarns, which seemed like kelp, as hangers for the piece. I used a plexiglass rod for hanging, with a series of cup hooks to balance the weight of the piece.
Each of the waves is connected to the other through a series of glass beads of different colors. Believe me, it was difficult getting the pieces even and hiding threads from the beads. It is heavy, but it is a stunning piece, if I say so myself! The piece is available for sale, so email me!!
And join the fun – just click the pic to the top right of this post!!
Sunday Sampler
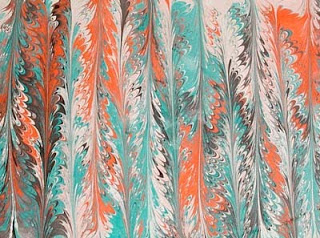 It’s Sunday, the end of one week, and yet it’s the start of another – Sundays during the school year are spent doing lesson plans and marking papers – I’m usually too tired to do anything on a Saturday but relax and sleep. Housework? Not on the agenda…..hardly ever…..
I’ve been trying to think of something earth-shattering – or at least exciting – to write about, but nothing comes to mind. I haven’t hemmed pants yet (only three weeks since cutting them), done any sewing or handwash – I’ve been spending most of my time sleeping, trying to get rid of whatever has hit me yet again.
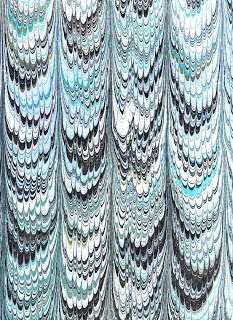
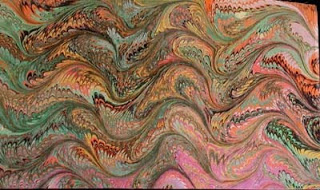
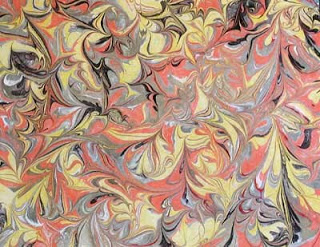
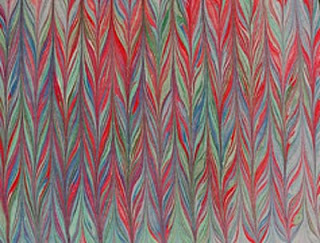
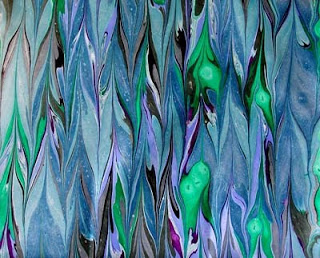
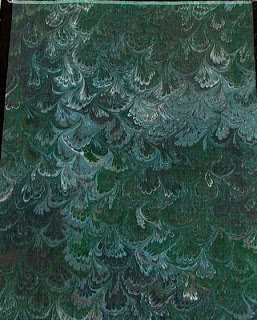
I need to look at some of the work we have created, so I think I’ll just load up some eye candy….
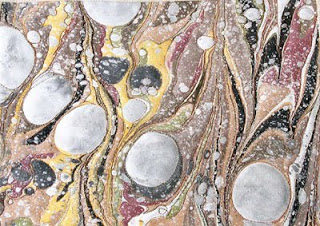
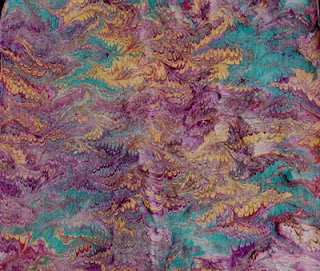 Really scrumptious white denim as the base.
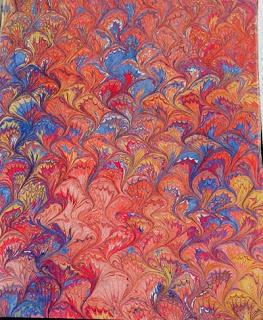
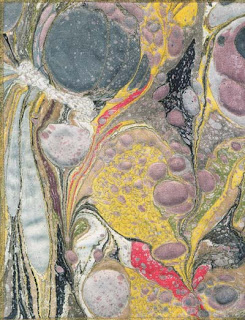
More denim…
 Denim again…
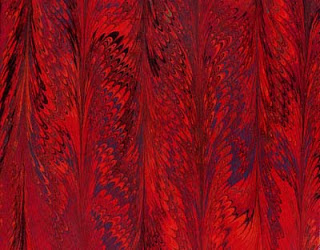 Red silk….
Art – It Feels So Good!

The kids and I were definitely on the same page today. They didn’t want to work, I didn’t want to work, they had lives outside of school, I have a life outside of school….so we talked about not giving up when we still have work to learn. I took them through everything they had accomplished in algebra 1:
*making a table, a graph, and an equation for a linear function;
*making a table, a graph, and an equation for an exponential function;
*making a table, a graph, and an equation for an absolute value function; and
*making a table and a graph for a quadratic function.
THe only thing we really have left to do is solve quadratic equations through factoring and the quadratic formula. I think they were pretty impressed with themselves, and we had a great class. No more whining – we were in this together!
But – I still wanted to get home and work some more on the gecko from yesterday. I still felt there were a lot of ideas to try in Photoshop. So you can go back an entry and see the original image – and then look at this new one -lots of embossing, and I learned how to change the shadows from a default black to a color within the marbled pattern. I continue to be amazed at the amount of texture the marbled fabric gives the design.This one looks like a piece of copper. Another “wow,” and I foresee a series with the gecko, and maybe a few other common images of the Southwest.
Don’t forget our CONTEST!
Where I’m Going, Part 1

I knew, early on in marbling, that once I saw Photoshop and some of its possibilities, that there would be much more I could do with my marbling. The problem was learning – both improving my marbling skills, my quilting skills, and figuring out Photoshop. I am just now beginning to feel like I can make a mark in digital marbling/mixed media. I am looking forward to creating more this summer and getting a specific website up, getting CDs out to galleries, and just having fun with Photoshop.
That said, check out the Cordova Museum in Cordova, Alaska. I have two pieces with Suzan that were juried into the show, so more for the resume, as well as some validation. There are some very interesting pieces in the show. No fiber, so I really need to continue with the Glacier piece for next year.
More coming……

