Archive for the ‘indigenous images’ Category
Monday Marketing – Preparing Collections
![]() So one of my goals over these ninety days is to look at the pictures I have developed over the last couple of years, analyze the licensing materials, and determine ten collections that I can develop. According to the research I have been doing, I am going to need twelve to fifteen different collections. I have some ideas, but I need to get them organized, set up folders, look at what needs to be enlarged, adapted, and so on. I also want to see what can cross over to Cafe Press and potentially Zazzle, so I get as much mileage from some of the pieces.
So one of my goals over these ninety days is to look at the pictures I have developed over the last couple of years, analyze the licensing materials, and determine ten collections that I can develop. According to the research I have been doing, I am going to need twelve to fifteen different collections. I have some ideas, but I need to get them organized, set up folders, look at what needs to be enlarged, adapted, and so on. I also want to see what can cross over to Cafe Press and potentially Zazzle, so I get as much mileage from some of the pieces.
Whew. There’s a lot there. One of the things I learned in the lynda.com classes was about Bridge – a program in Adobe Creative Suite that let’s me easily look at all my images and organize them easily – something I really need to do.
Now to get started….and DON’T EVEN THINK OF COPYING THESE IMAGES – ask if you have something in mind.
Botanicals: I have a LOT of photos that could go for calendars, prints, cards. Interesting – as I’m writing this, I realize I really haven’t given much thought to WHAT these could adorn. I have been through numerous stores, looking at design, but I’m not sure I have really thought about extending these pictures into more than two items. Hmmm. Food for thought.
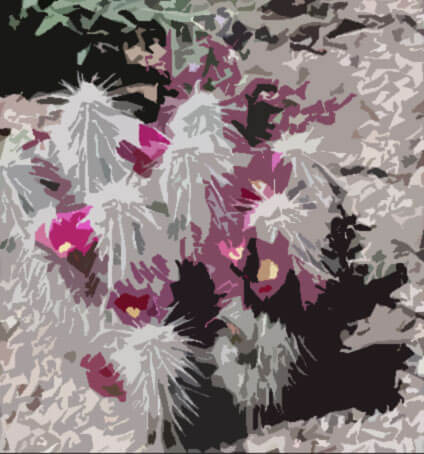 (don’t even think about copying….)
Black and White: prints, cards, kitchen items, gifts, fabric designs.
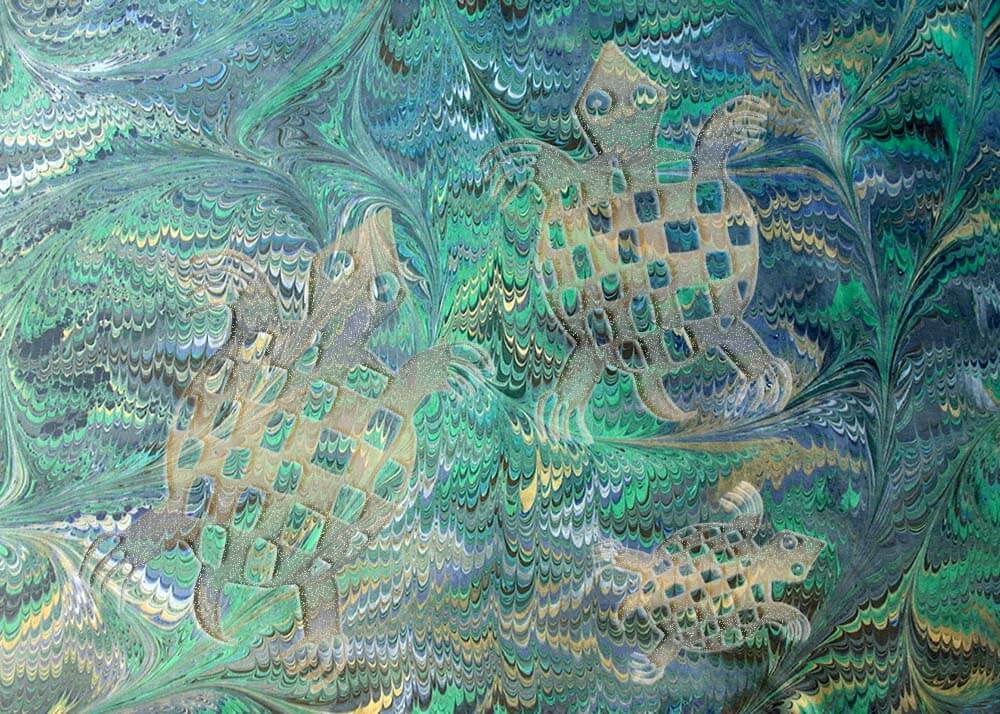
Indigenous images: I love taking regional designs and seeing how I can interpret them through marbled fabrics that have been digitized. This would make good regional products. Cards, calendars, prints, fabric (if the repeat works), gifts.
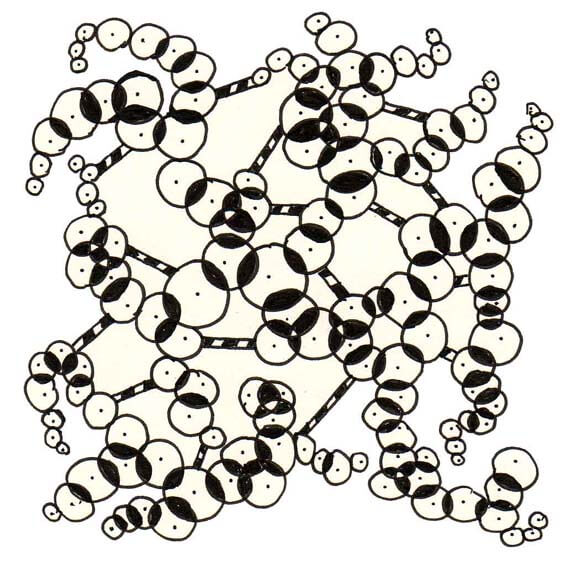
Art Deco Revisited: taking images in the public domain and embellishing them with marbled fabrics that have been digitized. Cards, calendars, prints, fabrics, gifts. The designs are from a public source, in this case the Dover book on Art Deco Designs.
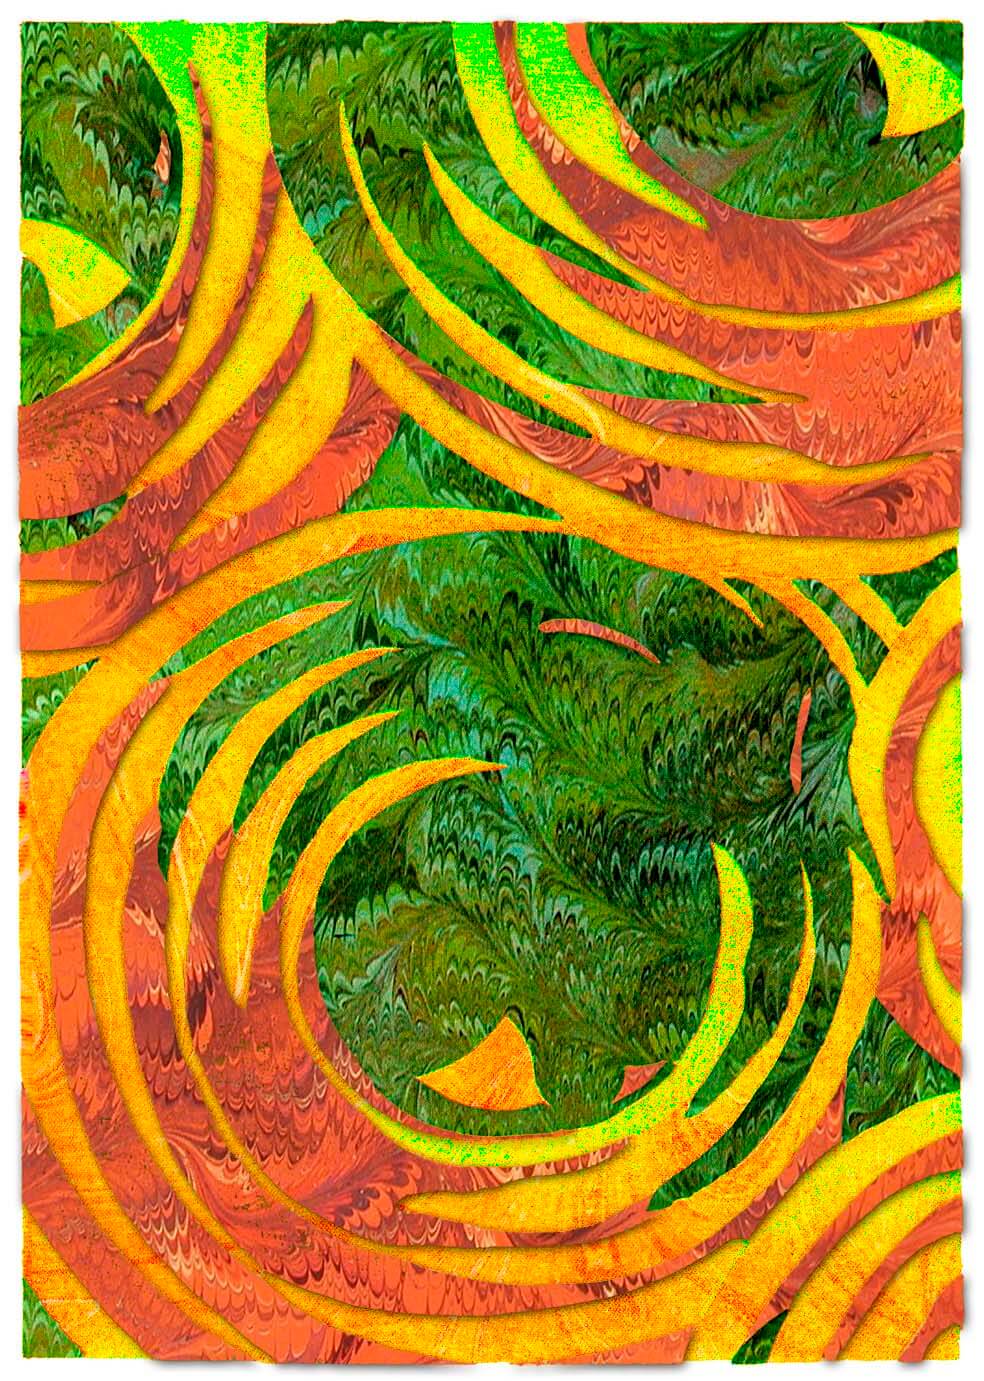
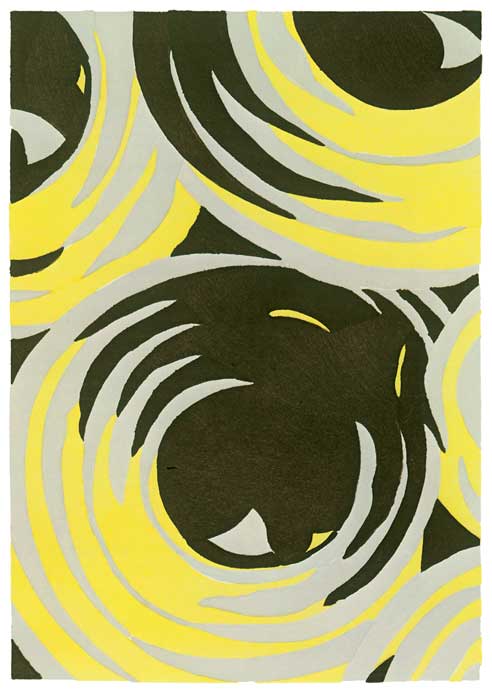 Original With the digitized marbled fabrics
Abstracts: digital manipulation of marbled fabrics to create a new design, in this case “Moons.” Prints, cards, calendars, potentially fabric, gifts.
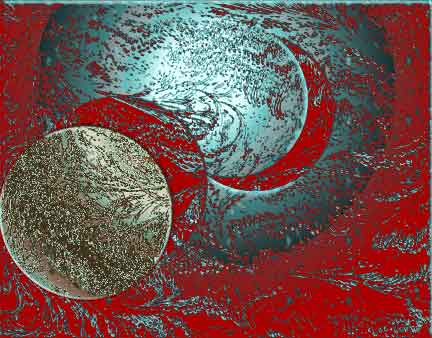 Inspirational: Taking either marbled patterns or images from nature and creating inspirational/motivational prints and cards, t-shirts, calendars.
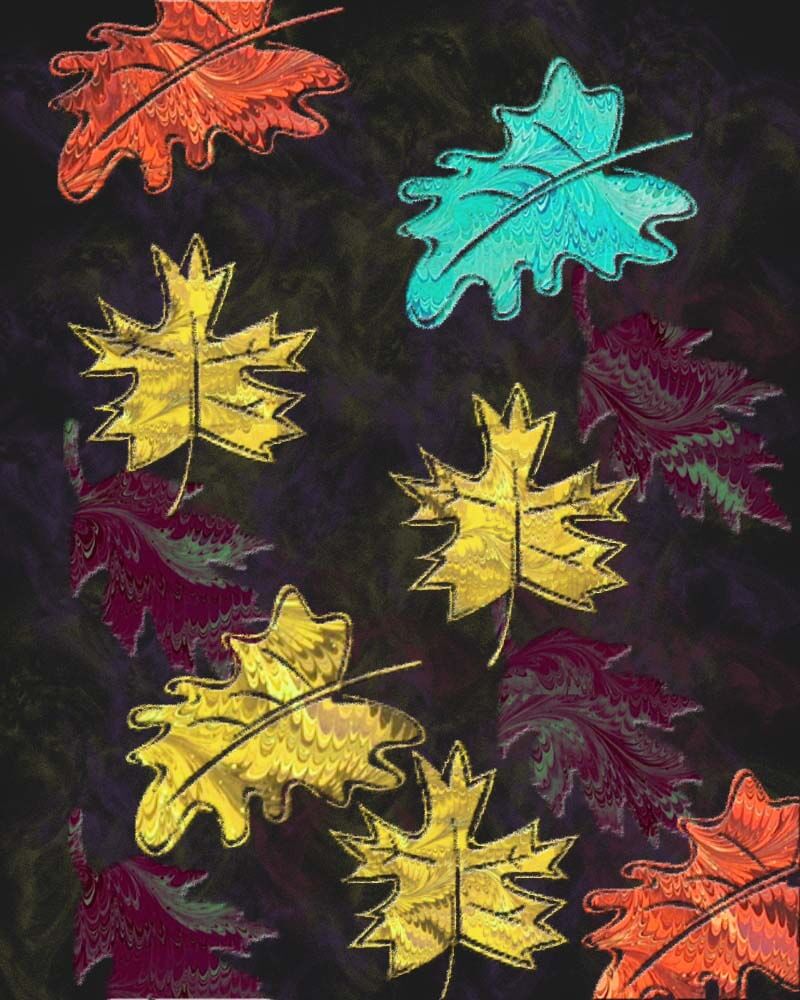
Seasons: digital marbling, as well as nature images that could be used in fabric, cards, calendars, prints. Pictures here could overlap other sections.
Nature: Places around the country and the world, cards, calendars, gifts, prints.
Southwest Designs: since I’m in the southwest, and I know how popular many of these images are. This one is already set in repeats. Lots of fabric possibilities here, as well as simple gifts.
Holidays: (valentines, etc) Got nothin’ here, and I know companies will want to see holidays, so I have a great place to start.
Interesting. That’s potentially ten collections. In my mind there were more, until I actually started listing them. Next steps: take this list of collections and go back into the stores to see how else these prints could be used. Stay tuned for the progress here.
And if you’re looking for resources, I regularly read Tara Reed, who writes an art licensing blog. Also, I have purchased materials from her about licensing (disclosure: if you purchase anything through this site, I do receive a small commission as part of her affiliate program). Also, her “Just Ask” calls are filled with great information from a wide variety of experts in the field. It’s another resource for you. July 2011 Ask Call Replay
China – The Ming Tombs
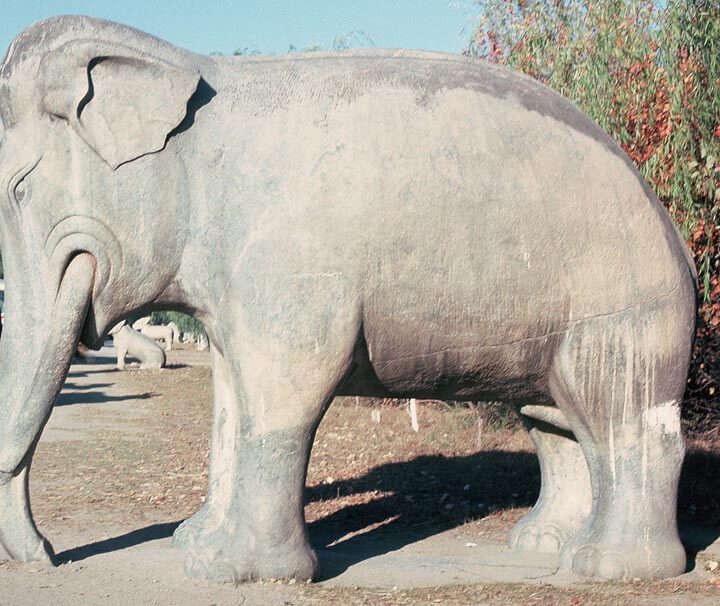
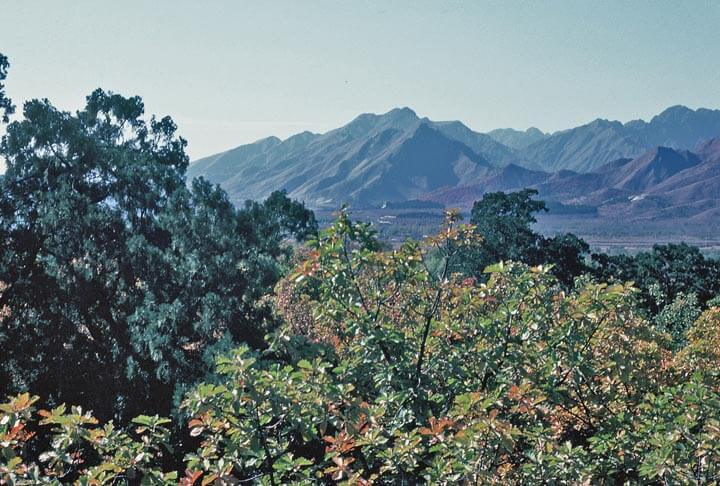
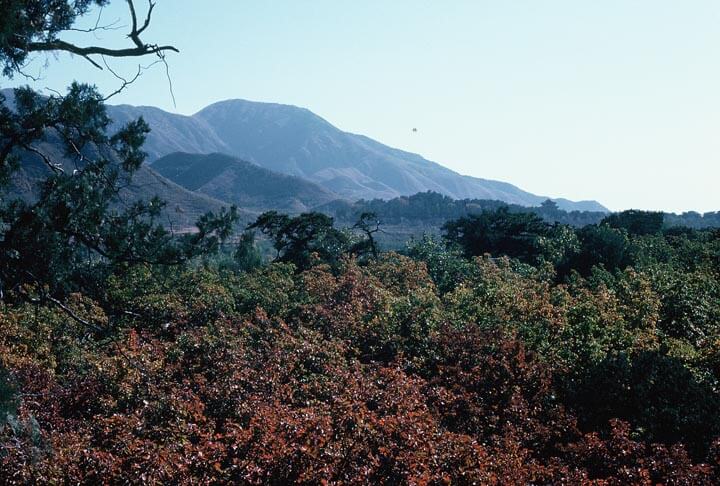
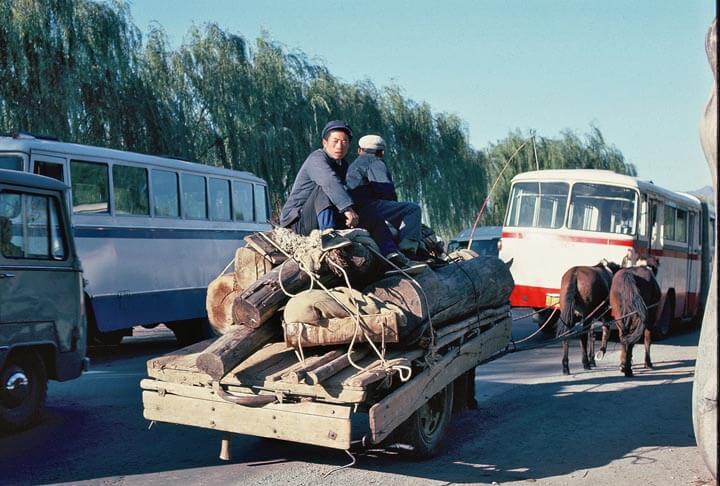
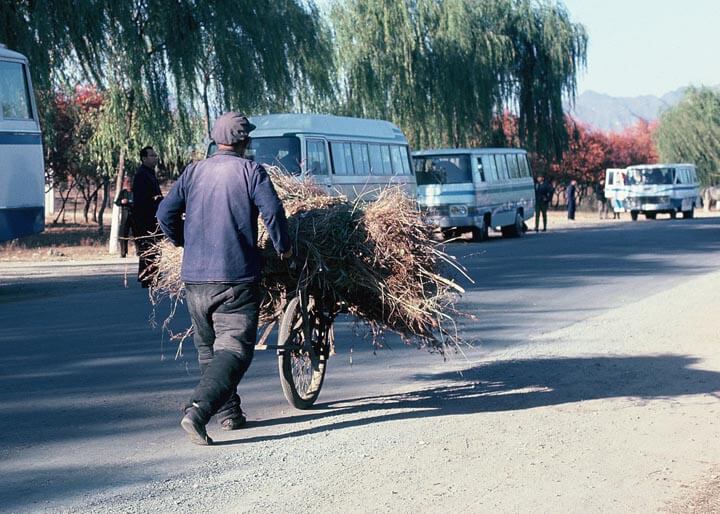
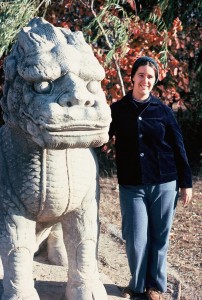 Ah, the part of me that is into cleaning and organizing is having a ball with undiscovered-in-years stuff! As part of my goal of getting all my slides to CD, this last bunch that went off are all of the area around the Ming Tombs outside of Beijing. I think we spent the morning at a museum and then took the bus ride to the tombs and had a packaged picnic lunch before touring the tombs. It was a glorious late October day, and autumn was in full color in the countryside. I actually have very few pictures of inside the tombs themselves, because, after all, they were tombs. I was taken with the stories and the countryside, so that’s what I focused on. The main story is that the tombs were discovered by accident by workers digging in the area. As you will be able to see from the pictures, this was a major tourist 30 years ago, and I’m sure it still is. The Clay Army hadn’t been discovered yet, which gives me another good reason to go back to China someday.
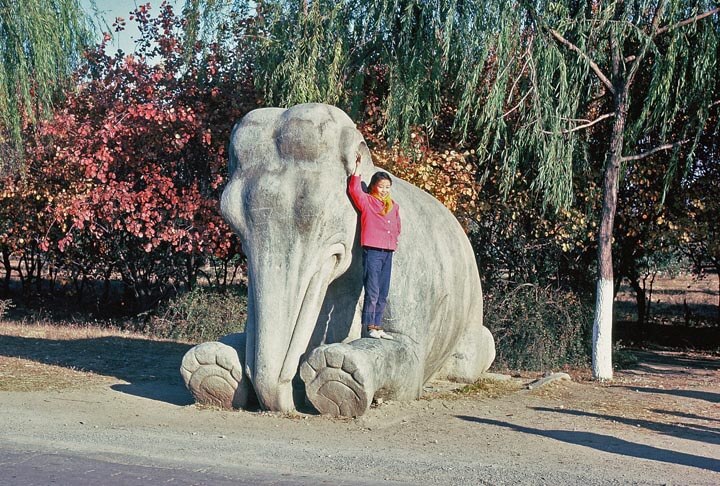
The statue I am standing by is one of many that lined the road to the tombs. These in themselves were gorgeous works of art. If I had been sketching at the time, I don’t think you would have gotten me away from them.
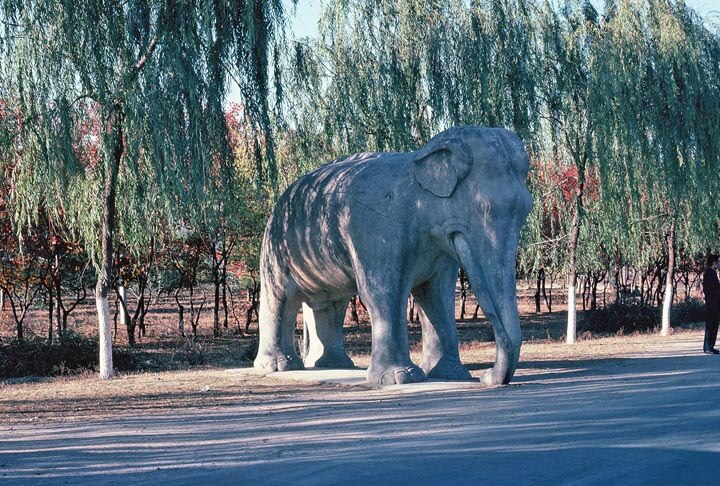
This next picture shows the line of statues – look under the elephant’s trunk. Keep in mind they lined both sides of the road.
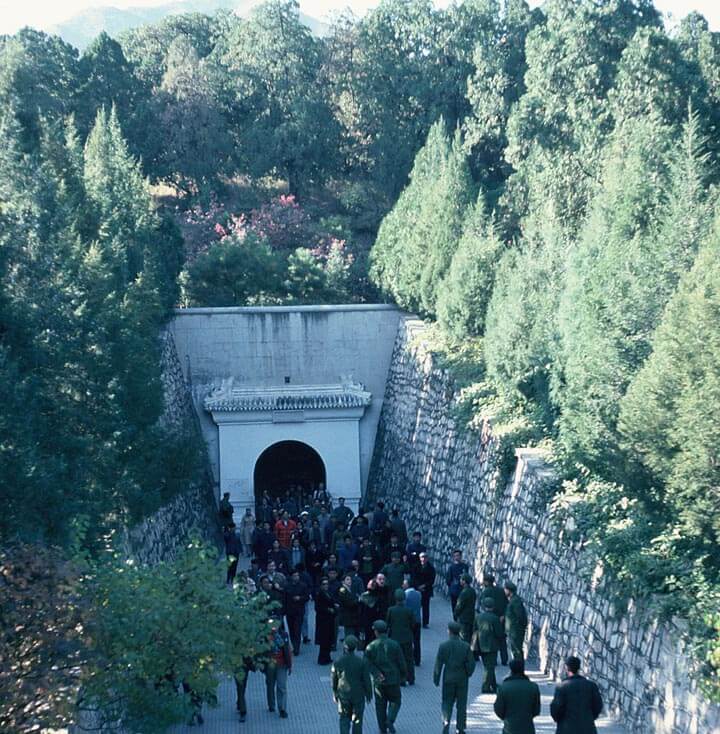
Notice the similarity of drab colors, except among foreigners. The green in front is the Chinese Army visiting. This is the entrance to the tombs.
The gorgeous autumn countryside.
Again, old meets new.
Wednesday’s Work-in-Progress…
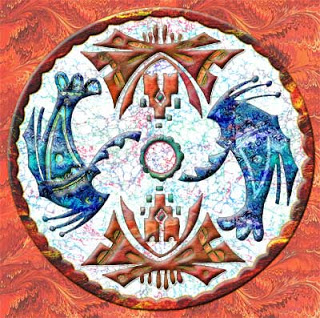
I talked about how I created this piece, and you can read about it here. But for the last two weeks I have been thinking about that light background and I haven’t been really happy with it. The eye went to the light and kept going back to the light – and I didn’t want that. I wanted focal points to be the interior images. So I decided to see about a darker background, and Voila! I’m not sure it’s finished – I think I need to look at it on a couple of different monitors – plus I think I’m going to have it printed on a tote bag from VistaPrint.
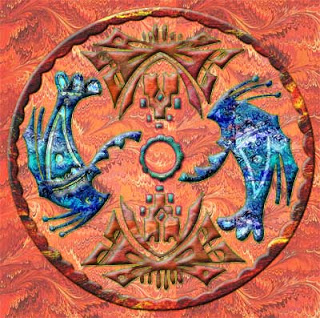
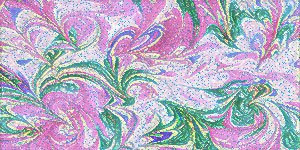
I am so enjoying working on these – some of the pieces just fall into place. I have started scanning some more marbled paper to expand the number of patterns I have. I’ll post those when I have them all scanned.
In the meantime, last weekend I worked with another native image:
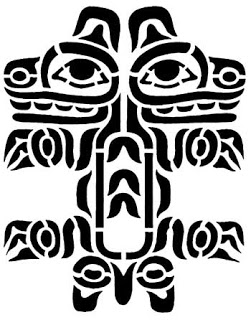
I am really taken with many of these indigenous images, and I like the use of the marbled fabrics to add a huge amount of texture. From here I started adding marbled patterns for colors. I didn’t do anything with texturizing until I was happy with the colors. What you see here are the filters and blending modes after all the colors were in place.
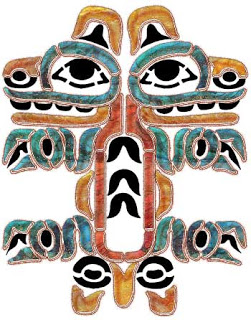
More color –
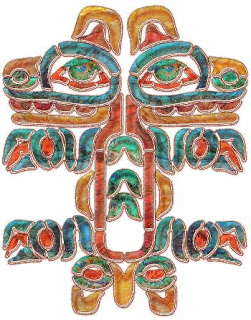
The background was where I really started to learn a few new techniques. I finally figured out how to apply filters to just the background, as opposed to elements within the design. What I particularly like about this background is how it makes the shadows (that look clear) turn dark and look like cording.
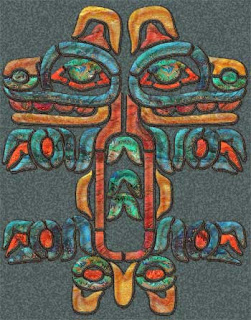
I would love to hear your views on how these are shaping up! Feel free to comment.
First time at Marbled Musings? Check out the overview.
Creativity and Photoshop – A Great Weekend!
In the midst of a lot of school work, writing, and phone calls, I had time to work on another indigenous image – this one of the well-known gecko of the Southwest. We have numerous in our backyard, and they’re quite fun to watch doing their “push-ups” in the sun! This first is the original image in black and white –
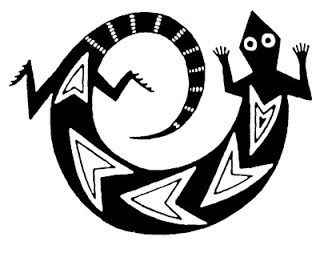
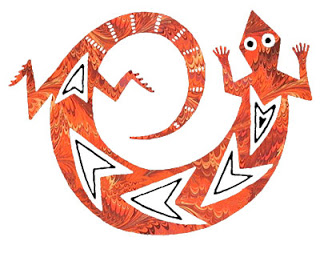
Then I looked through new patterns I created and settled on the orange marbled pattern. Lots of “heat” to match the Southwest, and the detail is so perfect – nice and small, almost like skin.
Then I started with embossing – give some life to the gecko. This was another image that fell into place; I seemed to know exactly what to do – and even more importantly, HOW to do it.
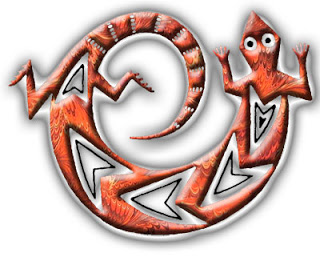
Then I went with my gradients – which I love. I have a couple of favorites – the bronze/copper one being the one on this. I tried all kinds of filters and adjustment layers, and finally the gecko said “enough.”
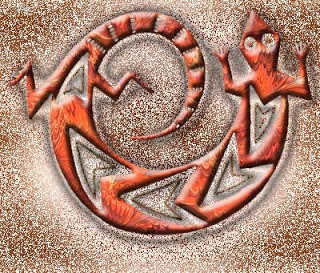
I’m very pleased with the final result.
And – I finally – last night after nearly 10 years – realized how to scan fabrics to create a quilt through Photoshop. Very cool!
Creating – Part 2

So after some errands, and a short time outside relaxing and reading (which I haven’t done in months), I went back to Photoshop, and things flowed wonderfully. This image is from the Cochiti tribe of the Southwest. Once I realized I hadn’t put pieces on individual layers, I was able to do a lot more with manipulation. Also, every background that you will see is marbled fabric. A few of the fabrics have been lightened, or hues changed, through Photoshop.
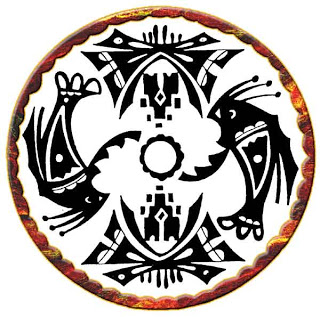
This first shows the border. I played around with embossing and a small stroke to give the border some good dimension. The stroke is done in a color sampled from the marbled fabric. It always amazes me what Photoshop can do.
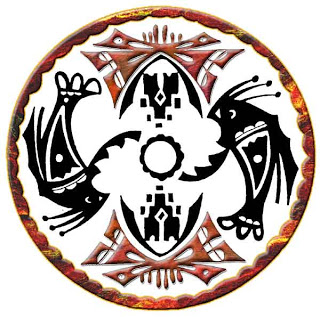
This second looks at two of the main images, done with a free-form marbled pattern. Lots of embossing, shadows, some stroking, There’s a wonderful “look” to these – very earthy.
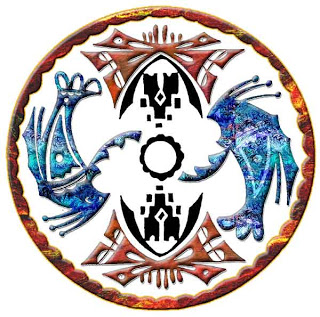
I went with a watery marbled pattern for these two, as well as some of the same layer options as above. The pattern has been lightened for the shadowing inside the figures.
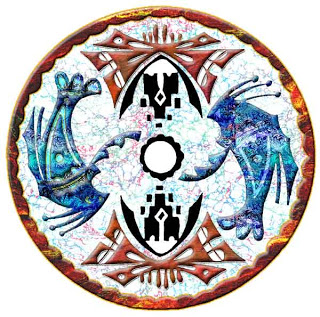
I knew when I started I wanted some marbled pattern for the center, if not the whole background. This is the Italian Vein marbled pattern lightened so it doesn’t overwhelm the foreground. Once it was there, it looked perfect.
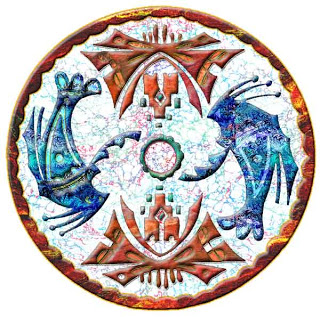
I finished off all the other little “openings,” for lack of a better term. I lightened some pieces, trying to get as much depth and texture to the whole piece. Then – I played around with the overall background. I wasn’t adverse to the white, but I wanted to see what else would work. Black was too dramatic – it seemed like the eye just wen to the black before the design. I chose a large orange pattern I had scanned, then lightened it a little, so the border would still be prominent.
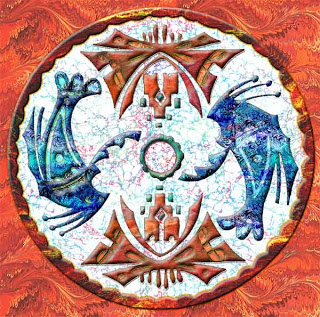
To say I’m pleased is an understatement. This meets my “wow” criteria. I tried a few other tricks in Photoshop – ready for some new ones. And – these pics don’t even begin to do justice to this piece!!
