A UFO Finally Finished!
![]() About three years ago (I date time from where I remember living while making this piece) I started what I called my “forest quilt,” as a result of Stripper’s Club, at my local quilt shop. The quilt looked masculine, so I figured it would be good for hubby. I got the top done in about a month of working on it school nights…and then it sat, because I just didn’t know how to quilt it. Didn’t want to do stitch-in-the-ditch,” and I just couldn’t imagine stippling the whole thing.
About three years ago (I date time from where I remember living while making this piece) I started what I called my “forest quilt,” as a result of Stripper’s Club, at my local quilt shop. The quilt looked masculine, so I figured it would be good for hubby. I got the top done in about a month of working on it school nights…and then it sat, because I just didn’t know how to quilt it. Didn’t want to do stitch-in-the-ditch,” and I just couldn’t imagine stippling the whole thing.
This past January I started the Free Motion Quilting Challenge with SewCalGal. I have learned SO much! From the very first pattern of leaves, my skills have grown by leaps and bounds. When I made my list of unfinished projects, this was on it. When I finished the last table runner for my second mom, I decided to work on this, because now I had a bunch of ideas for what to do in a quilt with a lot of straight lines and ninety-degree angles.
Before I actually started the quilting, I read Karen McTavish’s book of McTavishing, which I got for my birthday. I really liked what she said about adding texture to the quilt by using threads that are thin and blend in with the background. So….Bottom Line by Superior Thread in the bottom, and a light and dark Bottom Line for the top. I decided on a rosette (a variation of a feather) for each of the centers, and partial rosettes for the partial blocks. Along the way of quilting this large quilt, I got very used to moving it through and around the machine. One of the best lessons in free motion came early on, with the advice to learn how to do your pattern sideways and upside down. The only place I had to wrestle and turn the quilt was with the straight lines in each block.
Frances Moore leaves, Angela Waters swirls, Diane Gaudynski feathers/rosettes, and about 15 hours later the quilting was done.
The back looks amazing, if I say so myself. And….my border is to die for! Love the feathers, done with a Rainbow thread also from Superior. The quilt overall was a lot of fun to do, as I had a lot of variety within the quilting designs. The safety pins worked for basting, and I think I only had two tucks in the whole backing. I used a thin batting, and I’m so glad, because the quilt is actually pretty heave. It’s hanging on the wall right now, because since it’s still 90-plus degrees, I’m still weeks away from needing it to stay warm.
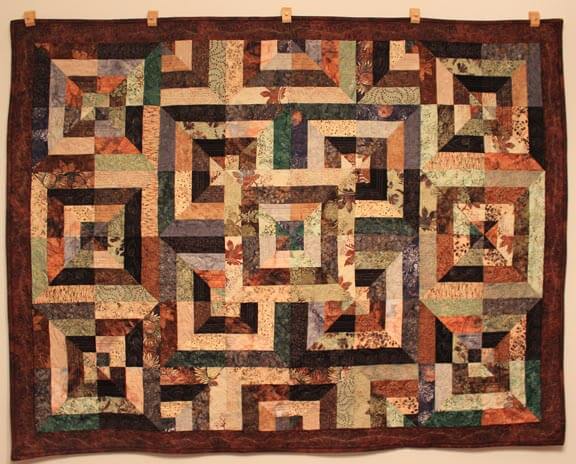
Here it is. For no blocking, it hangs pretty straight.
You can see the texture from this angle. I was looking at it the morning after we photographed it in the dining room, and with the natural light coming from the right, I could see the quilting. Lesson learned for the photography in the future.
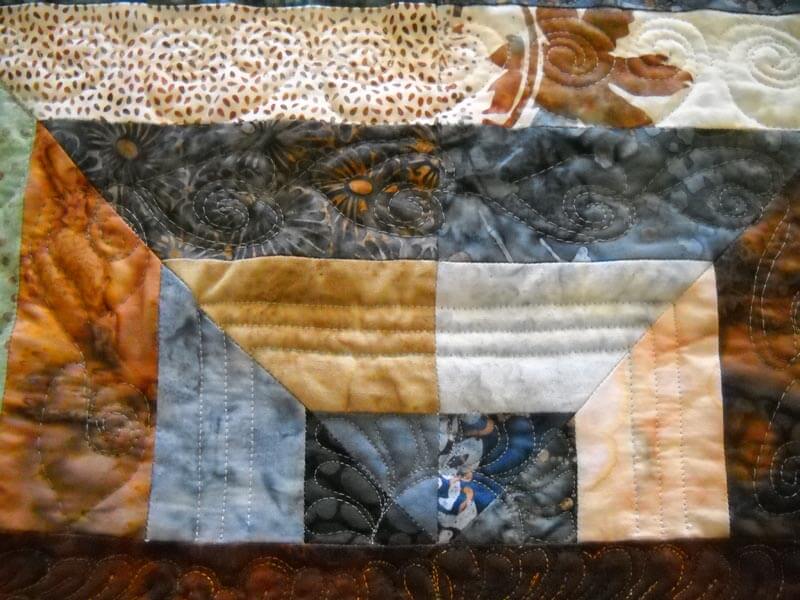
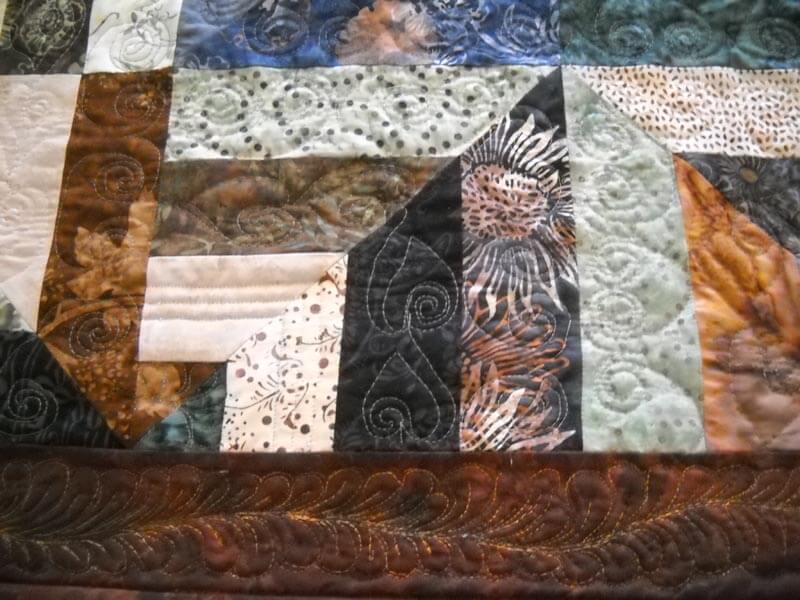
Close-up of one of the edges. You can see the partial rosette.
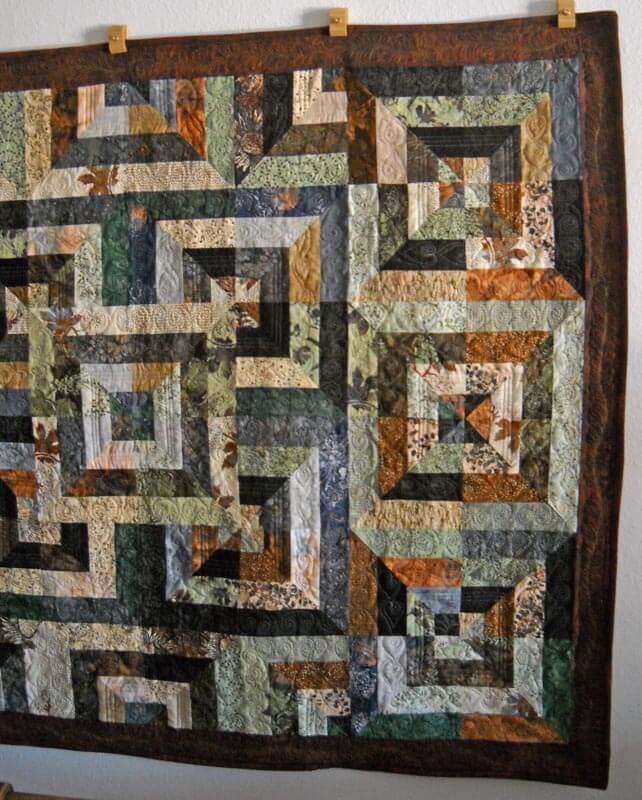
The border – all the way around – and it really didn’t take that long. I LOVE LOVE LOVE the border!! NEVER thought I would be able to do feathers!
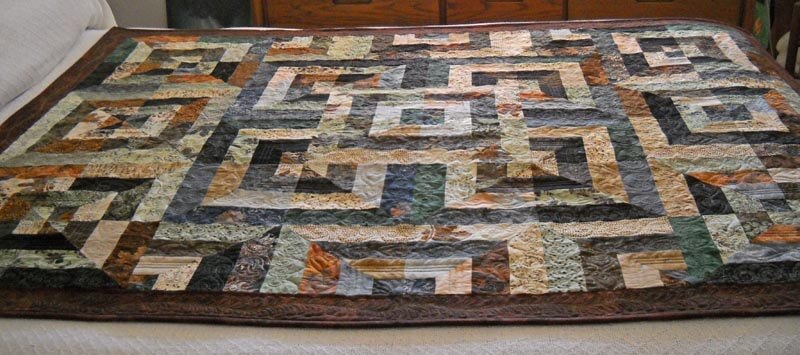 On the bed – another look at texture.
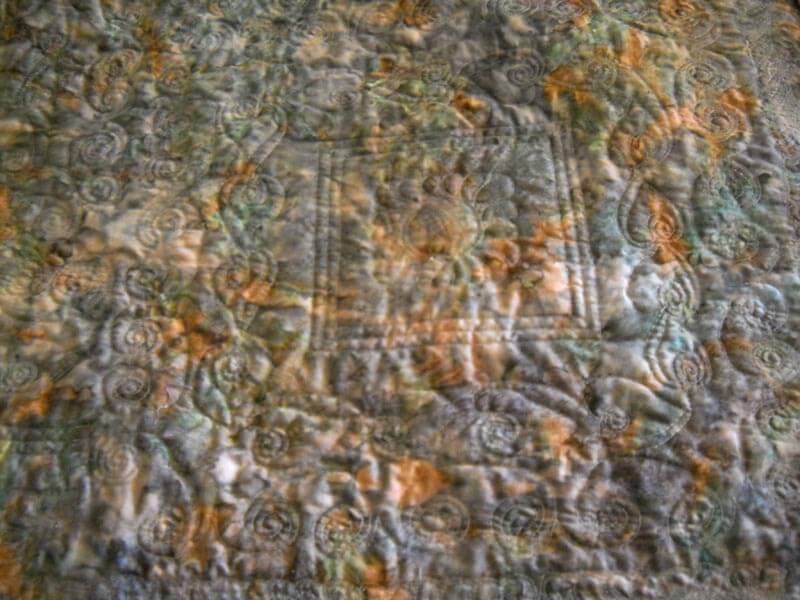
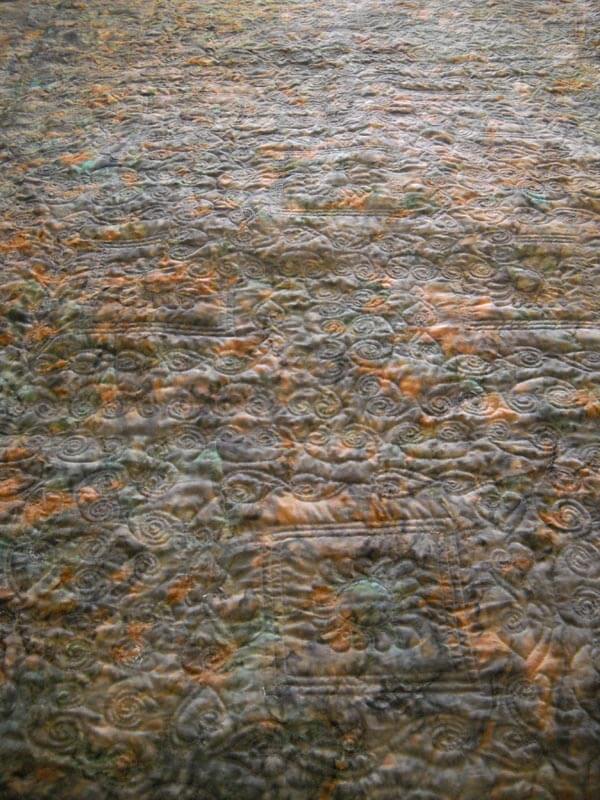
The back….
…and the back again…..
Learned so much! Thanks SewCalGal for this amazing year of challenges!
Absolutely beautiful! It is very exciting that you have learned to do this level of FMQ in just the last year. Impressive!
Absolutely stunning quilting! Congratulations on completing this UFO with such great style! We’ve all learned so much during this challenge, it has been a great help to me also.
Thank you, Joan!!! I think being retired is actually paying off for my art!
Thank you, Pat! I’m having a really great time, and I love seeing what everyone does!
Just a beautiful quilt. I love the muted colors in batik and your quilting is just wonderful. Congratulations on finishing such a wonderful project.
Thanks, Jeane – I’ve learned so much, and I really enjoy seeing how others have approached the patterns!
Wow, that is so good! Your work is great, I think it’s such fun to use different designs in the same quilt. The feathers look great, I am very impressed!
Thannks, Cathy! I too really love the feathers! ANd using the different designs was really freeing. (seem slike I can’t correct……)
I love your quilting! If you and I lived closer we would be best friends! I am also doing the challenge with sew cal gal and have learned so much. I have been taking online classes with craftsy.com also. That is the best! I live in Iowa FYI!
Hey Shelly – thanks! I need more quilting friends, and then you could help me with marbling. Let me know what you think about Craftsy – I’
m thinking of something after the first of the year with Cindy Needham.
very nice quilting…and way to go on getting this UFO to FO…the FMQ challenge has been so wonderful we are all so much better then we were when we started…
tHANKS, SHERRY! I am amazed at how we have grown in this short a time. The challenge has been fabulous!
What a beautiful quilt and all of the different types of quilting are perfect on it! I use Bottomline thread all the time too! Thanks for sharing.
Freemotion at the River Linky Party Tuesday
Thanks, Connie! I’m really liking Bottom Line for the texture…need to order more colors!
Wow – you did an excellent job of quilting that beautiful quilt!!! Congratulations on the finish!
Thank you, Teresa – only two more big UFOs to finish!!