Archive for the ‘quilt books’ Category
Beginning Free Motion Quilting
Beginning Free Motion Quilting – Yes, You Can!
4 hours, $40.00 (plus 1/2 hour working lunch) 10:00 – 2:30,
February 11, Saturday
Quilting With Color, Williston, Vermont 802-876-7135
Now what? Your quilt top is done…send it out or quilt it yourself? You can free-motion your own quilt top, no fancy domestic or long-arm machine needed! YOU CAN do it all yourself – it just takes practice! From thread choice, basic supplies, setting up your machine, to learning basic FMQ patterns to build other designs on, you will learn the happy sounds of your machine as you practice six basic patterns on fat-quarter sandwiches: straight lines (without a ruler or walking foot), various size stipples, pebbles, basic feather, grid work, and a leaf/vine shape.
You supply:
* sewing machine in working order, ability to lower feed dogs, instruction manual (I can’t stress enough how you need familiarity with your machine and lowering the feed dogs)
* free motion (or darning) foot; NEW #80 0r #90 machine needles (#90 might be easier for you if you want to use fancy threads)
* a selection of threads, from “old and cheap” to “fancy and expensive” (cotton and poly are welcome)
* low-loft cotton (or 80/20 cotton) batting in fat quarter size for two quilt sandwiches
* 4 fat quarters (18 x 22 inches), one for the top and one for the bottom of two quilt sandwiches (not fancy fabrics, just for practice, and muslin is fine – tone-on-tone or solid color is best for getting started
* scrap paper and pen or pencil
* scissors
* marking tools (fabric marker or chalk
* ruler for marking grid lines on the fat quarters
OPTIONAL: small white board and marker for practicing designs; a machine extension table (you will be happier with one…), Machingers quilting gloves.
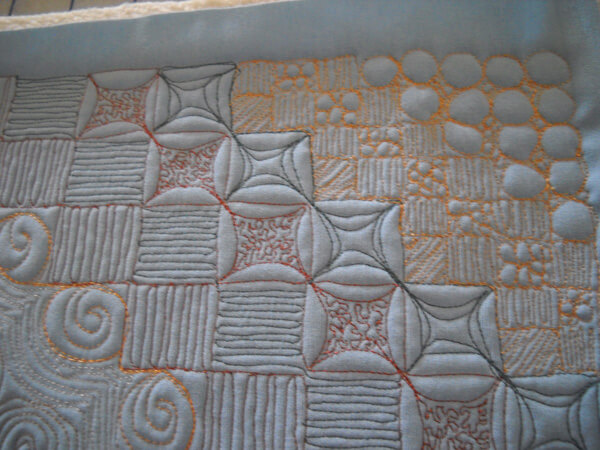
One of many samples looking at how you can add free motion quilting to your work….

COME JOIN US!!
The Hum-Purr of My Machine….
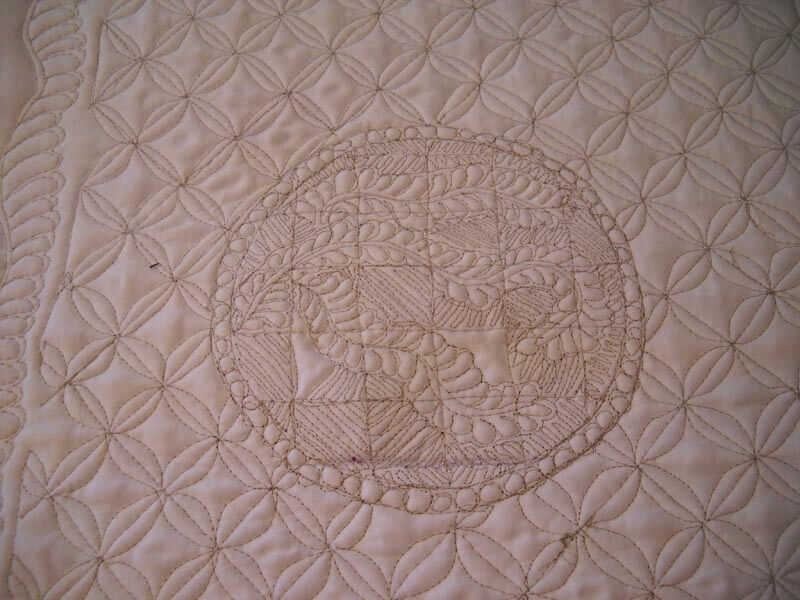
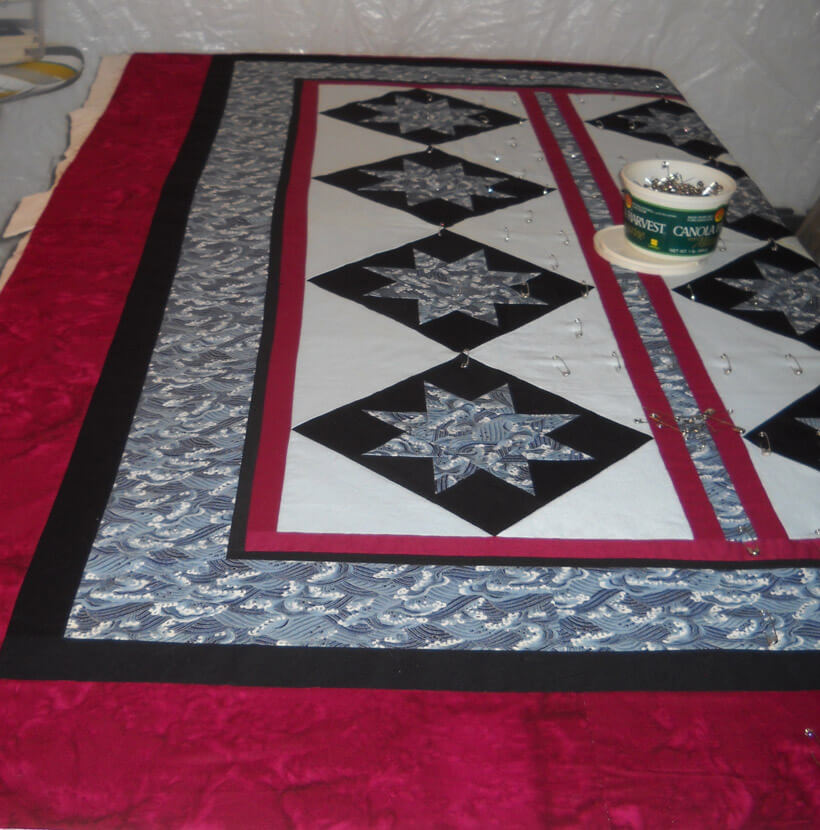
Thank you, Cindy Needham, for talking about the hum-purr your machine makes when you are in the groove! And I have been in the groove this past month – another quilt under the presser foot, this one a 16-year-old top that I am giving to my yoga instructor. I haven’t done anything with the top prior to this, because there was an area I really wanted to do feathers in, and I wasn’t willing to hand-quilt them. So now that I can do feathers in free-motion, sounds about right to finish this top…..except the area I was thinking really needed something else…..so I did a grid pattern, and I LOVE IT! It makes the traditional top look much more modern.
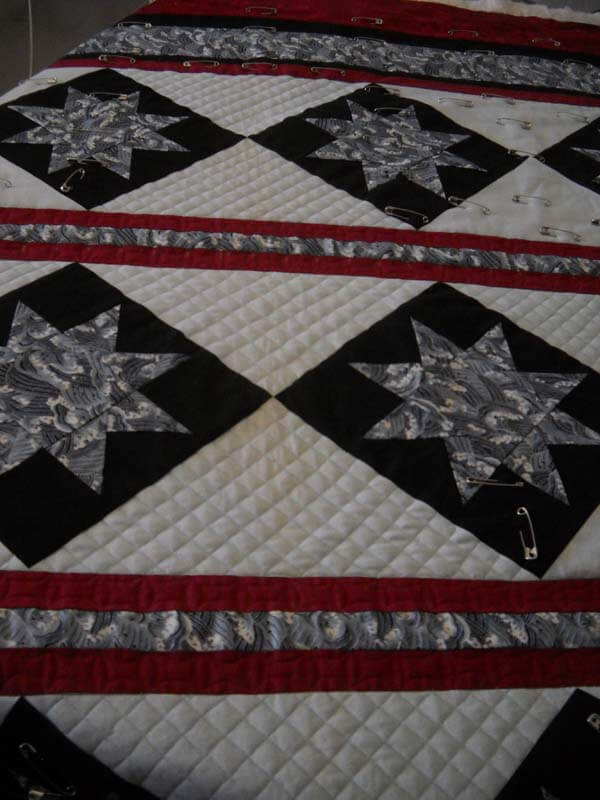
Below is the quilt being basted – my safety pins have gotten quite the workout in the last few months! The quilt top originally ended with the blue wave border, but it wasn’t long enough to cover a chilly body. So I added another black and wine border – lots of ideas for quilting those – and yes, I will have feathers somewhere on this quilt!
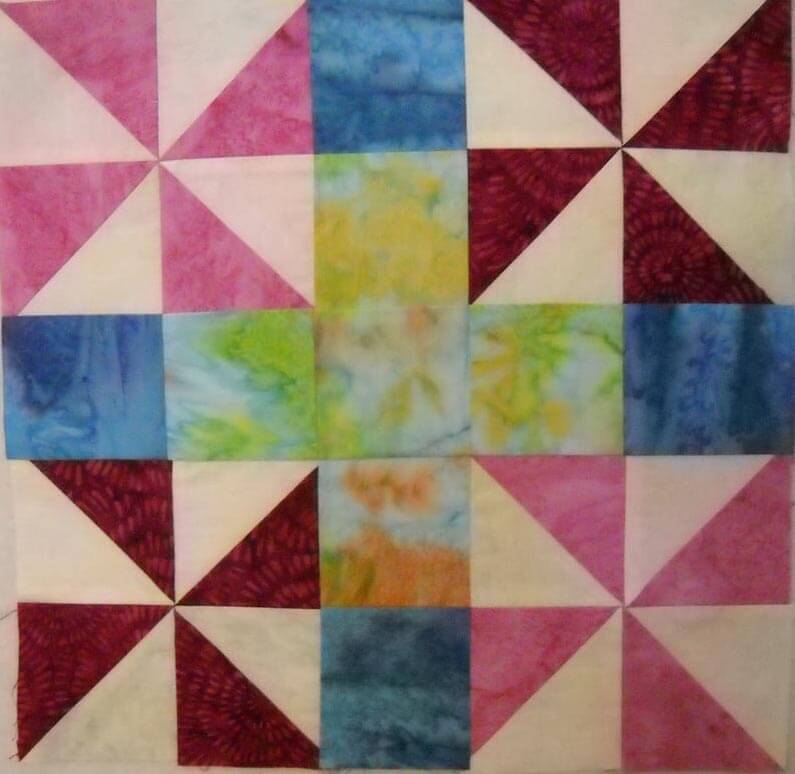
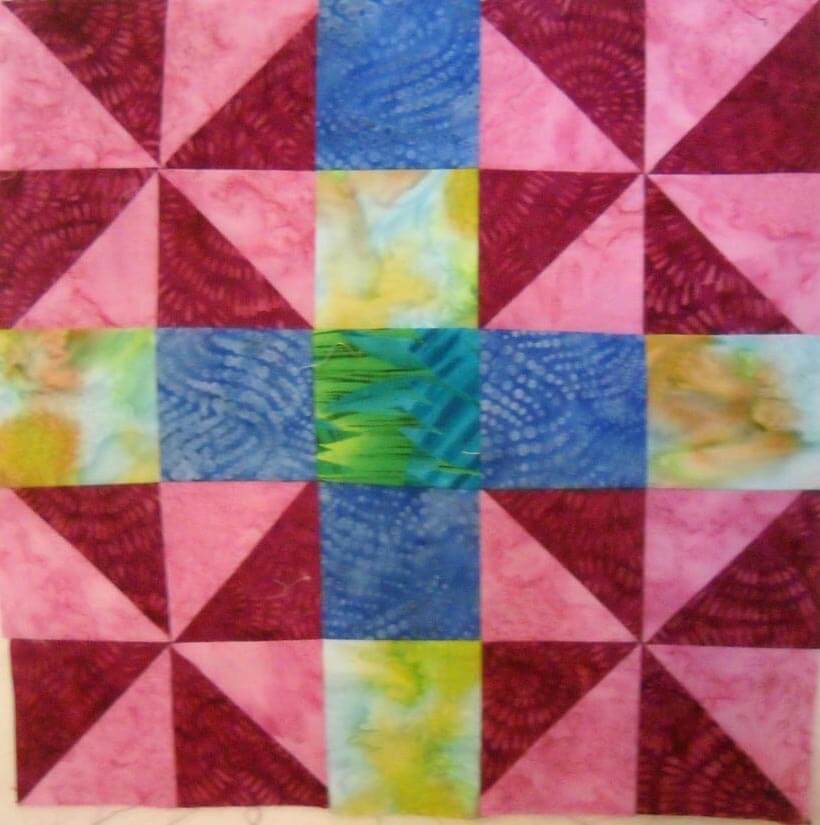
Before I started in on this, I continued with the BOM from our local quilt store, four months to catch up on, and I’m pleased with how they look. Based on progress I’ve made with the amount of sewing over the last couple of months, I would probably do some colors differently in the original blocks. Here’s the new ones:
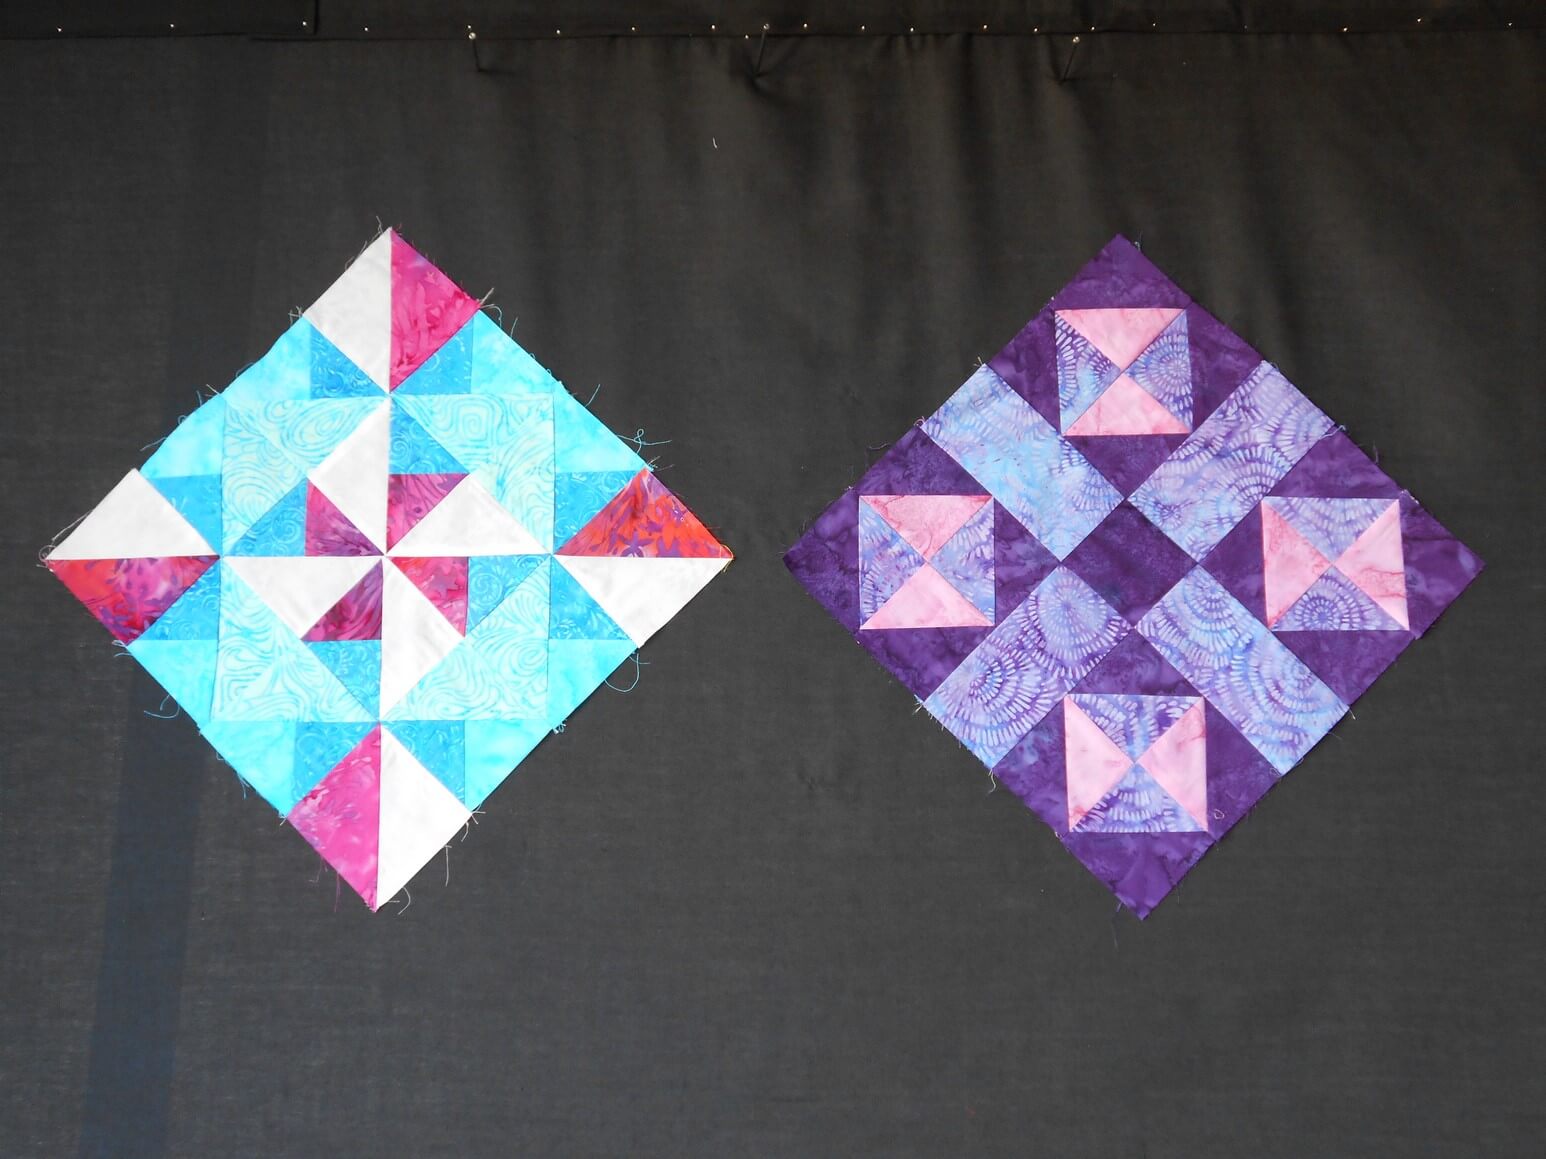
Photography really isn’t doing them justice!
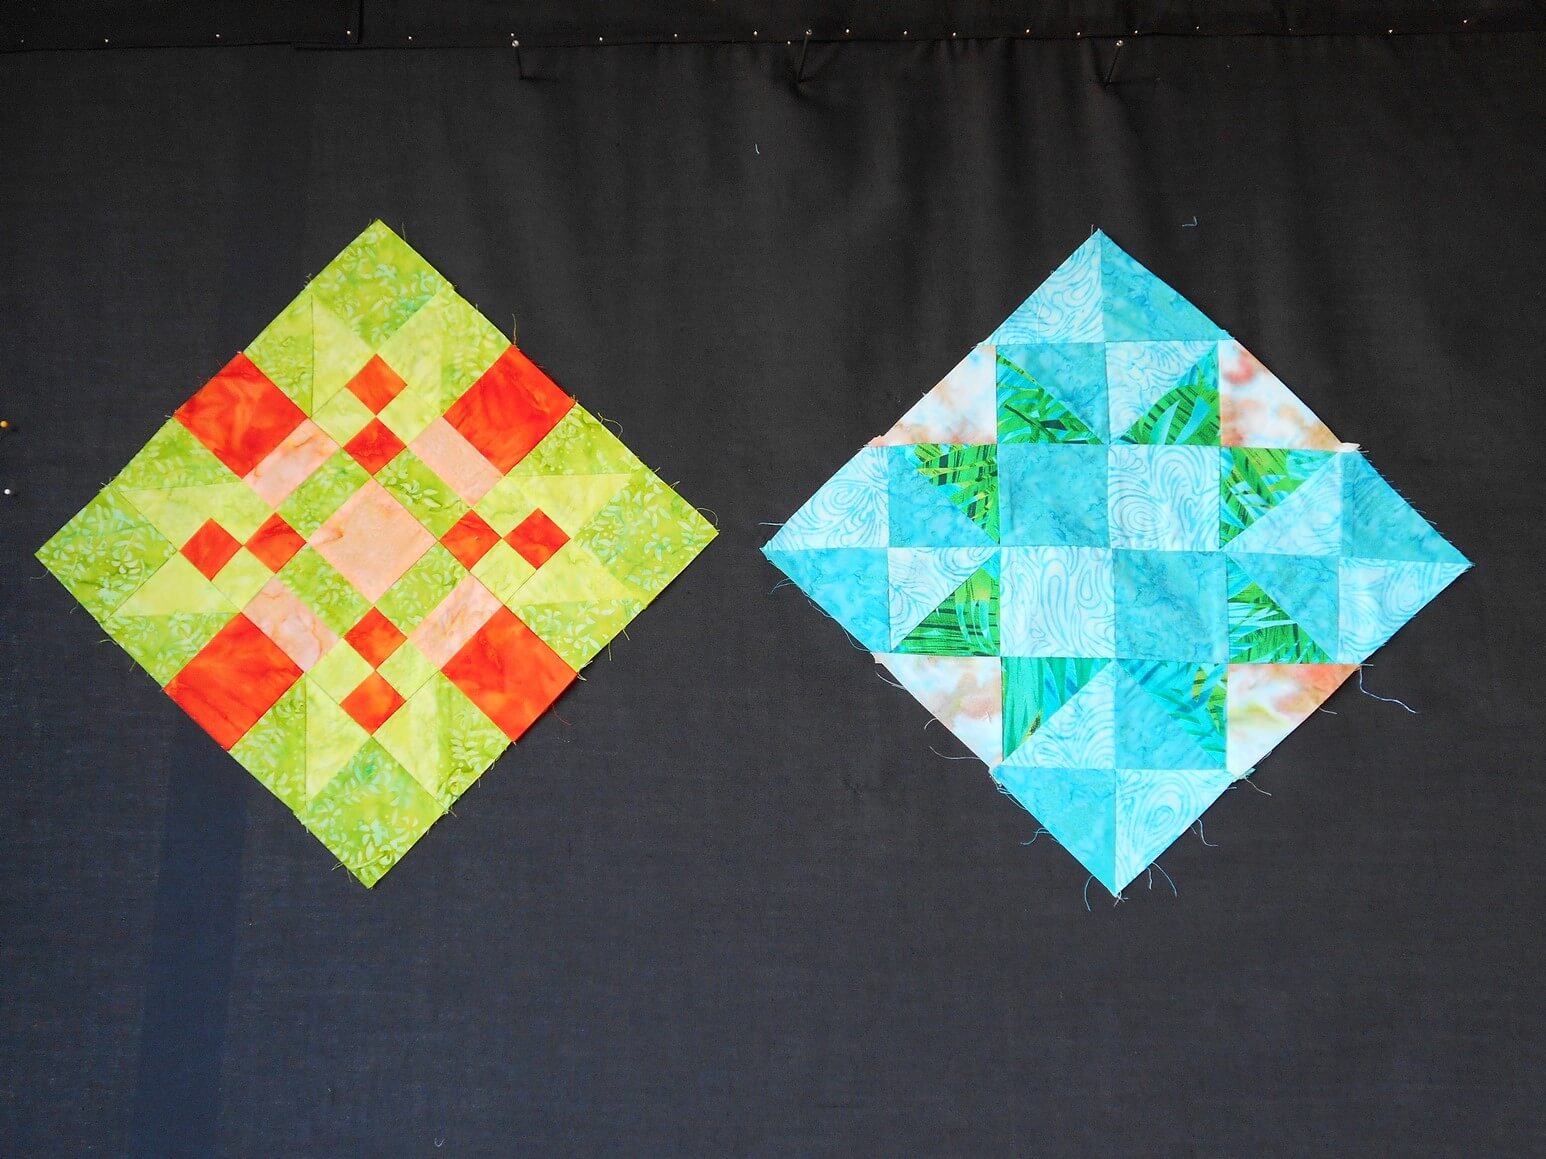 I love the green and orange one!
Up after this quilt is a lap quilt for my great-niece who turns 13 in August, and I would like to have it done for when we see them in May. I’ve made the commitment that all 8 of my great-nieces and great-nephews will get a lap quilt from me when they turn 13. This means lap quilts for the next 11 years…….
One of My Ongoing Projects
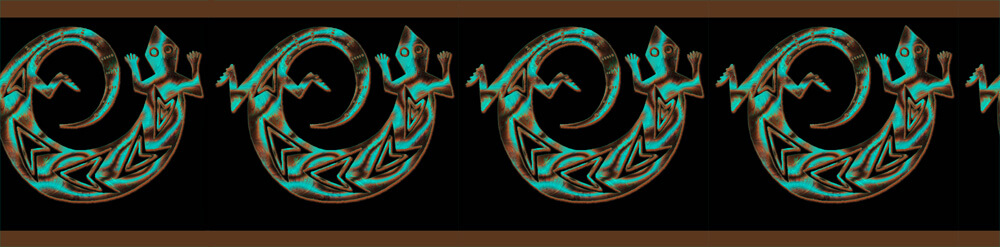
A Border Full of Geckos
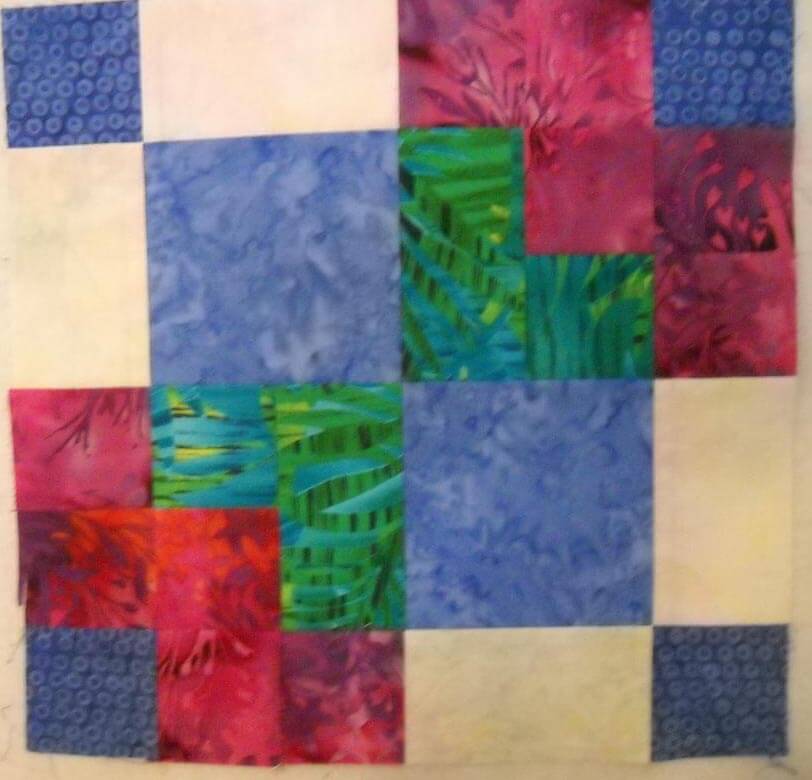
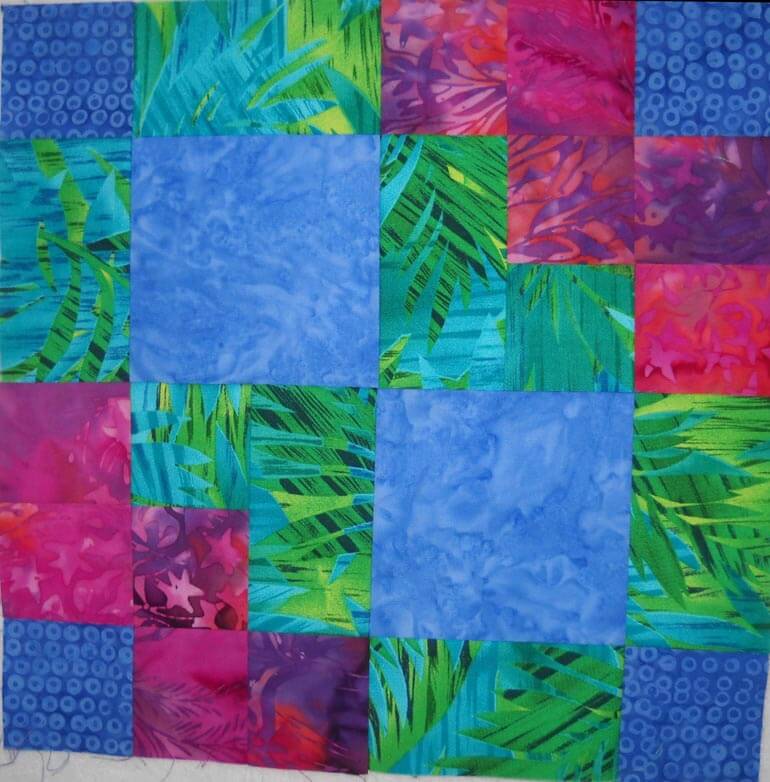
Hawaiian Block of the Month from my local quilt shop, Quilter’s Market – which I will SO miss when we move this spring…..
This program is a monthly get-together through our local quilt shop, Quilter’s Market – one of the things I will definitely miss when we move. The theme for this year is Hawaiian Getaway. I’ve been keeping up generally with the blocks, but I will confess to being four five months behind right now – it’s those deadlines for other quilts…. Forgive the pics – I was in a hurry…..
I decided after my first block that it was just too intense in color, so I made one that was softer, with more light fabrics. that got me started making two blocks a month, one saturated, and one that was lighter. The shop has what they call an “Oops Pack,” for when you make mistakes with the pieces of fabrics you get. I picked up both the light and dark packs, because I really liked the sherbet colors. So instead of 12 blocks at the end of the program, I will have 24. I’m planing to set them on point, with plain blocks in between that I can free-motion. For those I’m planning to use some of my adopted mom’s Hawaiian designs. I also really like the work Judy Madsen does (Green Fairy Quilts) with straight-line quilting, so I’m looking forward to designing the motifs.
Amazing how it used to be enjoying making the quilt top, but now I look forward to the quilting oh so much. The goal is to have the blocks done (April is the last month) before I completely pack up the studio for our move. I know it won’t get put together until the months after we are settled.
Here goes…..
I confess to being very curious to see what I come up with for the whole quilt – I do know I am very much looking forward to quilting it!
East of the Mississippi!
Yet another gorgeous day! We were so worried about all the rain and tornadoes, but I’m thinking we’ve brought the good weather with us! We left Des Moines, gorgeous morning, and finally crossed the Mississippi. There is something mythic about this mighty river and it’s division of the country. Every time we cross the Continental Divide, I think about the water that flows to the Mississippi. And the gateway to the westward movement, with all its pros and cons. And Mark Twain, whose many books I have read. I always feel like I am entering or leaving a different country. The day was quiet, and very relaxing…Iowa is certainly “heartland.”
Illinois just seemed soft and green, lots of farms, not nearly the amount of sprinkle systems that we saw in Nebraska. It is SO NICE to see rivers with water in them! And I must say, Iowa has some of the nicest roadside stops!
We traveled through Illinois, past Regan’s birthplace, into Wisconsin, and finally to Milwaukee. We weren’t sure we’d head this far north, but I have always wanted to visit this city. Tomorrow we are doing a boat cruise around the lake and river.
Here’s a few shots from today.
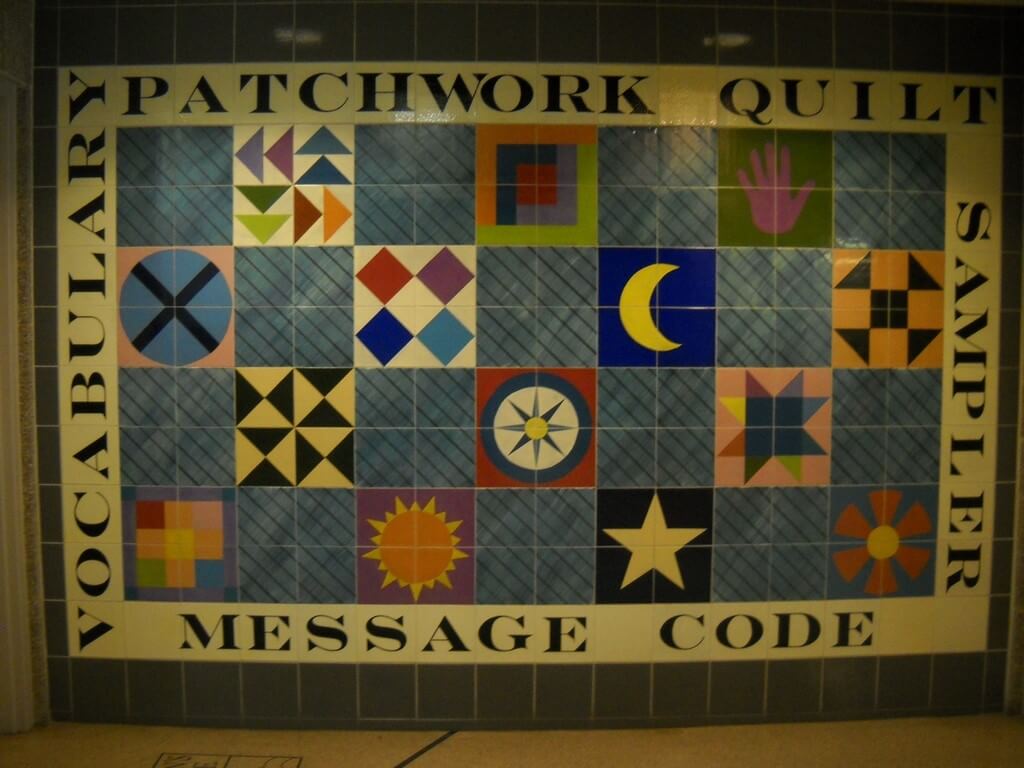
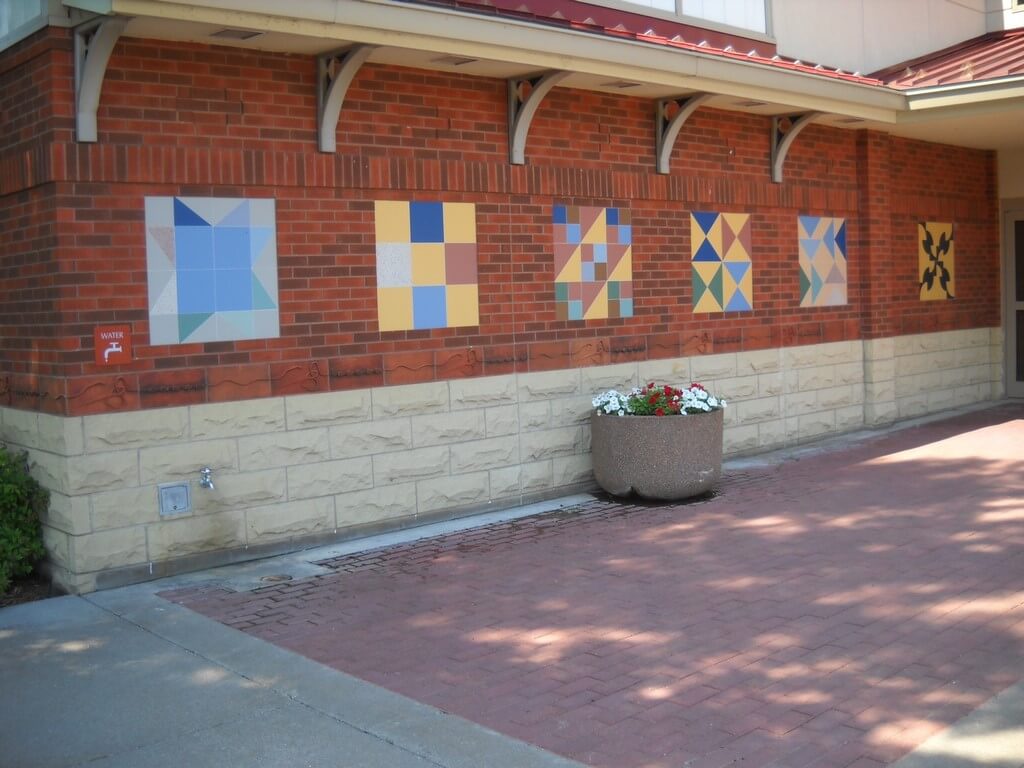
A whole rest area devoted to quilting!
Iowa rest area – patchwork. locks
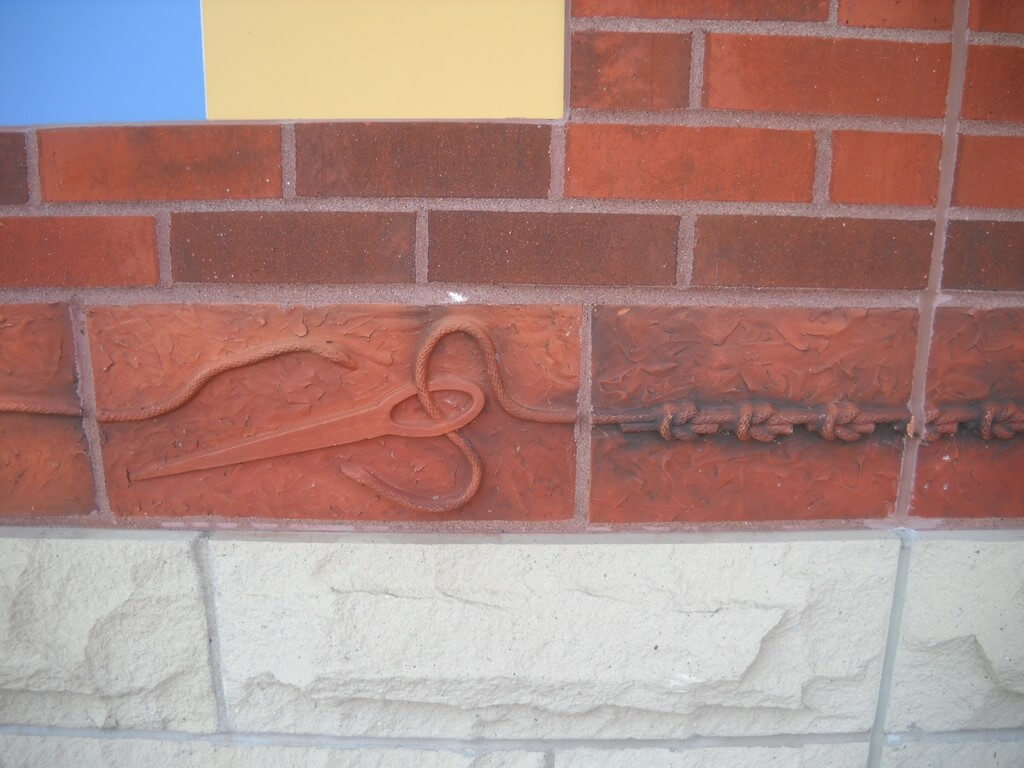
Even the brickwork…..
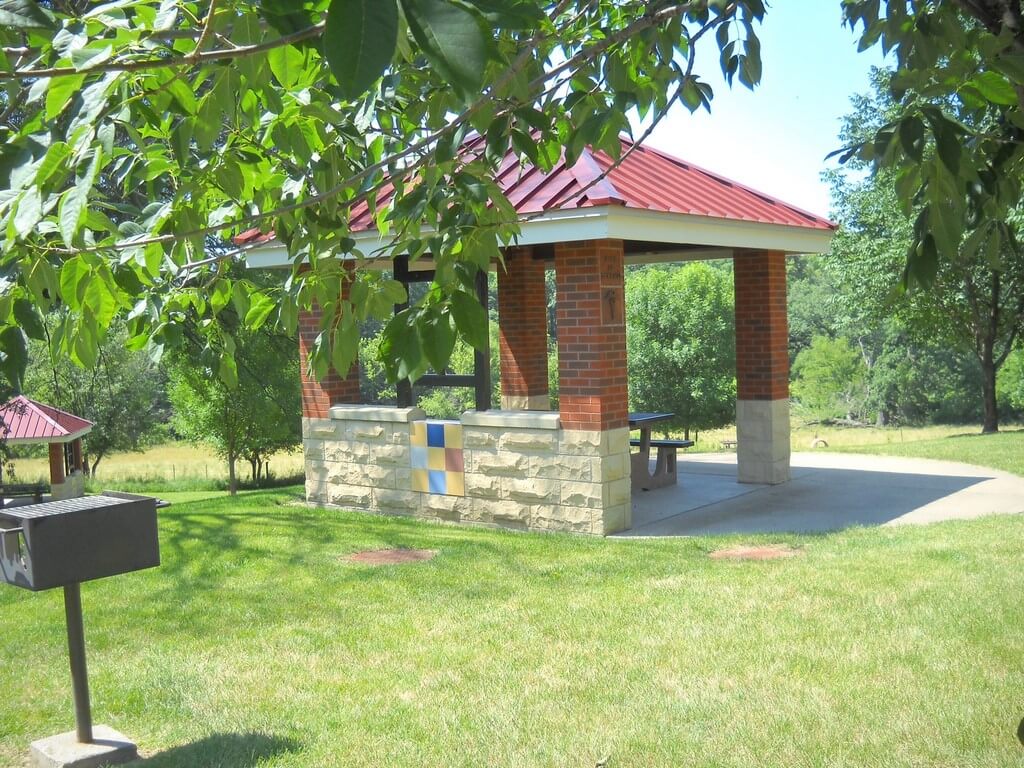
The little picnic areas are identified by patchwork.
We noticed in Illinois that the mile markers were in fractions…one-quart, half, and three-quarter. Very cool…I’d like to know why….in Wisconsin the markers were in two-tenths….also cool!

Mile markers!

Tomorrow on the water!
Using Marbled Fabrics in Quilts

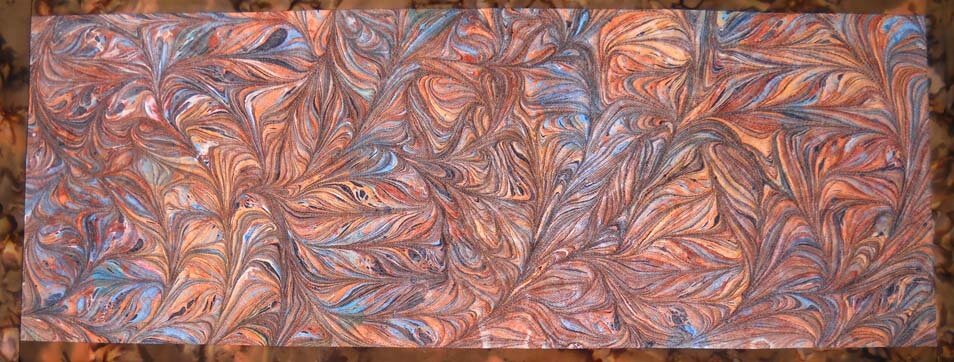
When we started marbling, we were hooked from the very first piece. The problem was…what do we do with the fabric? Each piece was so gorgeous it was hard to cut into it. We knew we had to get over that mindset. Folks consistently asked, “What do you do with the fabric? I don’t know how to use it.” Confession time – I wasn’t quite sure either. I saw a book and thought marbled fabric would look cool. Now it was “put up or shut up.”
I was a beginning quilter with virtually no good color sense…that was hubby’s field. I figured black goes with everything, so my first quilt was an attic window pattern.

This was a nice way to show off smaller pieces of marbling, but I had to stretch further. It took a number of years before I stopped being afraid of any color except black. I started a Block of the Month, using blocks from Judy Martin. I became more daring…this time it was not black…..but other solids. I built the designs on the colors in the marbling. My January block had a definite “coolness,” so I looked for solids with some texture that would work. I started to expand design ideas and felt that traditional blocks could be the key to using these fabrics.

Now another confession…..when I first started doing quilting, I was pretty much “stitch in the ditch”….with metallic threads, no less. The quilt above is 12 years old, and I took it apart (oy) and used my newly acquired FMQ skills. I didn’t stitch the marbled blocks, as I wanted them to stand out.

The completed quilt – marbled fabrics within traditional blocks. You can read more about the actual quilting here.

I was hooked on finding some great traditional blocks that could spotlight marbling and go together harmoniousl. Summer……..I had some great neon orange cotton, a nice piece of Moda Marbles, but I needed additional fabrics so the quilt wasn’t overloaded with green. I stretched with the print fabrics I added to complement the marbled fabrics.

There’s lots of machine quilting throughout, but the marbling has been left on its own. (I also took this quilt apart…. kind of obsessive. But as quilters, we KNOW what we want. More about the quilting here).

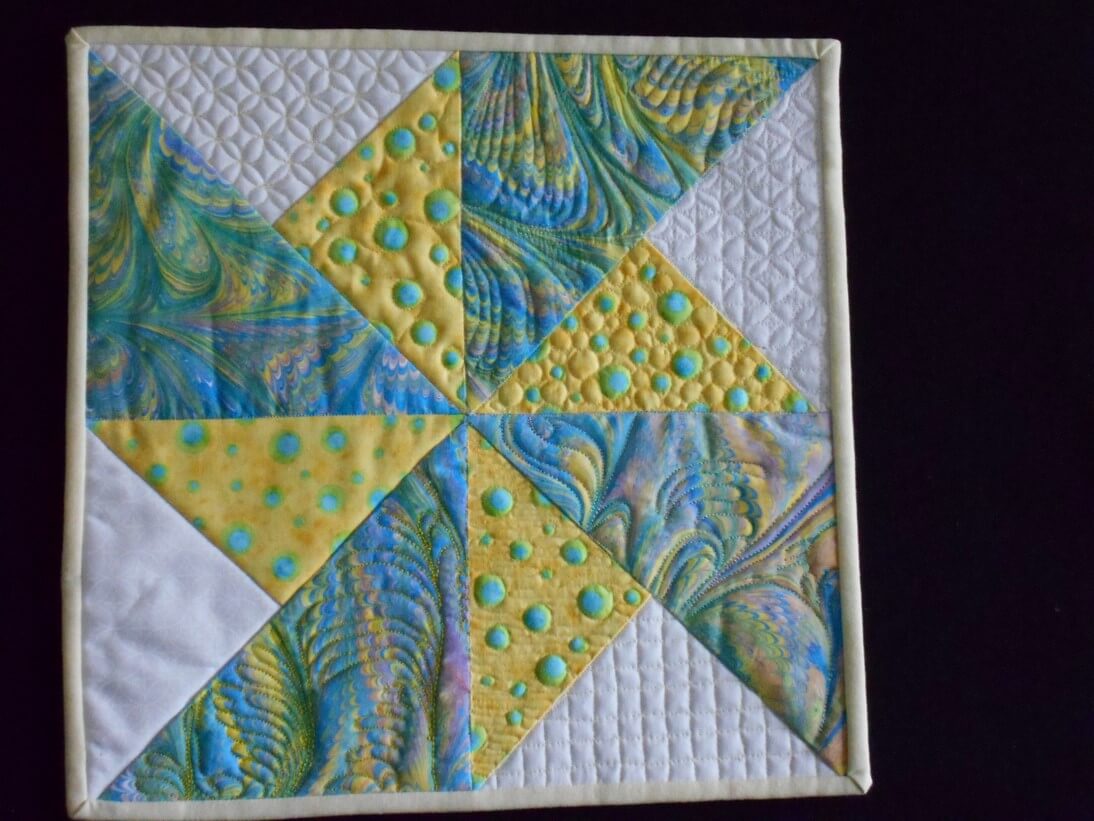
At this point, I had a great piece of marbled fabric that said “I want to be fish.” I found a traditional block that could be used as fish. Thus the “fish quilt” was born (you can read about that quilting here). This time I quilted the marbled fabric by following the lines of the pattern and used stitches from my workhorse Bernina.
 The completed quilt –

I started getting very bold – it never occurred to me to just quilt the marbled fabric itself. This was a major breakthrough. Traditional is fine, and I still work with traditional patterns, but quilting the marbled pattern gives a completely different look to a quilt. This quilt, “Nature 1: Rock Garden,” became my first quilt accepted into a juried show, “Expressions in Textiles.” It is very zen-like, and the quilting emphasizes the rock garden and sand.

Go traditional or go contemporary. Don’t be afraid of the marbled fabrics. They can be the spark that makes your quilt.


Continuous-Line Quilting Designs – A Review

My machine quilting has improved tremendously over the last six months. It’s amazing what quilting for a couple of hours every day will do. This current large piece is moving along nicely, and I’m taking the time to really think about how every element has to work perfectly together.
But…I still need quilting ideas and help. For the longest time I’ve heard about Continuous Quilting Designs, and I’ve looked at them, mentally followed them, and then wondered how on earth I could possibly do that. Now that I’m expanding my repertoire, I am still kind of confused about creating a whole motif in one section of a quilt.
I found the answer. Laura Lee Fritz has a series of books with C & T Publishing, and I just had a read-through of 250 New Continuous-Line Quilting Designs. In the words of my students, “OMG, I get it!” Within the first couple of pages I knew I could do this. Laura spells it out simply and completely – how to do EVERY single step. From setting up the book itself for easy use to the types of water-soluble stabilizer to transfer of design to actually doing the quilting – there is no question you will feel like you can create every single one of these designs.

It never occurred to me to trace the design. Maybe that is an obvious step to a lot of people, but “free motion” to me means free-hand. Not so. Here’s what Laura says:
“If you aren’t ready to make the leap into free-motion quilting, there are simple steps to follow to transfer the designs onto your quilt top. 1. You can trace your designs onto water-soluble stabilizer with a permanent pen (Sharpie and Pilot are good choices) and quilt through it as the topmost layer of your quilt. Try the Solvy stabilizers made by Sulky, or Dissolve from Superior Threads, as they really do wash out of the cloth.” (page 4).
There was such a moment of a-ha for me. So that’s how you do it.
Here’s a really important note that makes a lot of sense to me, given the work I’ve done with dyslexic students and my readings on brain research.
“Begin by tracing the designs with your fingertips or a pencil to practice the paths, and you will learn to stitch many of them free-hand. This tracing makes the pattern a physical memory and helps you quilt more smoothly.” (page 8) Muscles have memory, and I need to practice moving the paper design as though it were cloth, to help train my fingers and eyes just where I need to go. This one sentence tells me Laura really understands this process.
As for the designs, Laura has the following sections: Globe Trotting, Scrolls and Angles, Wilderness, Oldtime Cowboys, Heroic Moments, Wetlands, Baseball, and Edge of Town. I’m looking at the headings, thinking “no way.” Turns out there is at least one design in each section that I could incorporate without really even thinking about it.
This is an excellent resource for both beginning and intermediate quilters, on a domestic or long-arm machine. I would think, if I still did hand quilting, that this would really free up design for me. I strongly recommend this book for your library.

PS – in accordance with FTC guidelines, I need to tell you I received a free e-book of this title, with the condition that I would write a review. Viewers of my blog know that I am honest and wouldn’t do anything that would lead you astray in books or materials. My reviews are from the heart and meant to be helpful.